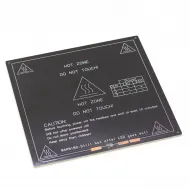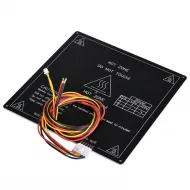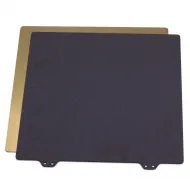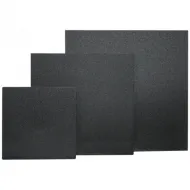
- Stock: 999
- Model: Magnet-cut
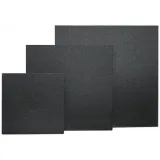
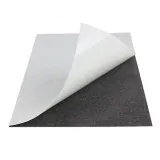
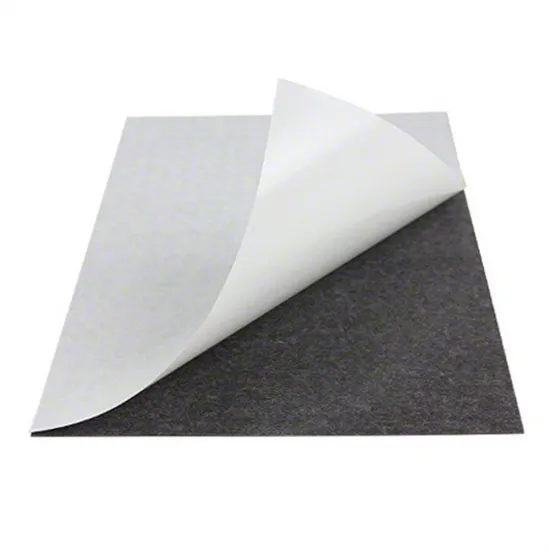
1 mm adhesive magnetic sheet cut to size for converting a heated bed or rigid support into the lower base of a removable flexible build-plate system. It is permanently bonded to the bed and attracts a compatible ferromagnetic steel sheet, making it easier to remove prints by flexing the upper plate.
This product is the lower magnetic base. It is not a printable surface and it does not include the flexible steel sheet or a PEI coating. It can be trimmed or punched to clear screws and adapt the outline to standard beds or custom projects.
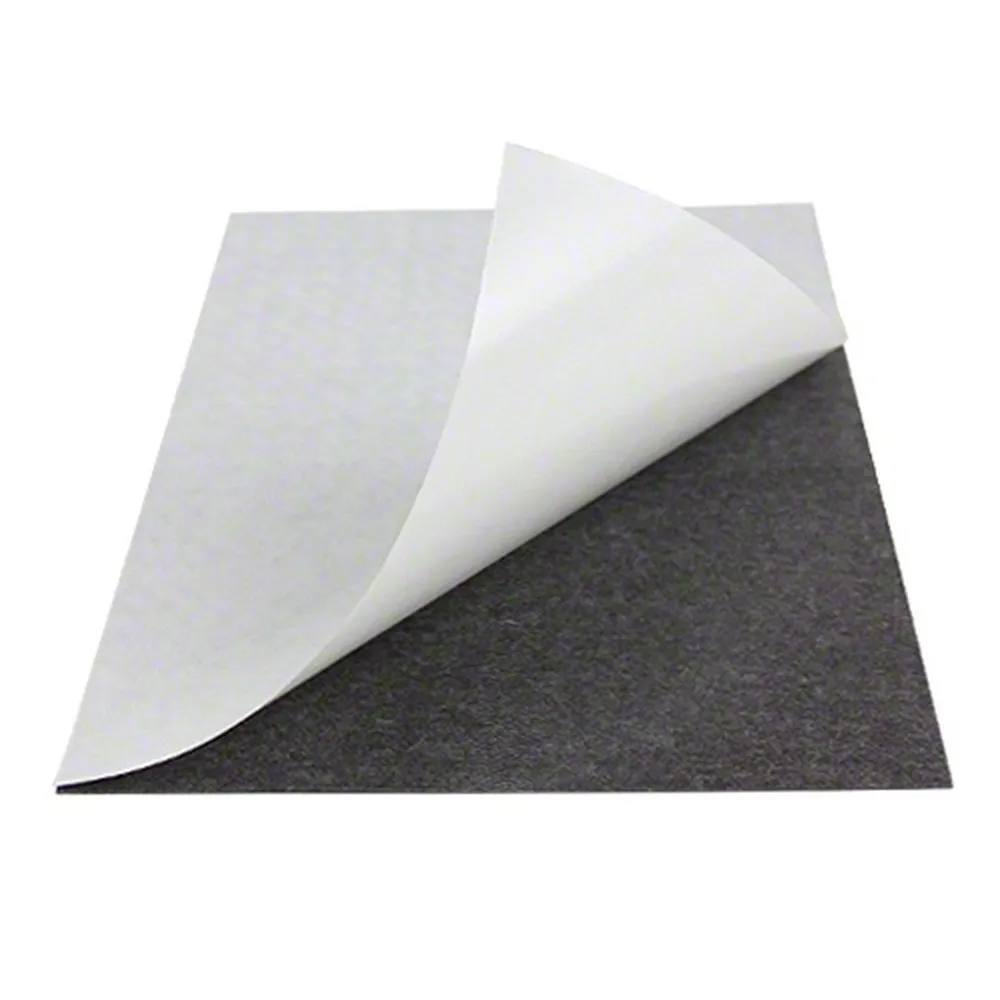
How the complete system is assembled
- Heated bed or rigid support: it must be flat, clean and suitable for the heater.
- This adhesive magnetic sheet: it remains bonded to the bed.
- Flexible ferromagnetic steel sheet: it is placed on and removed from the magnet.
- Build surface: it may be part of the steel sheet, for example as smooth or powder-coated PEI.
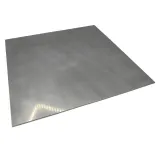
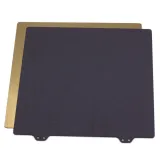
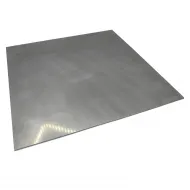
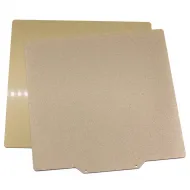
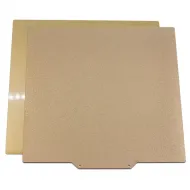
The magnetic base does not replace the upper plate. The system can be completed with a cut-to-size flexible spring-steel sheet or, for a compatible 220 × 220 mm bed, a double-sided powder-coated PEI flexible steel sheet.
Main features
- 1 mm nominal thickness.
- Self-adhesive side for installation on a rigid base.
- Wide selection of sizes, including large formats.
- Can be cut with scissors or a utility knife and punched with a suitable tool.
- Hand-cut with a stated tolerance of up to ±1% of the nominal dimensions.
- Suitable for flexible-bed systems when the upper steel plate is genuinely attracted by the magnet.
Specifications
| Feature | Value |
|---|---|
| Product type | Flexible self-adhesive magnetic base |
| Nominal thickness | 1 mm |
| Supply format | Cut to the selected nominal size |
| Cutting tolerance | Up to ±1% due to manual cutting |
| Machining | Can be trimmed and punched with suitable hand tools |
| Required upper plate | Flat, flexible ferromagnetic steel sheet of a compatible size |
| Maximum temperature | Not stated for this batch; holding force must be checked at the actual operating temperature |
| Included | 1 adhesive magnetic sheet cut to size |
Available sizes
Select the required dimensions in the product options. Availability shown in the selector takes precedence and may change.
| Nominal dimensions | ||
|---|---|---|
| 120 × 120 mm | 180 × 180 mm | 220 × 220 mm |
| 230 × 254 mm | 235 × 235 mm | 220 × 240 mm |
| 214 × 314 mm | 220 × 280 mm | 300 × 300 mm |
| 310 × 310 mm | 330 × 340 mm | 350 × 350 mm |
| 400 × 400 mm | 410 × 430 mm | 500 × 500 mm |
| 600 × 600 mm | 450 × 600 mm | 600 × 1200 mm |
| Approx. 1000 × 600 mm wholesale format | — | — |
How to select the correct size
Measure the actual available rigid surface, not only the advertised build volume. Check the position of screws, spacers, clips, cable outlet, connectors, probe and any recesses. The sheet must lie flat without covering moving parts, terminals or solder joints.
It can be adapted to beds used on Ender-3-style machines, Prusa i3 and P3Steel derivatives, CoreXY printers, Voron builds or custom CNC/DIY projects, but compatibility depends on the specific dimensions and construction. The model name alone does not guarantee fit. On a 220 × 220 × 3 mm MK3 ALU heated bed, for example, the screws, wiring and selected flexible plate must also be checked.
A small difference between the magnet and steel sheet may be acceptable when the assembly still has uniform support and holding force. Avoid significant overhang, unsupported areas or any plate that could move while the printer is operating.
Step-by-step installation
- Switch off the printer and allow the bed to cool completely.
- Remove adhesive residue, grease and dust. The surface must be flat, degreased and completely dry.
- Dry-fit the sheet with its backing in place, align the outline and mark any required holes or cut-outs.
- Trim it on a cutting mat. Never use a knife directly over the heater, tracks, wires or insulation.
- Peel back only a narrow strip of the release liner, fix the first edge and check alignment again.
- Remove the liner gradually while pressing from the centre outwards with a protected squeegee or cloth to prevent bubbles and creases.
- Press the entire surface and check for trapped particles or raised edges.
- Fit the steel sheet, check full contact and holding force, then move the axes by hand to rule out interference.
- Repeat bed levelling and reset the Z offset or endstop before printing.
Cutting and punching
- For straight cuts, use a ruler, cutting mat and several light passes with a sharp utility knife.
- Strong scissors can be used for simple outlines.
- A suitable punch normally produces cleaner holes than tearing the material.
- Avoid notches, tears and very sharp internal corners.
- Allow for the stated tolerance of up to ±1% when the sheet must fit between screws or inside a rigid recess.
Use on a heated bed
The magnet and adhesive composition are not stated for this batch, so no universal maximum temperature is specified. Sustained heat can reduce holding force or shorten adhesive life. Before a long print, check that the steel sheet remains firmly held both cold and at the actual operating temperature.
The additional layer also increases thermal resistance between the heater and build surface. Allow the bed to stabilise before adjusting the first layer and verify actual behaviour when printing large parts or at elevated temperatures. PID calibration only needs to be repeated if control response changes noticeably, and it must follow the procedure for the installed firmware.
Maintenance
- Keep the magnetic face free from dust, filament debris and metal particles; any residue can create a high spot.
- Periodically check the edges and holding force, particularly on large beds and high-temperature jobs.
- Do not repeatedly peel the base away. It is intended as a semi-permanent installation and removal may leave residue or damage the adhesive.
- Clean the build surface according to its own coating instructions rather than treating it as the magnetic base.
Package contents
- 1 × 1 mm adhesive magnetic sheet cut to the selected size.
The flexible steel sheet and build surface are sold separately.