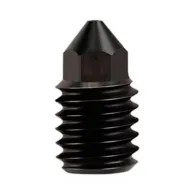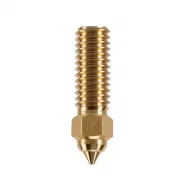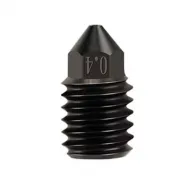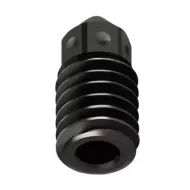


- Stock: 10
- Model: Boquilla-0.4-integrada

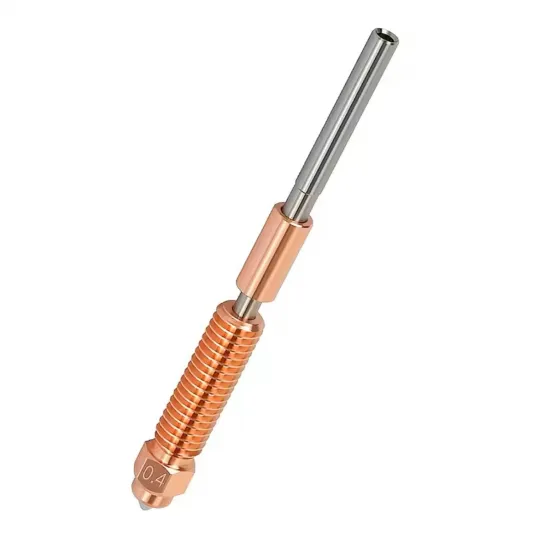
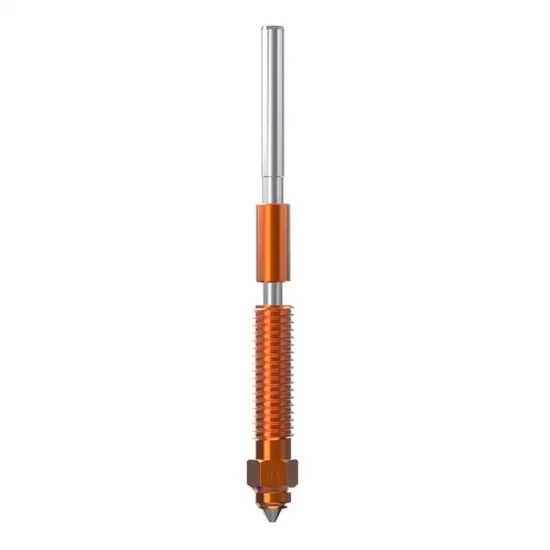
Integrated 0.4 mm nozzle and heatbreak for Creality printers fitted with the Unicorn-format hotend. Its 65.4 mm geometry matches the system used on K1C, Ender-3 V3 and Ender-3 V3 Plus machines, as well as selected K1 and K1 Max revisions already equipped with an integrated nozzle.
This is a compatible replacement, not an original Creality nozzle. Compare it with the removed part before installation: the K1 and K1 Max families include different hotend generations, and the short nozzle used by the older version is not interchangeable with this integrated assembly.
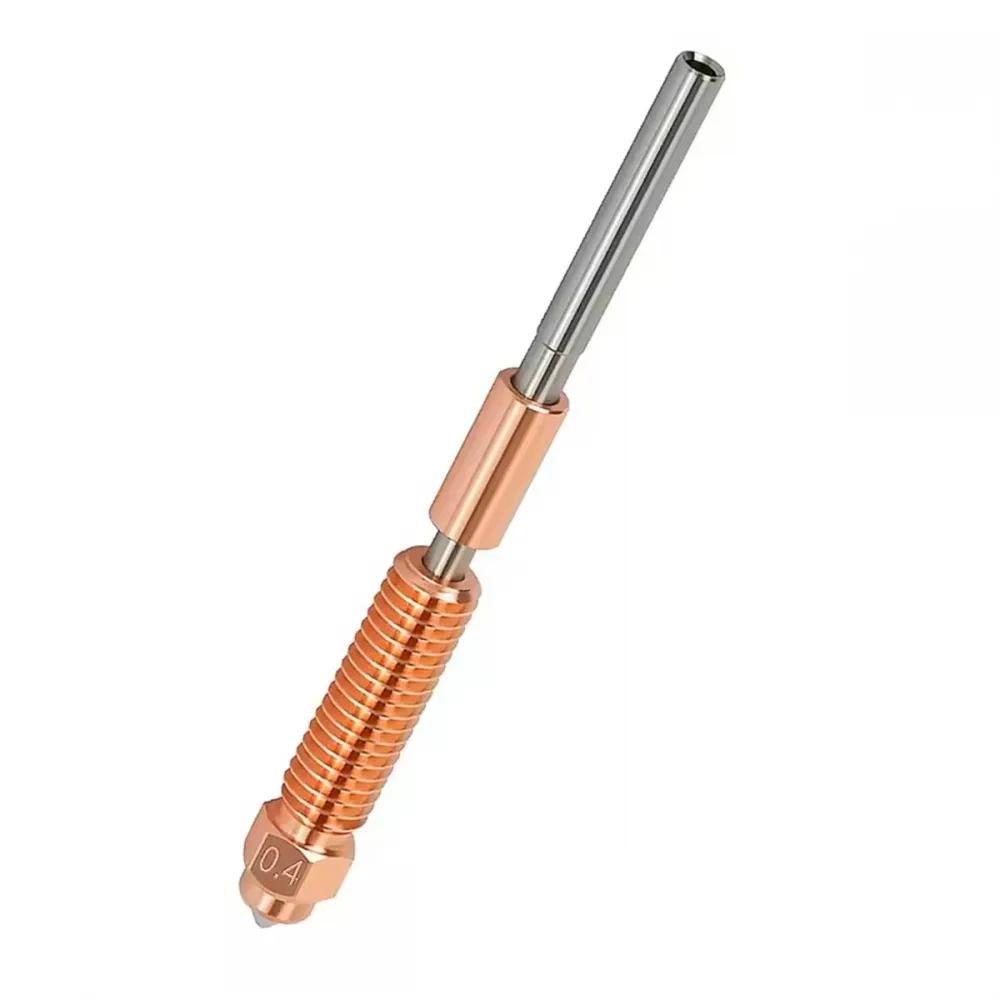
Integrated design and tri-metal construction
The nozzle, heated section and heatbreak form a single replacement unit. This arrangement simplifies replacement and reduces internal threaded joints through which material could escape when a hotend is not correctly sealed.
- Copper-alloy body: promotes heat transfer into the melt zone.
- Hardened-steel tip: provides better wear resistance than a conventional Brass nozzle.
- Titanium-alloy heatbreak: helps limit heat transfer towards the heatsink and extruder.
- 0.4 mm outlet: a versatile size balancing detail and material flow.
The hardened tip is more suitable for filled filaments than a basic Brass nozzle, but it is not immune to wear. Coarse fibres or particles may require a lower speed and can present a greater clogging risk through a 0.4 mm outlet than through a larger diameter.
Specifications and dimensions
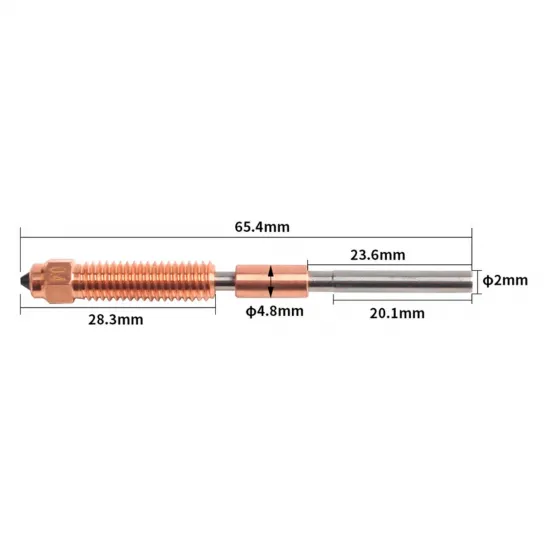
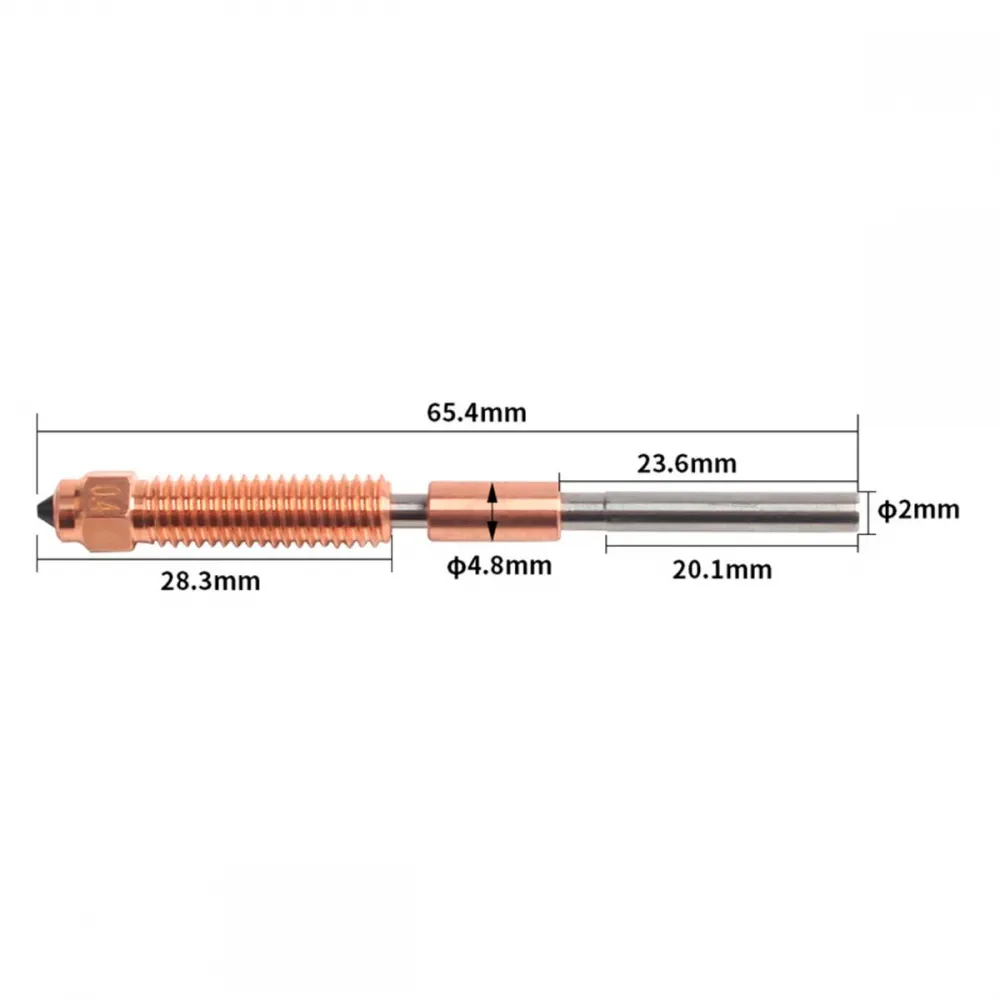
| Feature | Value |
|---|---|
| Type | Integrated nozzle and heatbreak, compatible with the Creality Unicorn format |
| Outlet diameter | 0.4 mm |
| Filament | 1.75 mm |
| Overall length | 65.4 mm |
| Lower length to end of thread | 28.3 mm |
| Specified upper section | 23.6 mm |
| Specified main straight upper length | 20.1 mm |
| Upper-end diameter | 2 mm |
| Intermediate sleeve diameter | 4.8 mm |
| Declared construction | Copper alloy, hardened-steel tip and titanium-alloy heatbreak |
Compatibility by machine and revision
| Machine or system | Compatibility | Required check |
|---|---|---|
| Creality K1C / K1C 2025 | Compatible with the original integrated hotend | Compare dimensions and appearance with the removed nozzle if the machine has been modified. |
| Creality Ender-3 V3 | Compatible with the original integrated hotend | Do not confuse it with Ender-3 V3 KE or V3 SE. |
| Creality Ender-3 V3 Plus | Compatible with the original integrated hotend | Confirm that it retains the factory Unicorn-format assembly. |
| Creality K1 SE | Format documented by Creality | Compare the removed part before fitting a compatible replacement. |
| Creality K1 / K1 Max with integrated nozzle | Conditionally compatible | Only revisions fitted or upgraded to the integrated hotend; check the 65.4 mm length and 2 mm stem. |
| Older K1 / K1 Max or Ender-3 V3 KE | Not a direct replacement | These commonly use a different short nozzle; see the compatible 0.4 mm version or 0.6 mm version after identifying the hotend. |
| Ender-3 V3 SE or an alternative hotend | Not assumed | The complete geometry must match; sharing a 0.4 mm outlet is insufficient. |
Flow, speed and temperature
The extended melt zone is intended for high-flow systems, but actual speed depends on the heater, extruder, material, temperature, layer height and profile. No universal mm³/s value or print speed is therefore guaranteed for this compatible replacement.
Always respect the maximum temperature specified for the fitted printer and hotend. Replacing the nozzle does not increase the limit of the heater, sensor, wiring or firmware. Use a material-specific profile and confirm extrusion before increasing flow with abrasive or high-temperature filaments.
Safe replacement
The exact procedure depends on the model. In its K1C service guide, Creality unloads filament at 220 °C, allows the printhead to cool before opening it, and then maintains 220 °C while loosening and installing the nozzle with suitable tools. Always follow the guide for the exact machine.
- Completely unload the filament using the printer's normal procedure.
- Turn the machine off and allow it to cool before removing a cover, fan or silicone sock.
- Prepare the correct wrench and socket, and use appropriate protection against burns.
- When instructed by the model-specific guide, heat the hotend, support the assembly and loosen the nozzle without twisting the heater, sensor or wiring.
- Install the replacement with a tool. Never attempt to thread or tighten it with your fingers while hot.
- Do not exceed an undocumented tightening torque: it must seat firmly without forcing the part.
- Load filament and extrude to check continuity and absence of leaks.
- Allow it to cool before reinstalling the silicone sock, fan and cover.
After replacement
- Select a 0.4 mm nozzle in the slicer.
- Run the self-test, levelling or Z-offset procedure specified for the printer.
- Check the first layer and monitor the hotend joint during the first extended heating cycle.
- Calibrate flow and pressure if extrusion or corners differ from the previous nozzle.
- Do not leave the first print unattended until leaks and interference have been ruled out.
It is for you if
- Your printer uses the 65.4 mm integrated Unicorn-format nozzle.
- You need to replace a 0.4 mm outlet while retaining the original hotend geometry.
- You want a hardened tip with better wear resistance than a basic Brass nozzle.
- You have compared the removed part and confirmed stem, sleeve, length and seating geometry.
It is not for you if
- Your K1 or K1 Max uses the short first-generation nozzle.
- You have an Ender-3 V3 KE, V3 SE or a modified hotend without confirming its geometry.
- You require an original Creality nozzle.
- You need an outlet diameter other than 0.4 mm.
Contents
- 1 compatible integrated nozzle and heatbreak with a 0.4 mm outlet.
The heater block, heater, thermistor, silicone sock and tools are not included unless expressly stated.
Technical documentation
Use the official Creality accessories list to identify the correct revision. For installation, follow the guide for the exact model; Creality provides an illustrated K1C integrated-nozzle replacement procedure as a reference.