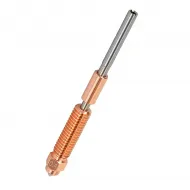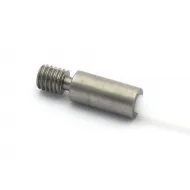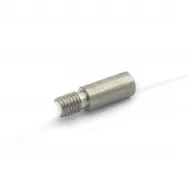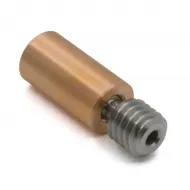


- Stock: 3
- Model: Kit-ceramico-K1

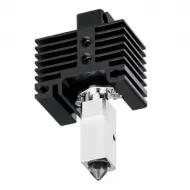
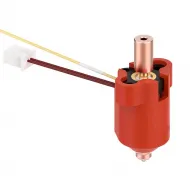
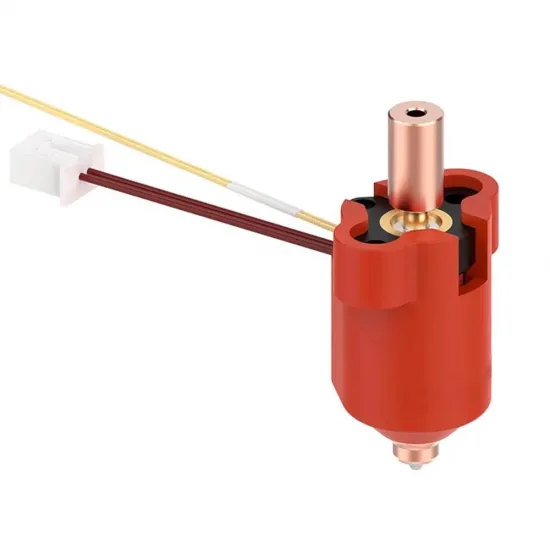
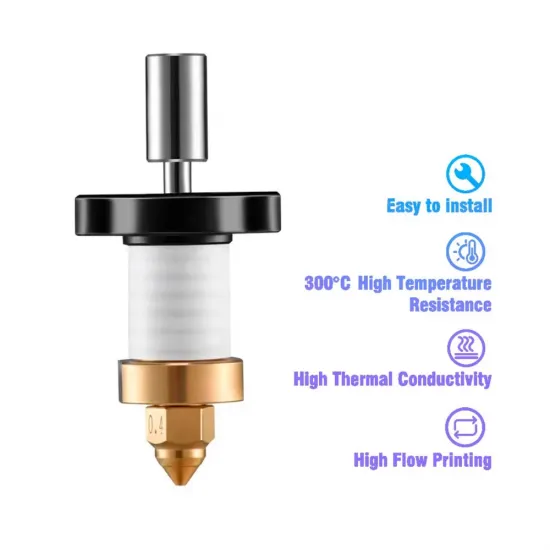
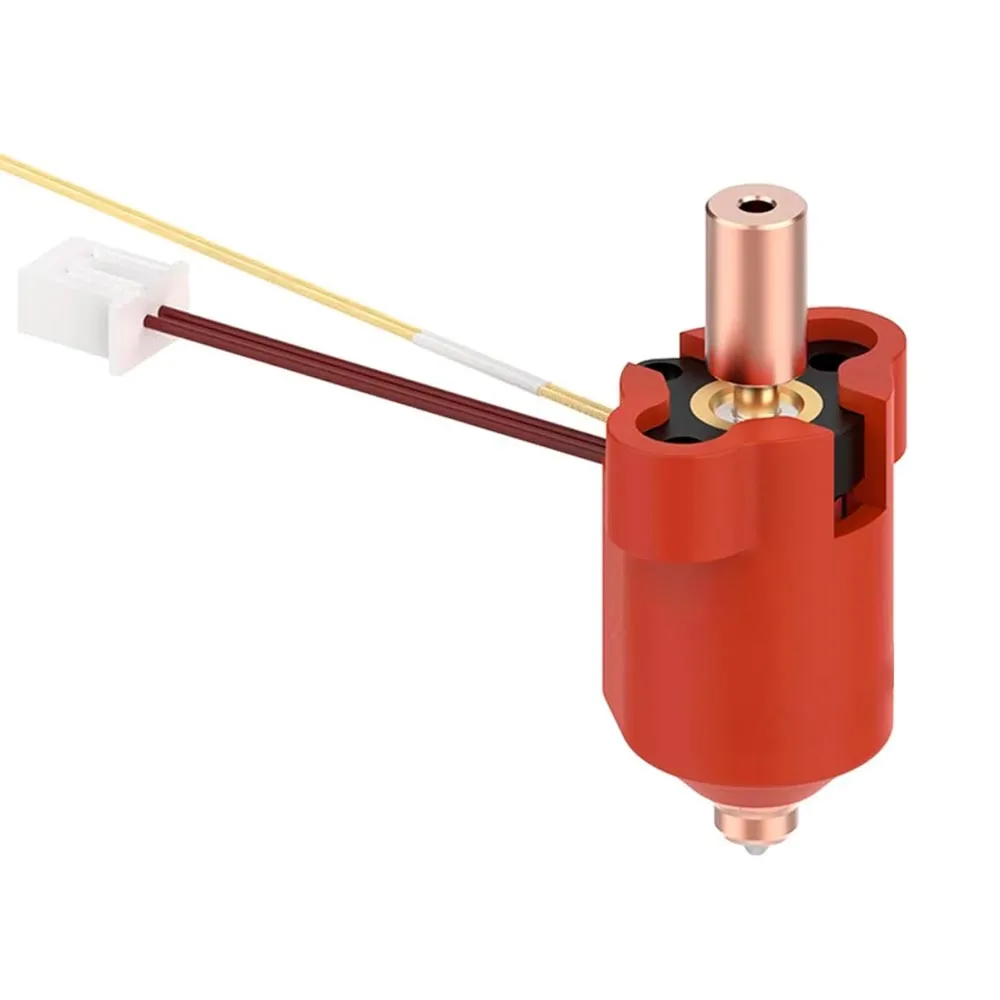
60 W ceramic hotend kit for replacing the heating and melt-zone assembly on Creality K1 and K1 Max printers fitted with the matching earlier-generation geometry and connectors. It includes the surround heater, thermistor, 0.4 mm nozzle, silicone sock, heatsink and mounting parts.
Features
- 360° surround ceramic heater.
- 60 W nominal power at 24 V.
- Included 0.4 mm nozzle for 1.75 mm filament.
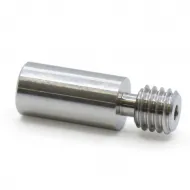
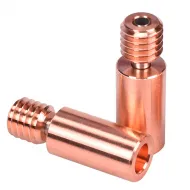
- Metal heatbreak and separate heatsink.
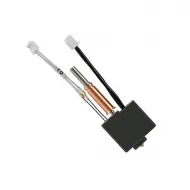
- Thermistor, wiring, connectors and silicone sock included.
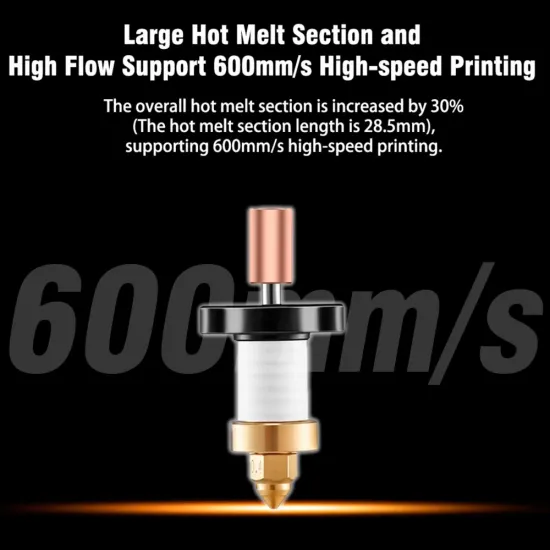
- Stated 28.5 mm melt zone.
- Maximum operating temperature stated for this design: 300 °C.
Flow performance
The design is advertised for up to 30 mm³/s and speeds up to 600 mm/s. These are reference maxima for the K1 system, not guaranteed results for every print. Actual flow depends on material, temperature, nozzle diameter, layer height, extruder and profile calibration.
Compatibility
Intended for Creality K1 and K1 Max printers using the earlier hotend with two separate connections and matching mounting geometry. The family has received several revisions, so compatibility with K1C, K1 SE, Ender-3 V3 or other visually similar models is not assumed.
- Match connector shape, keying and location.
- Compare the heatsink, heatbreak length and fixing points.
- Confirm a 24 V system rated for a 60 W heater.
- Keep the original fasteners until installation is complete.
Recommended installation
- Unload filament using the printer's normal procedure.
- Set the target to 0 °C, switch off, unplug and wait for the hotend to cool fully.
- Remove the cover and fan, then unplug heater and thermistor by their housings rather than pulling the wires.
- Install the heatbreak and hotend vertically. Apply suitable thermal compound only at the cold-side heatsink joint if required by the assembly.
- Tighten evenly and route the cables so the cover and fan cannot pinch them.
- Before heating, check that the thermistor reports a plausible room temperature.
- Supervise the first heat-up, run PID tuning and confirm thermal-runaway protection.
- Recheck Z offset before printing because a small length difference may cause a bed collision.
Kit contents
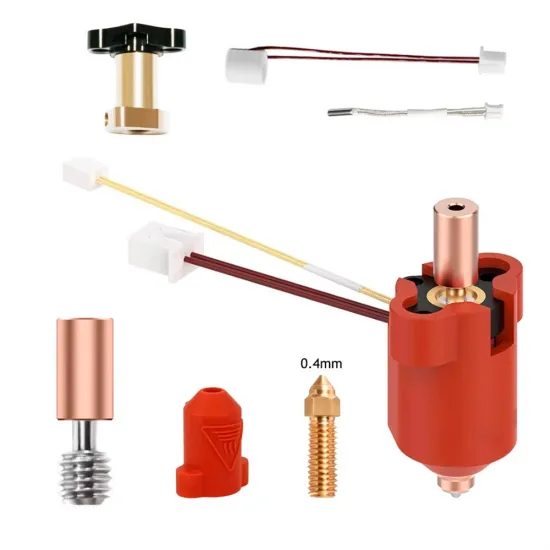
- 1 hotend with 60 W ceramic heater and thermistor.
- 1 × 0.4 mm nozzle.
- 1 heatsink and heatbreak.
- 1 silicone sock.
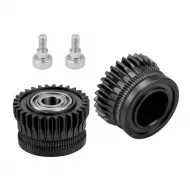
- Wiring, connectors and mounting parts shown in the gallery.
It is for you if
- Your K1 or K1 Max has the same physical revision and connectors.
- You want to replace heater, sensor and melt zone as one assembly.
- You can verify installation and recalibrate PID and Z offset.
It is not for you if
- Your printer uses a different connector housing or locking tab.
- You specifically require the Unicorn quick-swap nozzle system.
- You cannot confirm voltage, mounting geometry and toolhead revision.