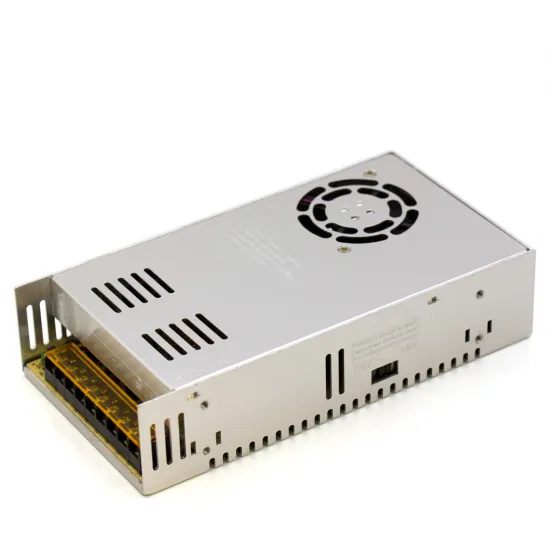


- Stock: 38
- Model: PSU-12v20a250w-fan
Model:

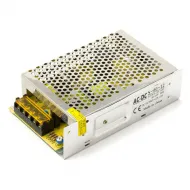
12V 5A 60W

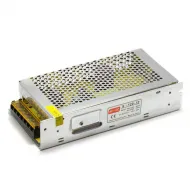
12V 10A 120W

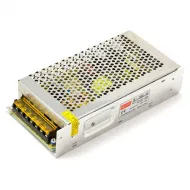
12V 15A 180W

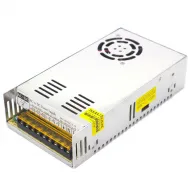
12V 20A 250W Fan

12V 33A 400W

12V 40A - 500W

24V 10A 240W

24V 15A 360W

24V 20A 500W

24V 25A 600W

24V 33A 800W

36V 10A 360W

48V 10A 500W
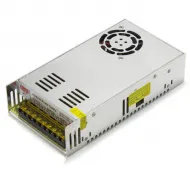
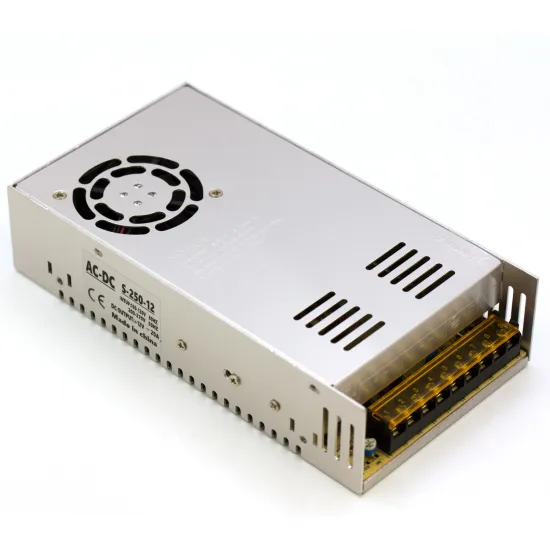
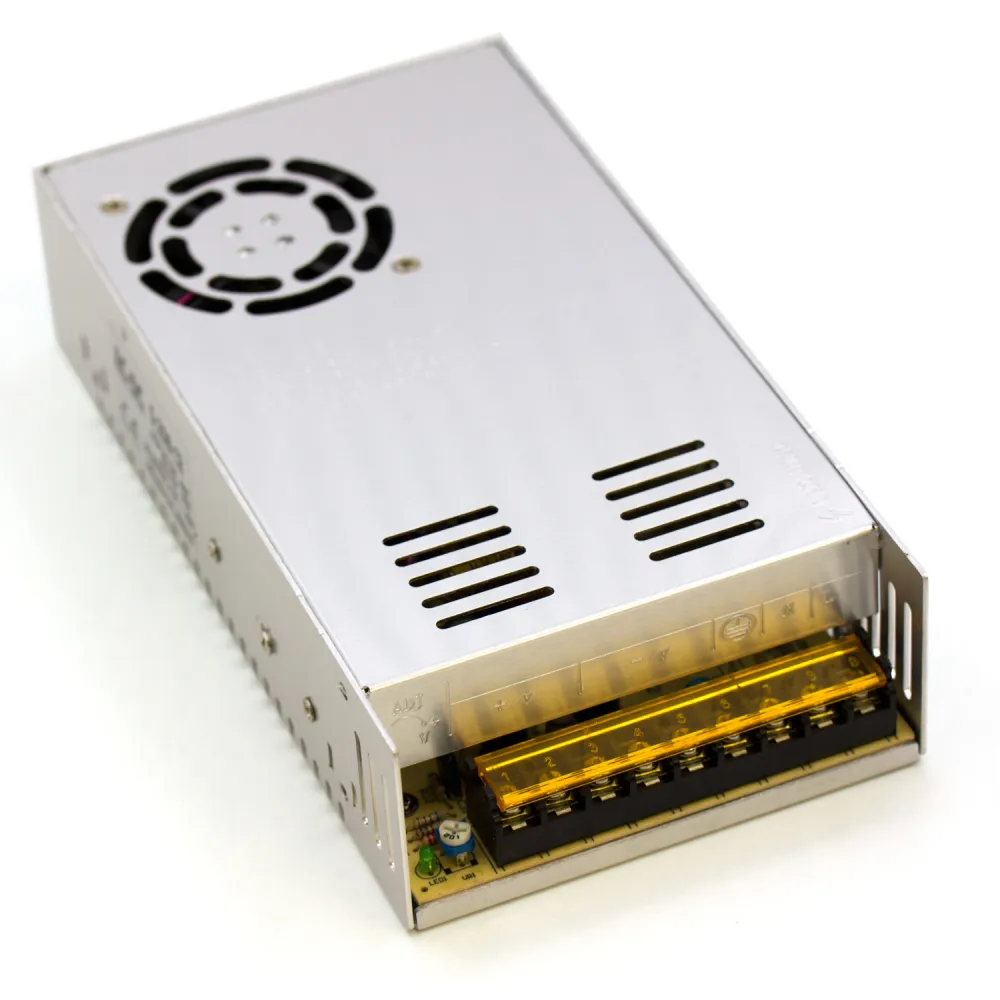
A compact 12 V, 20 A, 250 W AC/DC switching power supply with an integrated fan for active cooling. It is intended for 12 V 3D printers, CNC systems, LED lighting, motors and electronic equipment requiring more current than a passively cooled supply.
It can power a small 12 V 3D printer with a heated bed when the combined consumption of the bed, hotend, controller, motors, fans and accessories remains within the 20 A nominal limit with headroom for load peaks.
Technical specifications
| Feature | Value |
|---|---|
| Type | Single-output AC/DC switching power supply |
| Selectable input | 100-120 V AC, 60 Hz / 200-240 V AC, 50 Hz |
| Nominal output | 12 V DC |
| Maximum nominal current | 20 A |
| Power | 250 W |
| Cooling | Integrated fan and ventilated metal enclosure |
| Output adjustment | Fine adjustment through V ADJ |
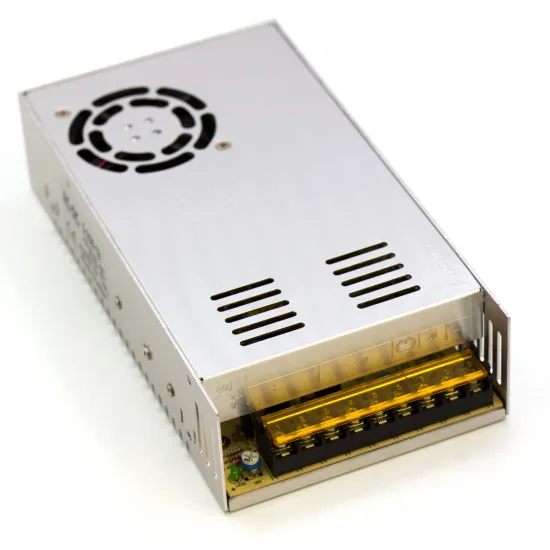
| Connections | Terminals for L, N, earth, V- and V+ |
| Contents | 1 power supply |
Integrated protection
- Short-circuit protection.
- Overload protection.
- Overvoltage protection.
- Overtemperature protection.
- EMI filtering to reduce electromagnetic interference.
- Full-load operation test.
Load sizing
At 12 V, approximate current can be calculated with current = power / 12. Useful examples for adding loads include:
| Total load | Approximate current at 12 V |
|---|---|
| 60 W | 5 A |
| 120 W | 10 A |
| 180 W | 15 A |
| 216 W | 18 A |
A load does not have to draw 20 A: the supply delivers only the current requested by the equipment, up to its nominal limit. For lower loads that do not require a fan, see the compact 12 V, 10 A, 120 W power supply.
Using a heated bed
Before installation in a printer, add the nominal bed and hotend loads to the controller, motors, fans and accessories. The heated bed is normally the largest load. If the controller cannot switch its current directly, a 12/24 V external heated-bed MOSFET module can be used while still sizing the supply, wires, connectors and fuses correctly.
The MOSFET does not increase available power; it only switches the load through a separate stage. Keep thermal protection enabled and ensure that a control fault cannot leave a heater powered without supervision.
Electrical connection
- Select the input: set the selector to 220/230 V before connecting to a 230 V, 50 Hz supply.
- Connect mains: live to
L, neutral toNand protective earth to the earth terminal. Bond the metal enclosure correctly to protective earth. - Connect the load: positive to
V+and negative toV-, observing polarity and distributing current through suitable conductors and terminals. - Measure before use: check output voltage and polarity with a multimeter before connecting a controller or heater.
V ADJ is for fine correction around 12 V and must not be used to power devices intended for a different nominal voltage. A 12 V supply is not compatible with heaters, fans or controllers designed exclusively for 24 V.
Mounting and ventilation
- Keep the fan intake, exhaust and every enclosure slot unobstructed.
- Do not install near water, conductive dust, swarf, flammable material or heat sources.
- The transparent terminal cover is supplementary protection and does not replace the final equipment enclosure.
- For short internal machine runs, 2.5 mm² is a suitable starting point for output circuits up to 20 A; check length, voltage drop, temperature, bundling and local requirements.
- Do not open the enclosure or handle internal parts. Disconnect mains and verify the absence of voltage before working on terminals.
An IEC inlet with switch and a Schuko to IEC C13 lead can provide a detachable input when combined with the correct protection and wiring.
Firmware
There is no power-supply-specific Marlin, Klipper or RepRapFirmware setting. Configure and retain hotend and heated-bed thermal protection, and run PID autotune if the supply change alters heater response. Physically verify the nominal voltage of every component before applying power.