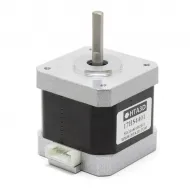


- Stock: 5
- Model: PSU-12v40A500W
Model:

12V 5A 60W

12V 10A 120W

12V 15A 180W

12V 20A 250W Fan

12V 33A 400W

12V 40A - 500W

24V 10A 240W

24V 15A 360W

24V 20A 500W

24V 25A 600W

24V 33A 800W

36V 10A 360W

48V 10A 500W
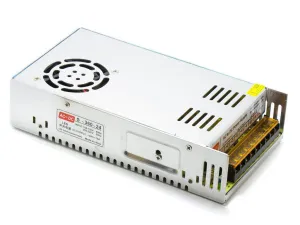
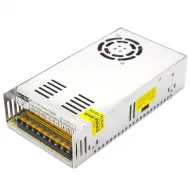
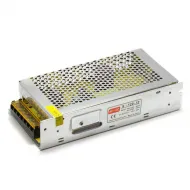
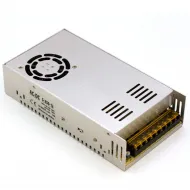
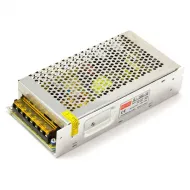
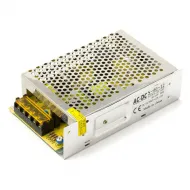
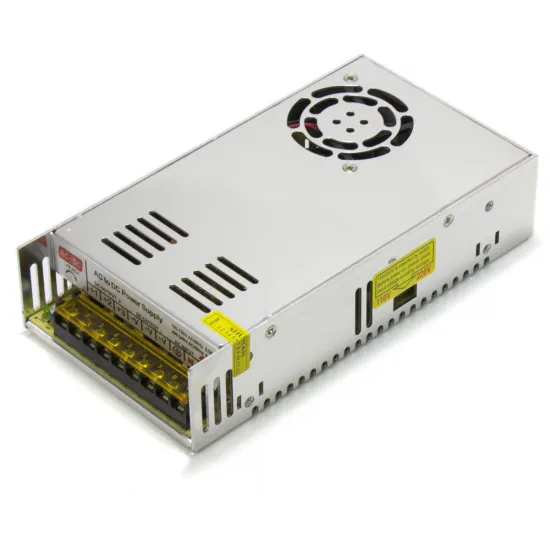
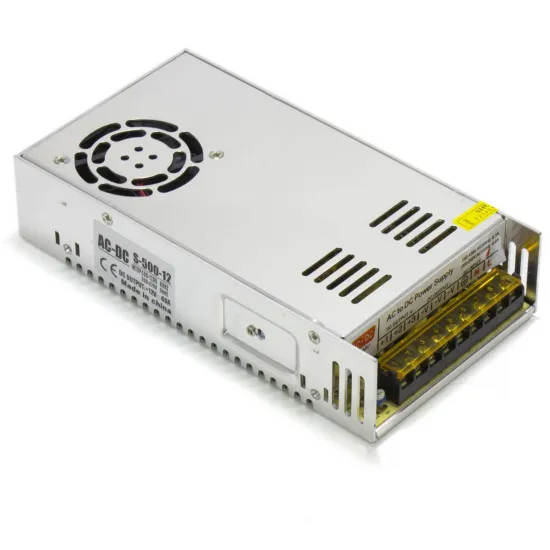
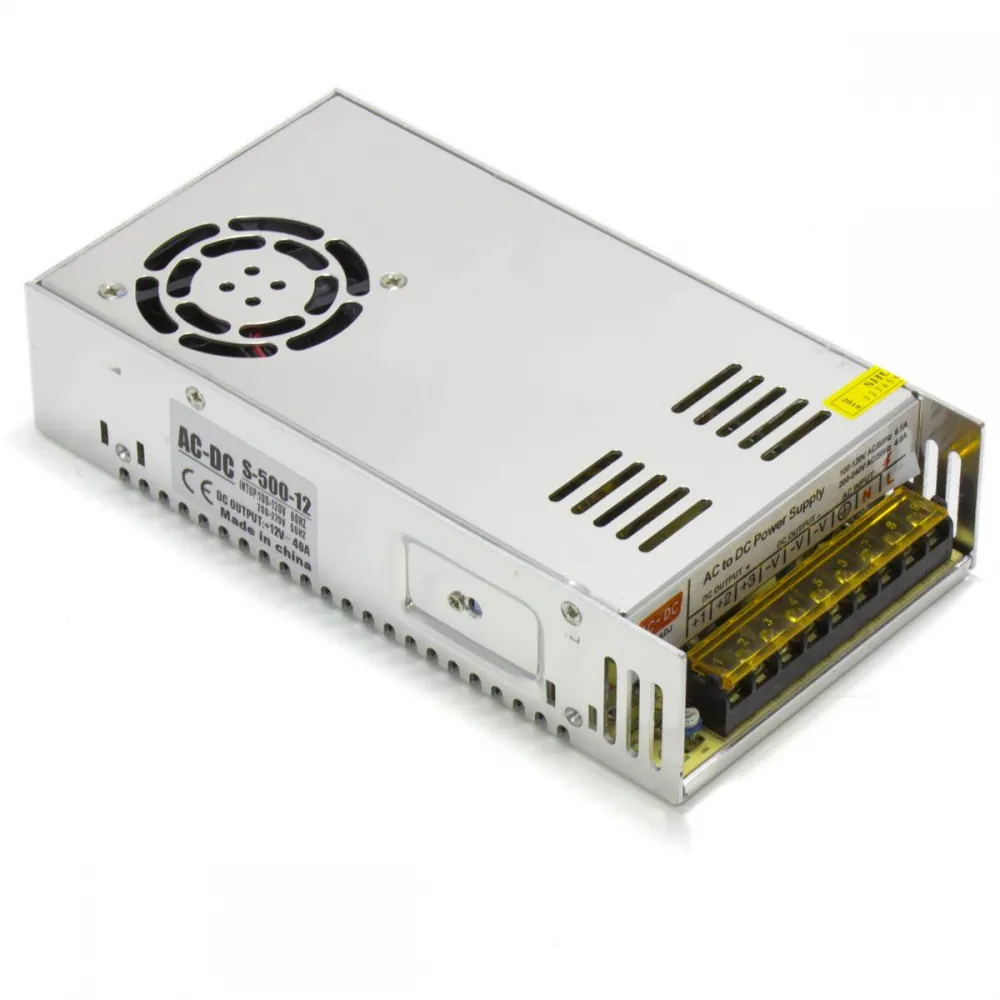
S-500-12 switching power supply rated at 12 V and 40 A, with active cooling and a ventilated metal enclosure. It is intended for 12 V 3D printers, CNC machines and other systems whose electrical demand has been calculated in advance.
The reference is sold within the 500 W family, but its marked output is 12 V and 40 A, giving a calculated electrical output of 480 W. Peak demand, temperature, cooling and an appropriate margin must also be considered when designing an installation.
Confirmed specifications
| Feature | Value |
|---|---|
| Marked model | S-500-12 |
| Nominal output | 12 V DC |
| Stated maximum current | 40 A |
| Calculated power at 12 V | 480 W |
| Commercial designation | 500 W format or family |
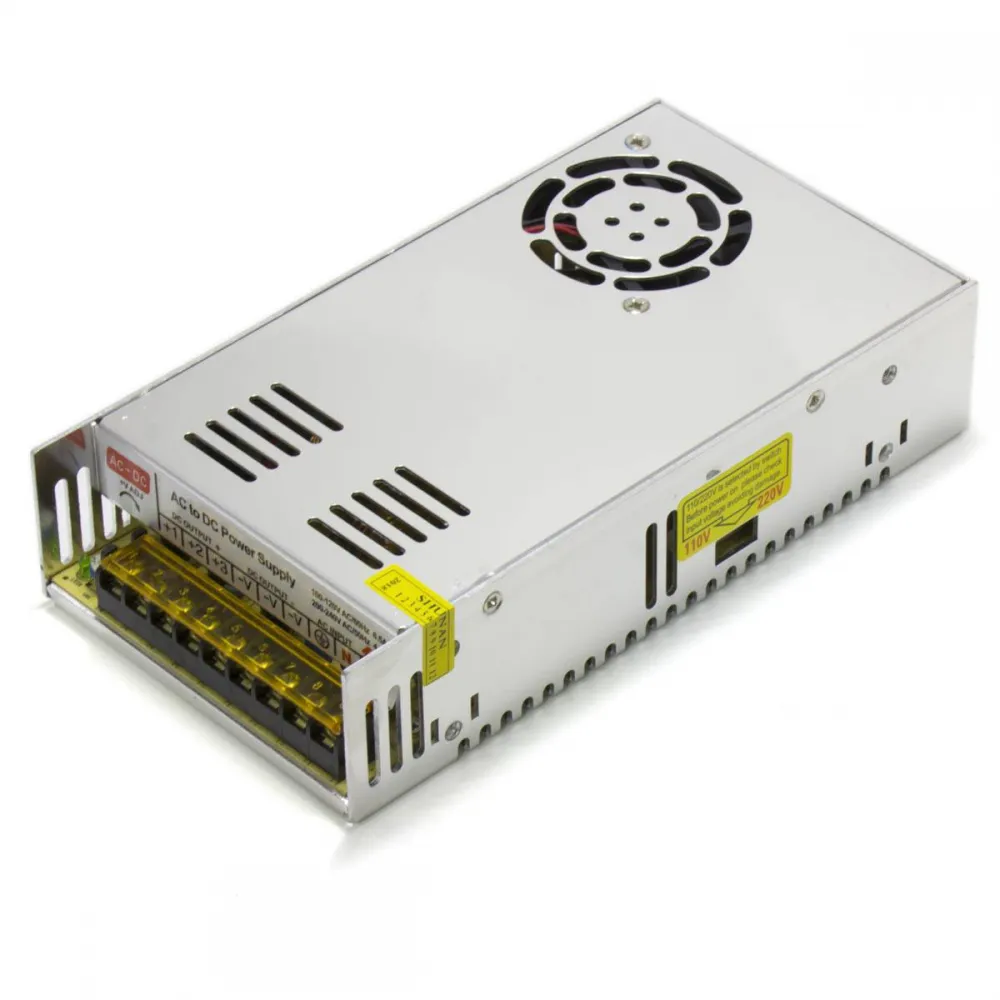
| Input selection | Manual 110/220 V selector; check before connection |
| Cooling | Integrated fan and perforated enclosure |
| Adjustment | V ADJ fine adjustment; use only with a multimeter |
Declared protection functions include short circuit, overload, overvoltage and overtemperature protection, together with an EMI filter. These functions do not replace a fuse, protective earth, a suitable enclosure or correctly sized wiring.
Terminals and connections
| Marking | Function |
|---|---|
| L | AC line input |
| N | AC neutral input |
| Earth symbol | Protective earth and enclosure bonding |
| -V | 12 V output negative; repeated parallel terminals |
| +V | 12 V output positive; repeated parallel terminals |
| V ADJ | Fine voltage adjustment; do not alter without measuring the output |
The multiple +V and -V terminals make wiring distribution easier, but they belong to the same output and are not independent channels. Always follow the markings on the supplied unit rather than inferring a connection from screw position alone.
Power-supply sizing
Add the maximum demand of the heated bed, heater cartridges, motors, controller, fans, lighting and accessories. Include components that may operate simultaneously and allow for peaks, temperature and ageing.
A conservative continuous-load design target is approximately 80% of the stated capacity: around 32 A or 384 W. This margin is a sizing recommendation, not a revised nominal rating or a guarantee under every installation temperature.
- Power of a resistive load: P = V × I.
- Approximate current at 12 V: I = P / 12.
- An external MOSFET moves load switching away from the controller but does not reduce the power demanded from the supply.
- If calculated demand is close to the limit, choose a larger margin or divide the system with appropriate protection.
For a fuller calculation, see our guide on choosing a power supply for a 3D printer.
Compatibility
It can be used in RepRap, P3Steel, 3DSteel, CNC and custom systems configured entirely for 12 V, provided the combined load, peaks and wiring are compatible.
It is not a direct replacement for 24 V systems such as most Creality Ender 3, Prusa MK3/MK4 and typical Voron configurations. Similar connectors or wattage do not make different voltages compatible. It must not be used as a battery charger or laboratory power supply.
Safe installation
- Before connecting it in Spain or another 220-240 V region, set and verify the selector at the position marked for 220/230 V. An incorrect selection may damage the supply and create a hazard.
- Install the unit inside an enclosure or compartment that prevents access to mains voltage without blocking the fan or ventilation slots.
- Connect line to L, neutral to N and protective earth to its marked terminal. The metal enclosure must be bonded to protective earth.
- Use a suitable fuse and switch, strain relief, terminal cover and physical separation between AC and DC wiring.
- Size conductors and terminals for actual current, length and temperature. Protect individual output branches where appropriate.
- Check polarity, terminal tightness and stray copper strands. Measure the output with a multimeter before connecting the controller, heaters or accessories.
- Do not confuse -V with protective earth and do not adjust V ADJ without monitoring the resulting voltage.
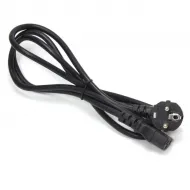
A protected mains inlet can be assembled with the IEC C14 inlet with switch and fuse holder and the Schuko to IEC C13 power cable, provided the assembly, fuse and connections are correctly rated. The M4 ring terminal should only be used when screw size, conductor section and connection function all match.
Cooling and maintenance
- Do not cover the supply or install it next to a heated bed, chamber heater or another intense heat source.
- Keep the fan inlet and exhaust path clear.
- Avoid moisture, liquids, conductive dust and metal swarf.
- With the supply disconnected, periodically inspect the fan, dirt, discolouration, odour, unusual noise and terminal tightness.
- Do not insert tools or open the supply: capacitors may retain energy after disconnection.
Other 12 V power ratings
For lower-demand equipment, the 12 V 10 A supply, 12 V 20 A fan-cooled supply or 12 V 33 A supply may be more appropriate. Select by measured or calculated demand and margin rather than size or price alone.
This is for you if
- Your machine operates entirely at 12 V and requires a high-current supply.
- You can calculate maximum demand and provide an enclosed, ventilated, protected and earthed installation.
- You need several connection points to distribute 12 V loads correctly.
This is not for you if
- Your printer, bed, controller or heaters operate at 24 V.
- You require a sealed supply, silent fanless operation or a unit that may remain accessible without an enclosure.
- You do not have the knowledge or qualified assistance required for mains-voltage work.