

- Stock: 6
- Model: U2C-BTT

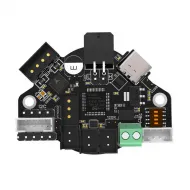
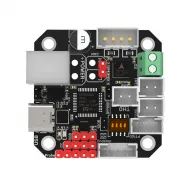
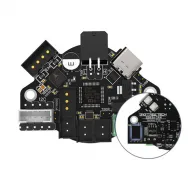
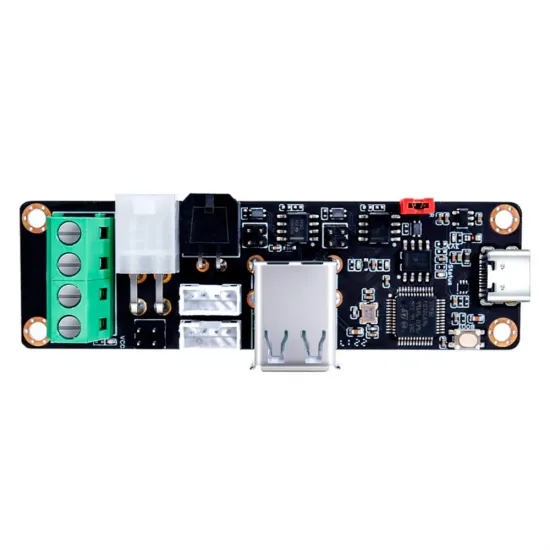
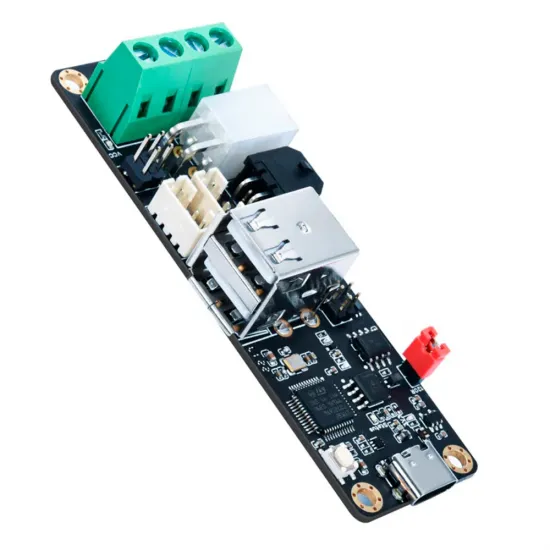
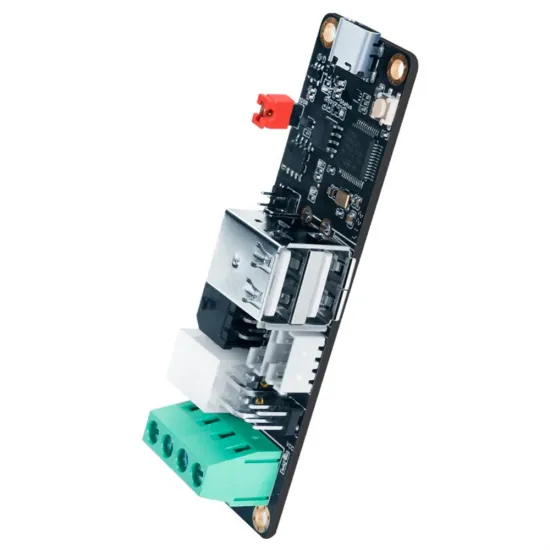
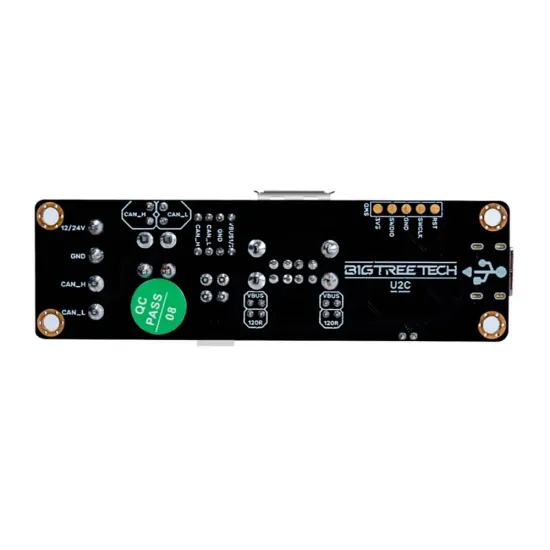
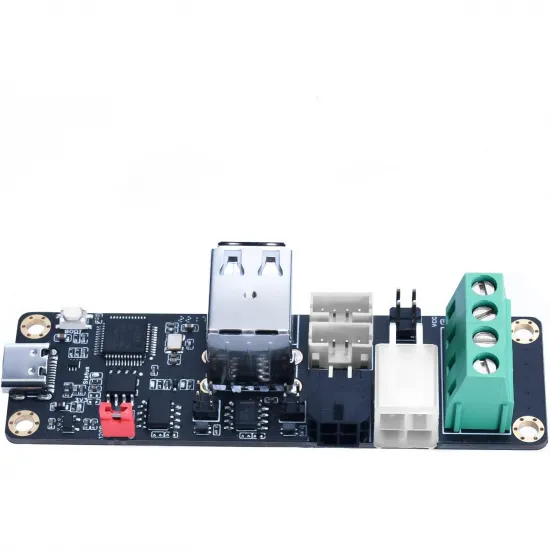
The BIGTREETECH U2C V2.1 is a USB-to-CAN interface designed to connect a Linux computer —such as a Raspberry Pi— to the CAN boards in a 3D printer. It is particularly useful in Klipper installations with toolhead boards because it creates a dedicated SocketCAN interface without using the main controller as a USB-to-CAN bridge.
This item is the V2.1 revision with an STM32G0B1 microcontroller. It must not be confused with STM32F072-based U2C V1.0/V1.1 boards: these revisions use different firmware, and their diagrams or images are not interchangeable.
Main features
- Purpose: USB-to-CAN conversion for a SocketCAN-compatible Linux host.
- Revision: BIGTREETECH U2C V2.1.
- Microcontroller: STM32G0B1C8 according to BIGTREETECH documentation.
- Firmware: BIGTREETECH's STM32G0 CandleLight adaptation.
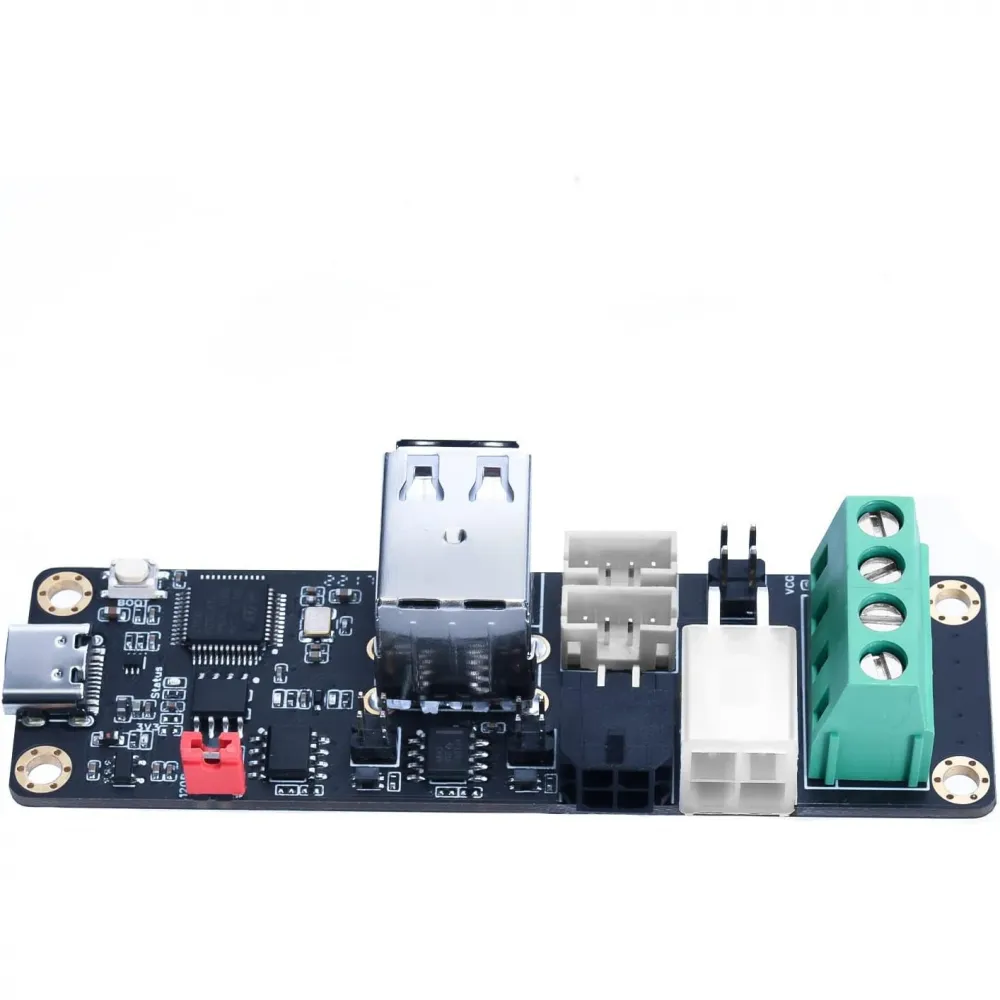
- Host interface: USB Type-C with ESD protection.
- Output: several connector formats providing access to the same CAN network.
- Termination: selectable 120-ohm resistor.
- Updates: SWD or hardware DFU mode.
- PCB: ENIG surface finish.
What the U2C does
When connected over USB-C, Linux can recognise the board as a CAN adapter through the gs_usb driver. The system normally creates a network interface called can0, which Klipper uses to communicate with the printer's CAN MCUs.
The U2C does not replace the main controller, drive motors or heaters, and it is not a toolhead board. Its role is to link the host to the bus. It is also not configured in printer.cfg as a conventional serial port: the connected boards —such as an EBB— are declared using their own canbus_uuid.
Connections: take care with CAN_OUT*
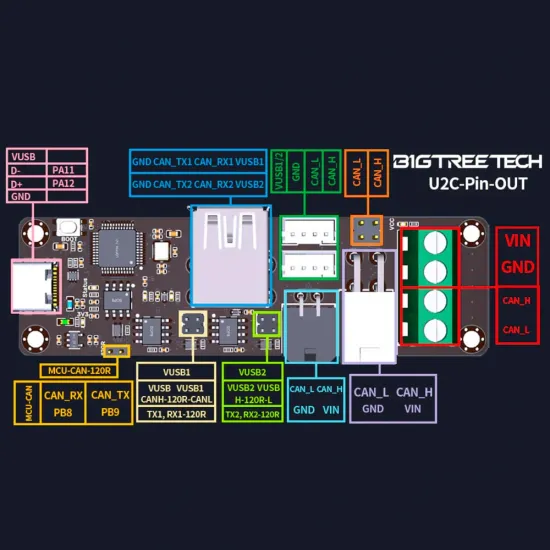
| Connection | Use | Precaution |
|---|---|---|
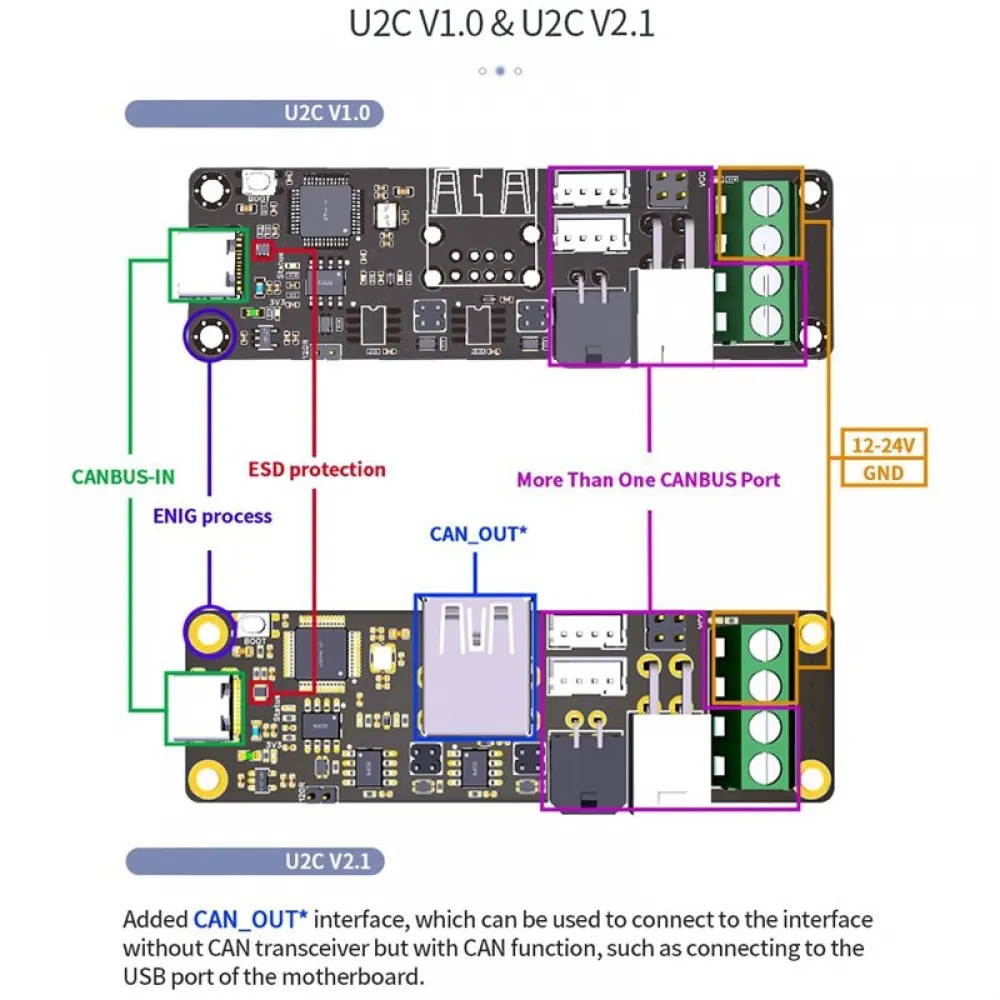
| CAN_IN / USB-C | Data connection to a Raspberry Pi or another Linux host. | Use a USB data cable, not a charge-only lead. |
| CAN_OUT | Connects toolboards or controllers that already include a CAN transceiver. | Always verify CAN-H, CAN-L, GND and supply at both ends. |
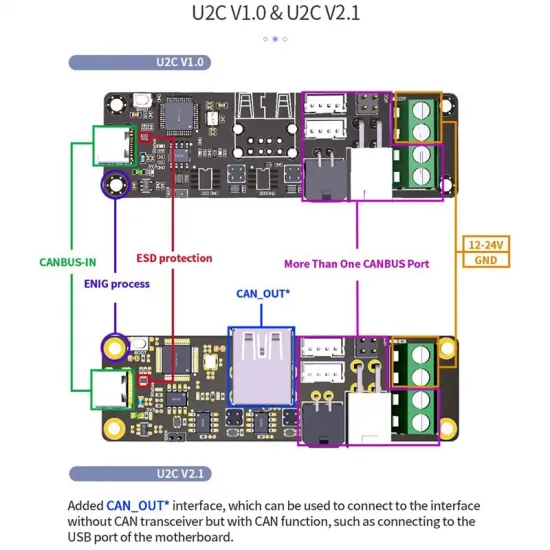
| CAN_OUT* | Special connection for a board without a transceiver whose MCU exposes compatible CAN signals. | Although it uses a USB-A connector, it is not a conventional USB port or hub. |
| 12/24V and GND | Distributes power to compatible CAN nodes. | Observe voltage and polarity; never infer pin order from wire colour. |
| 120R | Enables the built-in termination resistor. | Fit it only when the U2C is at one of the two physical ends of the bus. |
CAN_OUT*. Its USB-A shape does not imply standard USB signalling. Use it only with an explicitly documented board and wiring arrangement.
Correct CAN bus termination
A CAN network must have exactly two 120-ohm terminating resistors, ideally placed at its two physical ends. Fit the U2C jumper only when the adapter is one of those ends; leave it open if two other nodes already provide termination.
With the entire machine powered off, two 120-ohm terminators connected in parallel usually measure approximately 60 ohms between CAN-H and CAN-L. This is a useful check for missing or duplicated termination, but it does not replace verification of polarity, continuity, power and connectors.
- Run CAN-H and CAN-L as a twisted pair.
- Keep the CAN cable away from power conductors where practical.
- Avoid long stubs and improvised star topologies.
- Secure connectors and crimps, particularly on moving toolhead wiring.
- Use the same CAN bitrate on the host and every MCU on the network.
Linux and Klipper setup
BIGTREETECH documents the U2C at 500 kbit/s, while current general Klipper documentation shows a 1 Mbit/s example. Either speed can be valid in a system designed around it; the essential rule is that every node and the host must use exactly the same bitrate.
On an ifupdown-based system, an installation configured entirely for 500 kbit/s can start with:
allow-hotplug can0
iface can0 can static
    bitrate 500000
    up ip link set $IFACE txqueuelen 128
Some distributions use systemd-networkd, NetworkManager or another network manager, so the file and commands may differ. Do not copy this block if your system uses a different method. If you select 1 Mbit/s, change the host and build or configure every CAN MCU for 1000000.
Initial checks
- Switch off the printer power supply and disconnect USB.
- Verify voltage, GND, CAN-H and CAN-L at every end.
- Confirm that exactly two 120-ohm terminators are installed.
- Connect the U2C to the host with a USB-C data cable.
- Bring up
can0using the bitrate selected for the whole network. - Inspect state and counters with
ip -details -statistics link show can0. - Power the nodes and identify only new, unassigned MCUs.
Klipper documents the following command for querying new nodes:
~/klippy-env/bin/python ~/klipper/scripts/canbus_query.py can0canbus_query.py is not a general stability test. An MCU already identified and connected by Klipper may no longer appear, which is normal. When troubleshooting communication loss, first check power, termination, twisted-pair wiring, crimps, bitrate and error counters.
Once the toolboard identifier has been found, that MCU is added to Klipper using its actual UUID:
[mcu toolboard]
canbus_uuid: YOUR_ACTUAL_UUID
Updating U2C firmware
V2.1 uses BIGTREETECH's CandleLight firmware for the STM32G0B1. Do not flash the STM32F072 binary intended for V1.0/V1.1.
To enter DFU, BIGTREETECH instructs users to switch the module fully off, hold BOOT and connect USB-C. The correct firmware can then be programmed with STM32CubeProgrammer. A working unit does not need to be updated routinely unless a specific release or installation procedure requires it.
Board and machine compatibility
The U2C can be used with CAN toolboards that include a transceiver, such as the BIGTREETECH EBB36 GEN2 or BIGTREETECH EBB42 GEN2. It can also form part of systems such as the BIGTREETECH Hermit Crab V2 CAN, provided pinout, voltage, transceiver, firmware, bitrate and termination all match.
For hosts with an explicitly compatible SPI interface, the BIGTREETECH IO2CAN may be considered as an alternative. They are not universal substitutes: U2C uses USB at the host, whereas IO2CAN starts from a compatible SPI connection.
U2C boards are commonly found in Voron, RatRig, HPRO and other Klipper projects, but this is not a model-specific or mandatory component. Actual compatibility depends on the electrical and network architecture selected for each machine.
It is for you if
- You want to add a dedicated CAN interface to a Raspberry Pi or another Linux host.
- You use Klipper with one or more properly documented CAN boards.
- You prefer not to use the main controller as a USB-to-CAN bridge.
- You can verify pinout, power, bitrate and termination before switching on.
- You want a CandleLight and SocketCAN-based interface.
It is not for you if
- You need a USB hub or several electrically independent CAN channels.
- You need a plug-and-play installation for any printer model.
- Your controller has no CAN interface, transceiver or compatible adaptation.
- You cannot verify voltage and the order of CAN-H, CAN-L and GND.
- You want to copy a configuration without knowing the bitrate used by the other nodes.
Further information is available in the official BIGTREETECH U2C documentation and the general Klipper CANBUS documentation.