

- Stock: Out of Stock
- Model: BTT-Pi

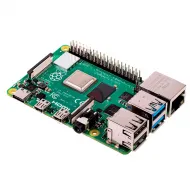
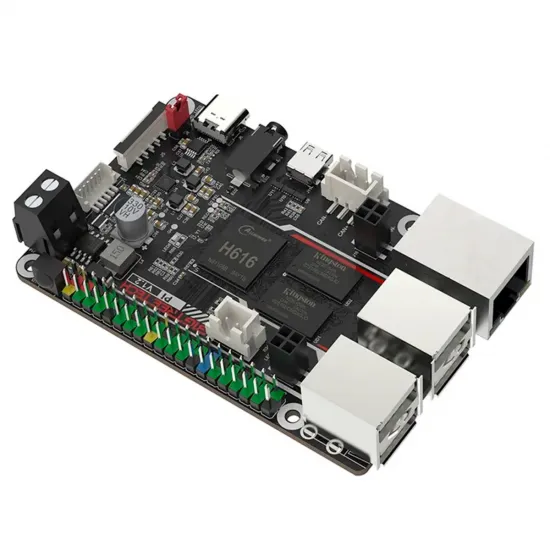
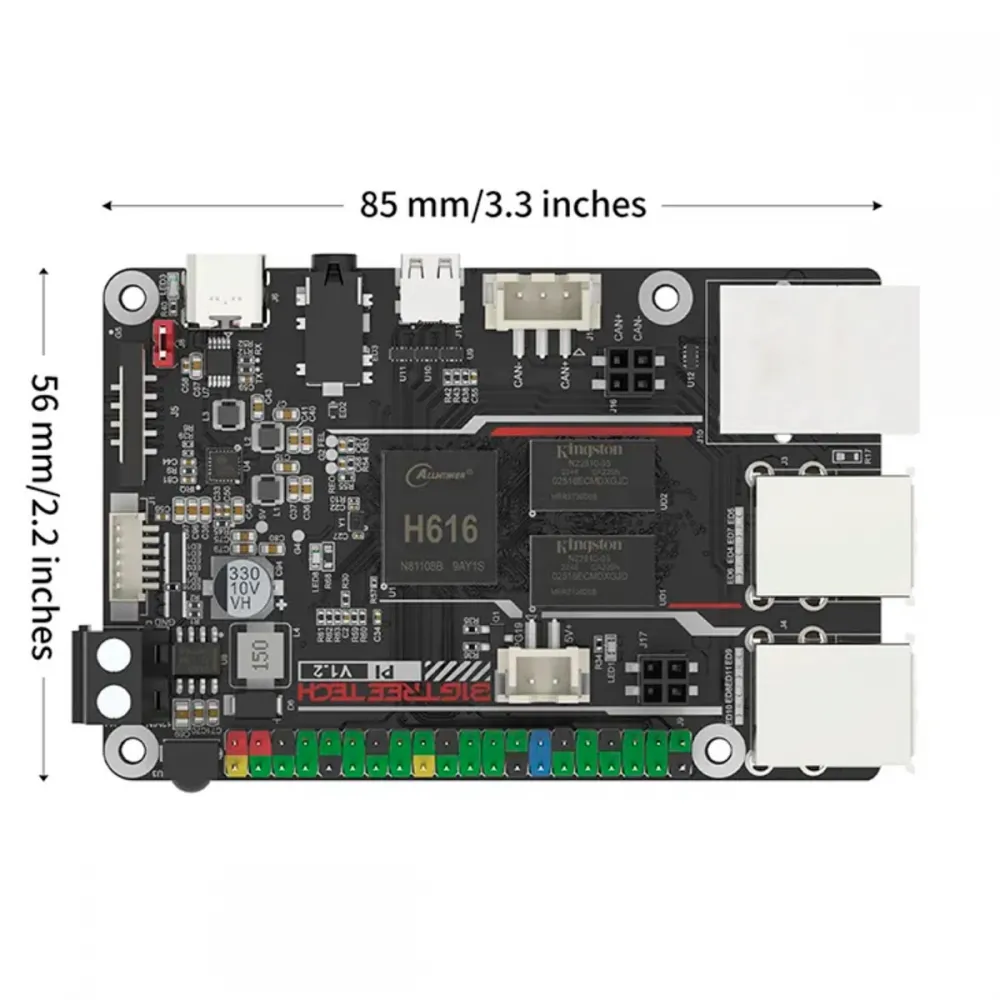
The BIGTREETECH Pi V1.2 is a compact computer intended to run Klipper and its control interface on a 3D printer. It features a quad-core Allwinner H616, 1 GB of RAM, 2.4 GHz Wi-Fi, USB, Ethernet and HDMI. A useful feature is the ability to power it directly from a 12 or 24 V DC printer supply, as well as from 5 V USB-C when the power-selection jumper is set correctly.
It is the printer's host computer: it runs Linux and communicates with the printer controller. It does not replace the electronics that drive motors or regulate heaters, and it does not by itself make a printer Klipper-ready.
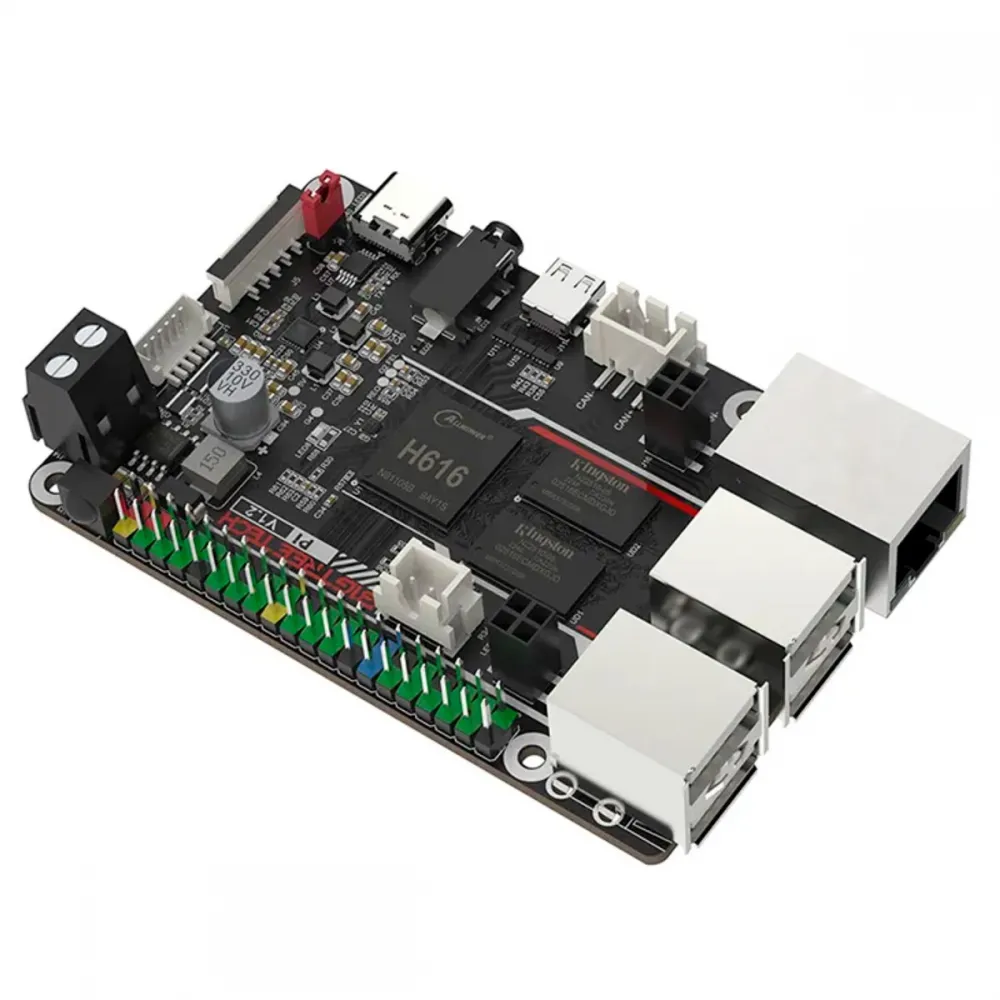
Features and connections
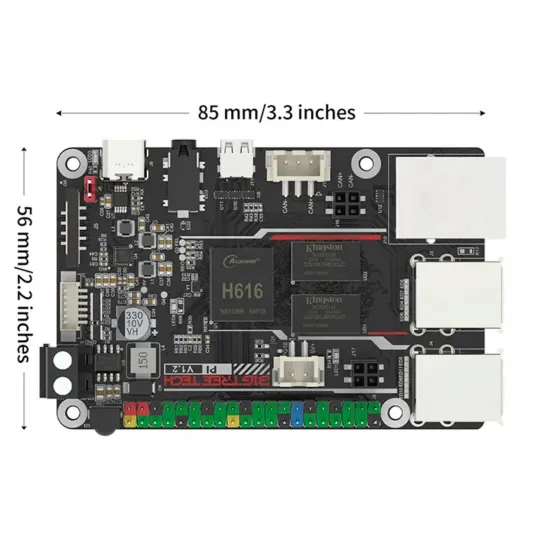
- Processor and memory: Allwinner H616 with four ARM Cortex-A53 cores at up to 1.5 GHz and 1 GB DDR3L RAM. The manufacturer manual specifies a Mali G31 MP2 GPU.
- Networking: 10/100 Ethernet and integrated 2.4 GHz 802.11 b/g/n Wi-Fi. Do not assume it can connect to a 5 GHz-only network.
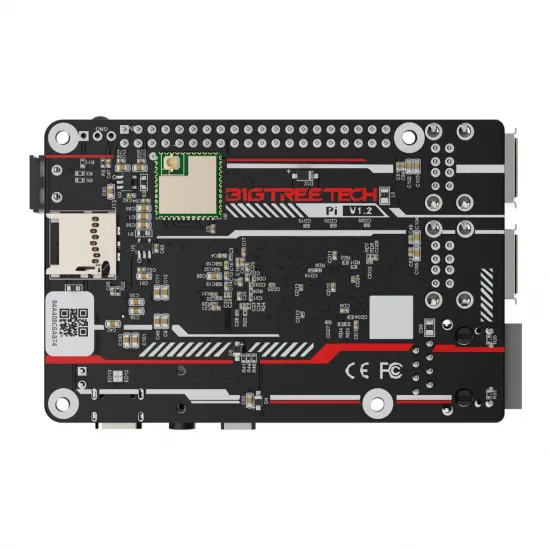
- Peripherals: four USB 2.0 connections, HDMI, 3.5 mm audio output, microSD slot and a 40-pin GPIO header. There are also dedicated connections for an SPI display, ADXL345 accelerometer and fan, among others.
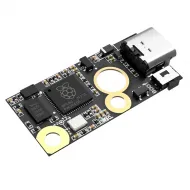
- CAN: there is a connection for a compatible USB-to-CAN module, not a complete onboard CAN adapter. The module is separate and uses the board's internal USB2 port, which is then unavailable to another device.
- Dimensions: 85 × 56 mm, with mounting holes positioned like those of a Raspberry Pi Model B; the manual gives 64 × 49.4 mm spacing. Check connector and heatsink height and enclosure clearance before reusing a mount.
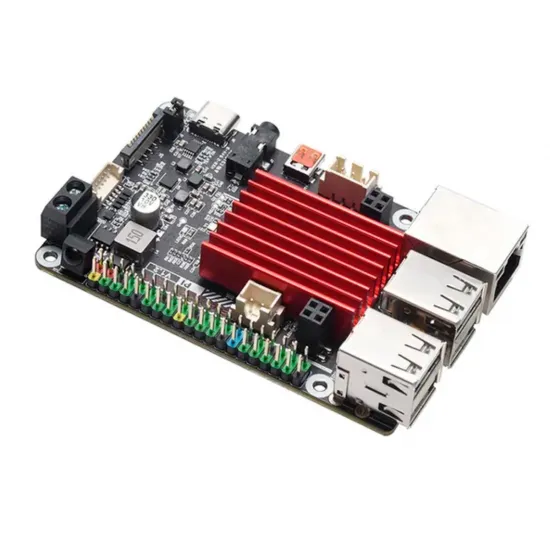
The red heatsink shown installed in the gallery is included. When fitting it, check for good thermal contact and clearance around the enclosure and connectors. Provide suitable ventilation if the board runs in an enclosed space or under sustained load; a heatsink alone does not guarantee a particular operating temperature.
Power: jumper J8 matters
Choose one power method and prepare the board before switching it on:
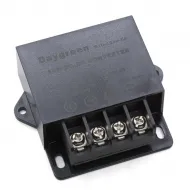
- From the printer: connect 12–24 V DC to the marked power terminal with the correct polarity. The manual states that J8 must be removed when using this input.
- Via USB-C: use a 5 V ±5 % supply capable of providing 2 A and fit jumper J8 as shown by the manufacturer.
Never feed 12/24 V into USB-C or GPIO, and do not combine the two inputs without a specifically verified installation. Disconnect power before changing wiring or jumpers. If adding cooling, check the fan connector's voltage and pinout; the manufacturer warns that the board can become hot under sustained load.
Getting started with Klipper
- Prepare a microSD card. Download a BIGTREETECH Pi V1.2-compatible system image from the official CB1/BTT Pi releases. The manufacturer points to the normal CB1 image procedure. Writing an image erases the selected card; do not directly use Raspberry Pi OS or a CB2/Pi 2 image.
- Set up networking for your image version. Ethernet is usually a straightforward starting point. For Wi-Fi, follow the configuration files specified for the particular release you downloaded; filenames and default credentials may change. Change any default passwords after first login.
- Connect the printer controller. Link the BTT Pi to a Klipper-capable controller board, usually by USB when both devices support it. Compile and flash MCU firmware for that exact board and revision, then configure its motors, endstops, sensors and heaters in
printer.cfg. The Manta M4P example in the manual is not a universal printer configuration. - Add accessories only after checking the connections. For an SPI ADXL345, SPI display, GPIO or CAN module, consult the BTT Pi pinout and corresponding OS settings. A 40-pin header physically resembling a Raspberry Pi header does not guarantee identical signals, numbering or overlays.
Compatibility and choosing the right board
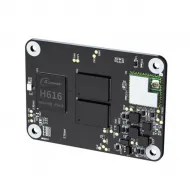
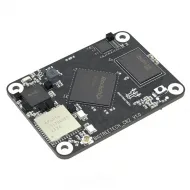
It can work as a Klipper host for printers with a suitable controller and 12 or 24 V supply, provided mounting, communication and machine configuration are addressed. It does not plug into a Manta board's module socket: that format is served by modules such as the BIGTREETECH CB2, which uses a different OS image. The BTT Pi V1.2 is a standalone computer, whereas the CB2 requires a carrier such as the Manta M8P V2.0.
Choose it if you want a standalone Klipper host with Ethernet, Wi-Fi and 12/24 V power, and you plan to configure it for your actual printer electronics. It is not for you if you require Raspberry Pi-identical software and GPIO, a Manta BTB module, or a board that directly controls motors and heaters.
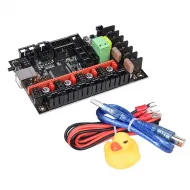
This listing refers to the V1.2 revision shown in the photos and includes the red heatsink. Other accessories such as a microSD card, accelerometer, CAN module, fan or power supply are not confirmed as part of this listing.