- Stock: 100
- Model: CamaCaliente-sujecion
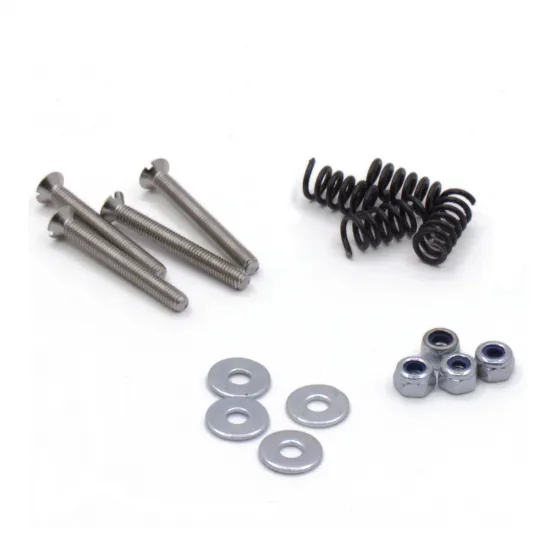
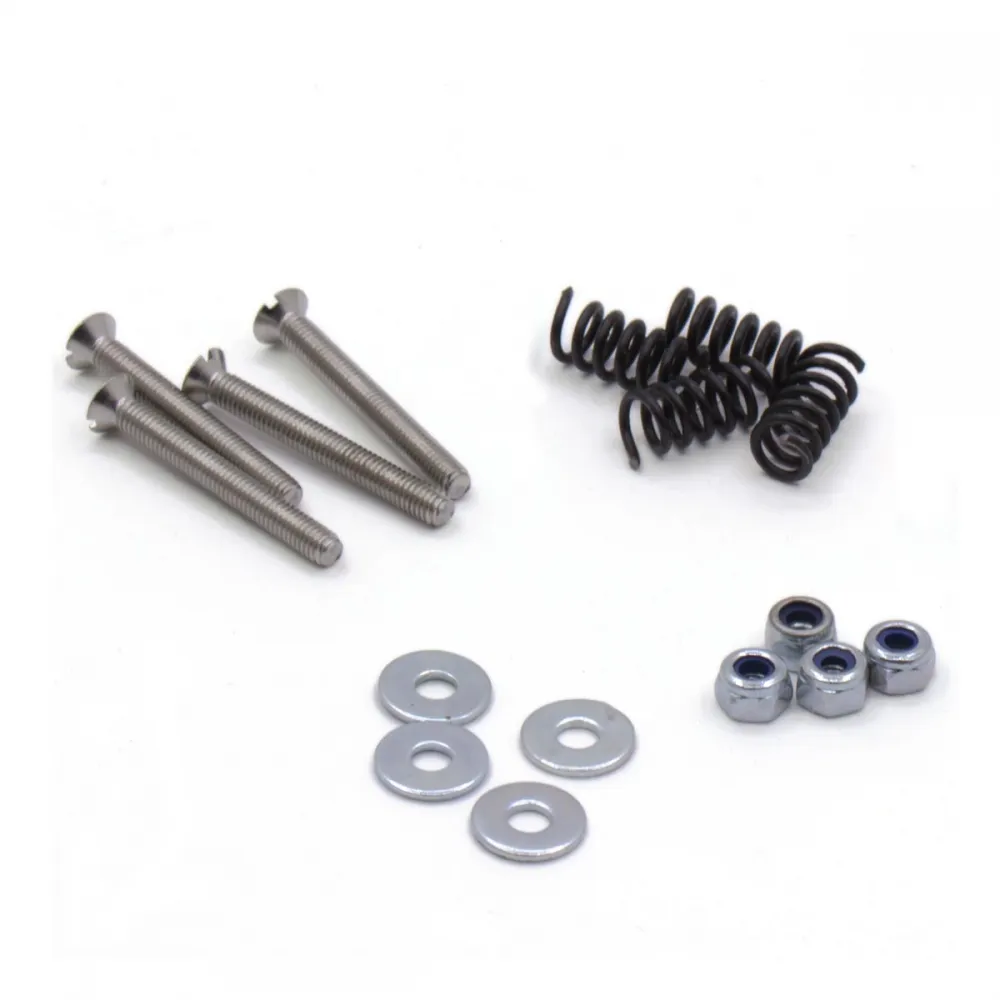
Hardware kit for mounting and levelling a 3D-printer heated bed with four countersunk holes. It includes M3 screws, compression springs, wide washers and self-locking nuts to create four adjustable mounting points.
The springs allow the distance between the heated bed and Y carriage to be adjusted through each screw. This provides an initial mechanical adjustment before manual levelling or generating a software compensation mesh.
Kit contents
- 4 × M3 × 25mm countersunk screws.
- 4 × M3 self-locking nuts.
- 4 × M3 DIN 9021 wide washers.
- 4 × 10mm compression springs.
Compatibility
Suitable for heated beds, aluminium plates and build platforms with four countersunk holes designed for M3 screws. Before installation, check:
- The thread size and position of all four holes.
- The countersink diameter and depth.
- The combined thickness of the bed, carriage, washers and springs.
- That the M3 × 25mm screws provide enough adjustment without protruding into moving components.
- That heated-bed terminals and solder joints cannot touch a metal carriage.
This is not a direct mounting kit for nine-point MK52 heated beds or systems using M4 screws, rigid spacers or a different mounting pattern.
Manual adjustment
The self-locking nuts help retain the setting but require a tool. For easier manual adjustment, consider the M3 manual adjustment nuts, provided that sufficient clearance is available beneath the carriage.
Alternative to springs
For a less elastic installation, the springs may be replaced by 18mm silicone heated-bed spacers. This changes the bed height and required screw length, so the complete assembly must be measured first.
Installation recommendations
- Begin with a similar amount of compression at all four mounting points.
- Do not fully compress the springs, as this removes their adjustment range.
- Tighten progressively and make sure the build plate is not distorted.
- Check electrical insulation between the heated bed and carriage.
- Repeat bed levelling, Z-offset and first-layer calibration after installation.