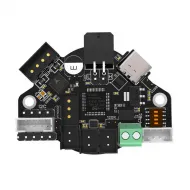


- Stock: 12
- Model: S2DW

Type:

S2DW

ADXL345
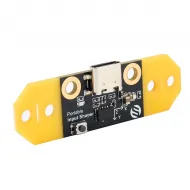
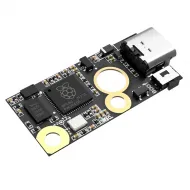
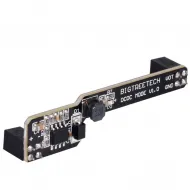
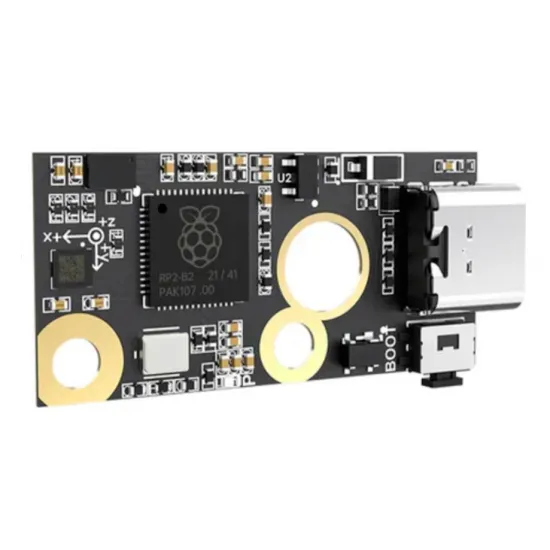
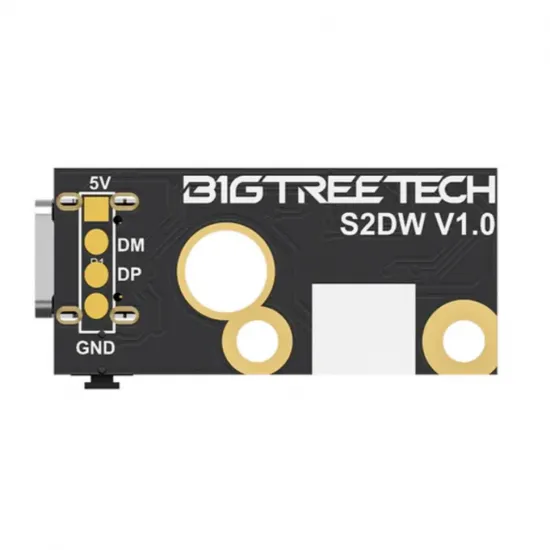
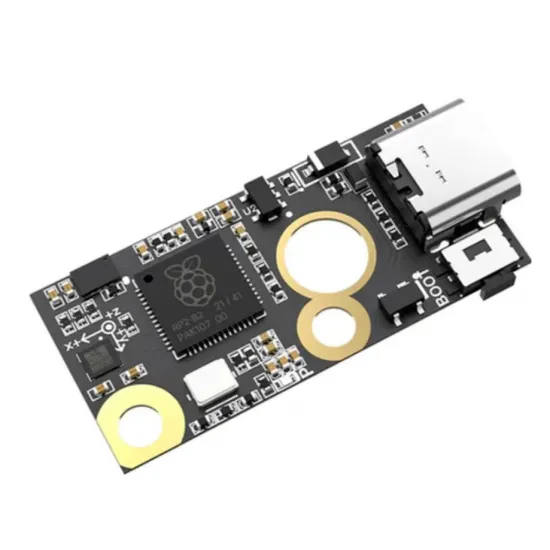
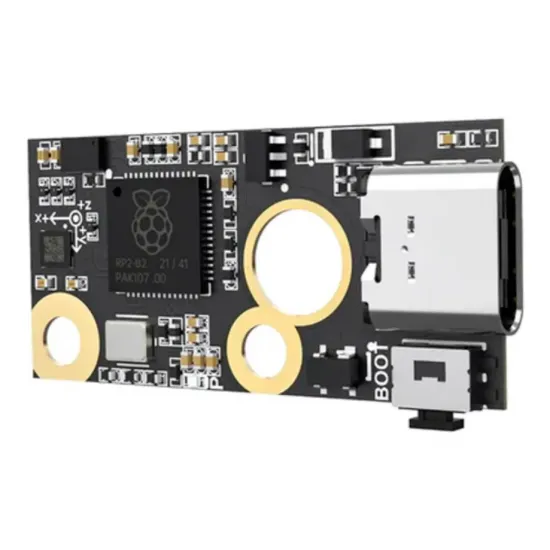
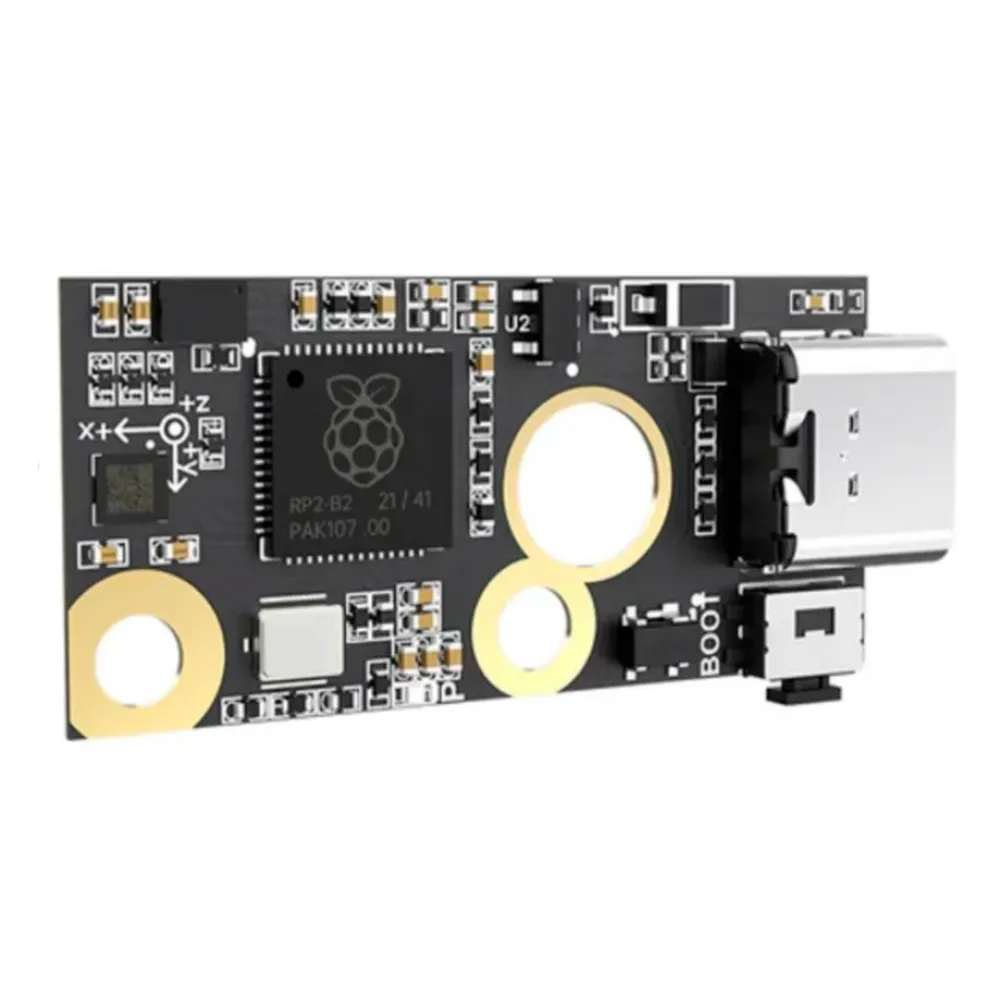
The BIGTREETECH S2DW V1.0 is a USB accelerometer designed to measure a 3D printer's resonances and calibrate Input Shaper in Klipper. It combines a LIS2DW sensor with its own RP2040 microcontroller, allowing a direct USB-C connection to the host without routing a long SPI cable to the printer controller.
The module measures the structure's response to motion; Klipper then analyses the data and proposes compensation to reduce visible resonance effects. It does not replace checking belts, pulleys, bearings, fasteners, guides or frame rigidity: useful measurement always starts with sound mechanics.
What the S2DW offers
- USB connection: the RP2040 operates as a secondary Klipper MCU and sends measurements to the host.
- LIS2DW sensor: three-axis accelerometer with a published 1.6 to 1600 Hz output data rate.
- Simplified wiring: it does not occupy the printer controller's SPI interface.
- Reusable tool: it can be fitted for calibration, removed and used on another machine.
- DFU updating: a BOOT button provides access for loading RP2040 Klipper firmware.
- USB protection: BIGTREETECH adds ESD protection.
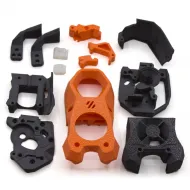
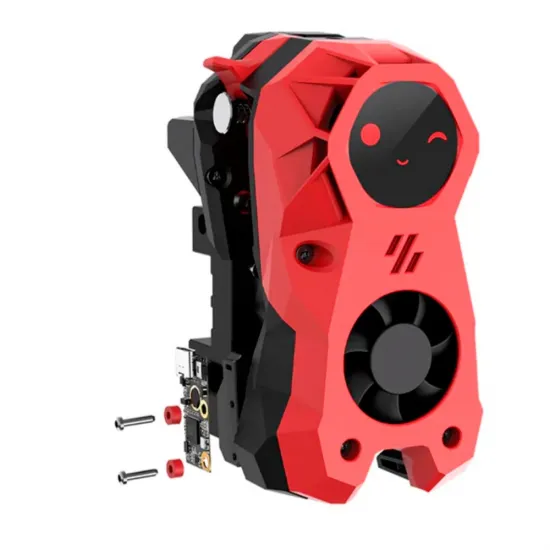
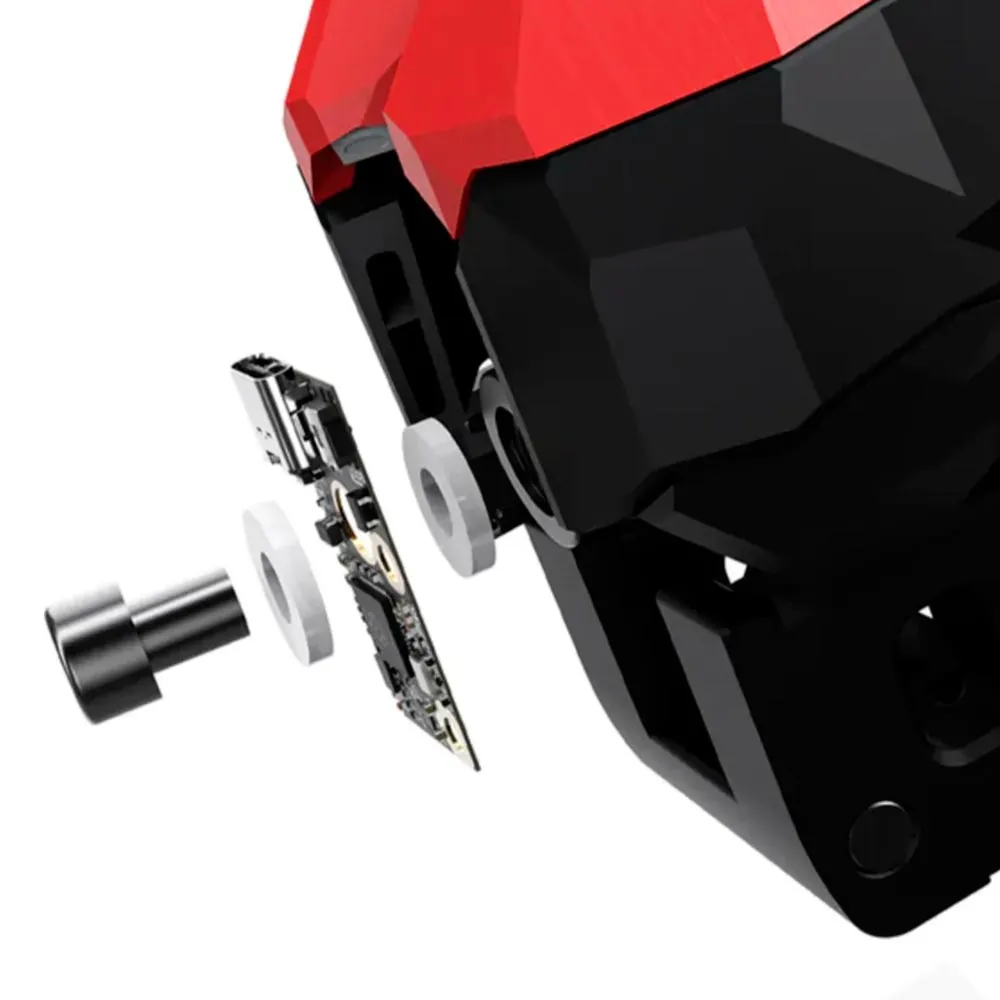
- Flexible mounting: several holes and accessories support StealthBurner or temporary near-nozzle mounting.
Technical specifications
| Feature | Specification |
|---|---|
| Model | BIGTREETECH S2DW V1.0 |
| Microcontroller | RP2040, dual ARM Cortex-M0+ at 133 MHz |
| Accelerometer | LIS2DW, three axes |
| Sensor-to-RP2040 communication | Four-wire SPI |
| Host connection | USB 2.0 through USB-C |
| Power | 5 V DC over USB; 3.3 V internal logic |
| Published output data rate | 1.6-1600 Hz |
| Published noise | As low as 1.3 mg RMS in low-power mode |
| Published sensor temperature range | -40 to +85 °C |
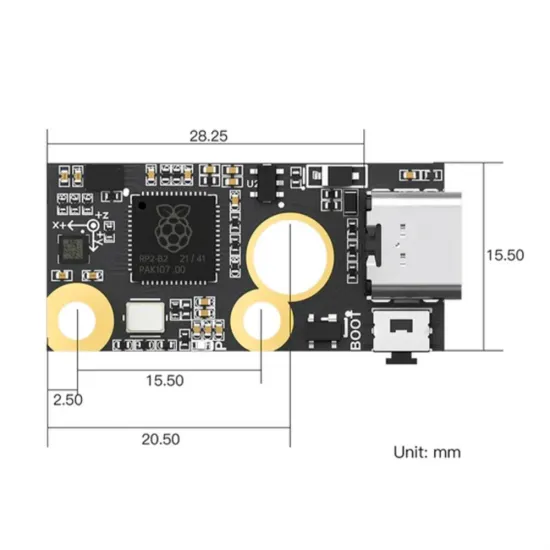
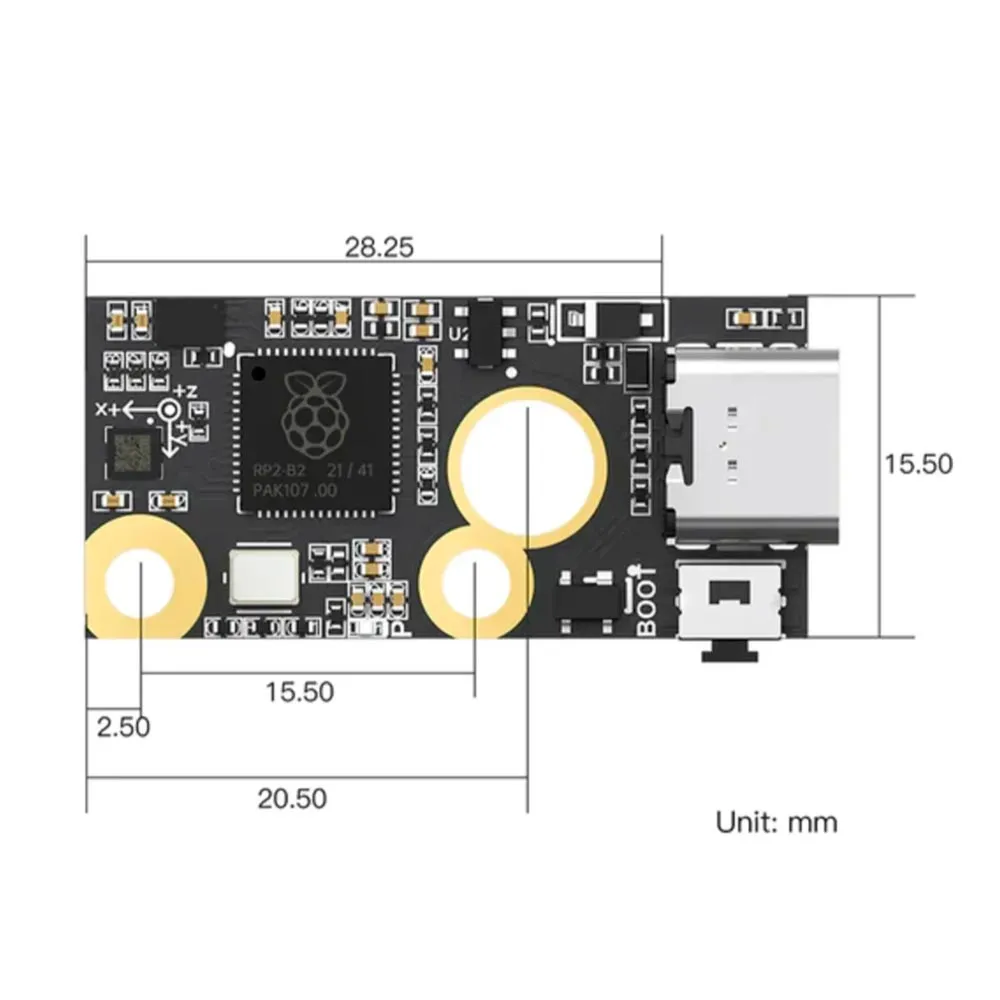
| PCB size | 28.25 × 15.5 mm |
| Approximate overall length | 33.25 mm including the USB-C connector |
| Declared firmware support | Klipper |
The 1.3 mg RMS figure applies to a low-power condition stated by BIGTREETECH. It is not guaranteed accuracy for every measurement: the mount, cable, orientation, temperature and mechanical condition affect the result.
Actual compatibility
It can be used with a Raspberry Pi, BTT Pi/CB1, MKS Pi or another Linux Klipper host when it has a working USB data port, recognises the RP2040 MCU and can run the analysis dependencies. Because it connects to the host, a BIGTREETECH controller board or dedicated accelerometer port is not required.
Compatibility is not automatic: RP2040 firmware must be prepared, its USB serial identified, the [lis2dw] section added, actual orientation defined and a reachable, safe test point selected.
BIGTREETECH documents this product for Klipper. It is not presented as a direct calibration tool for Marlin or RepRapFirmware.
Mounting for different kinematics
- CoreXY, Voron and machines with a stationary XY bed: one rigid toolhead mount can measure both X and Y.
- Cartesian bed-slingers: Klipper recommends measuring X with the sensor on the toolhead and Y with it attached to the bed. The same unit can be moved between tests.
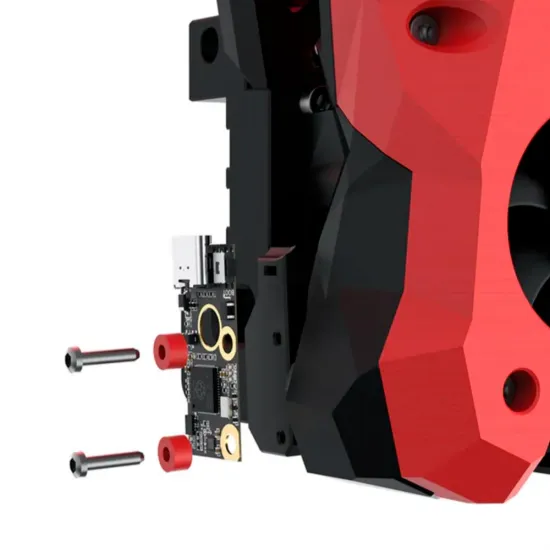
- Voron StealthBurner: BIGTREETECH documents side mounting through the two provided toolhead points.
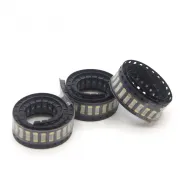
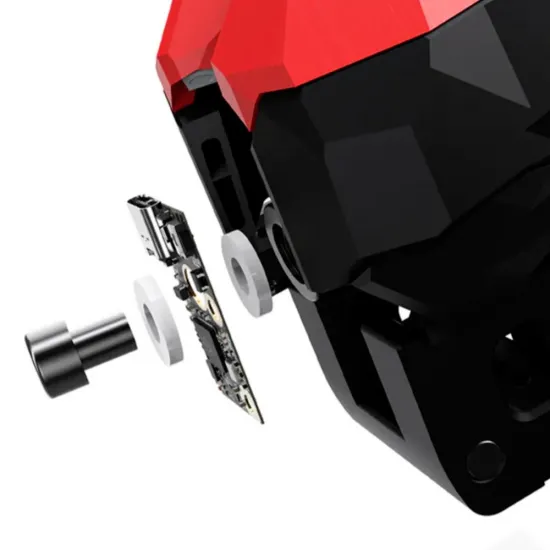
- Near the nozzle: it can be mounted temporarily with the supplied screw and rings, always with the hotend cold and unpowered.
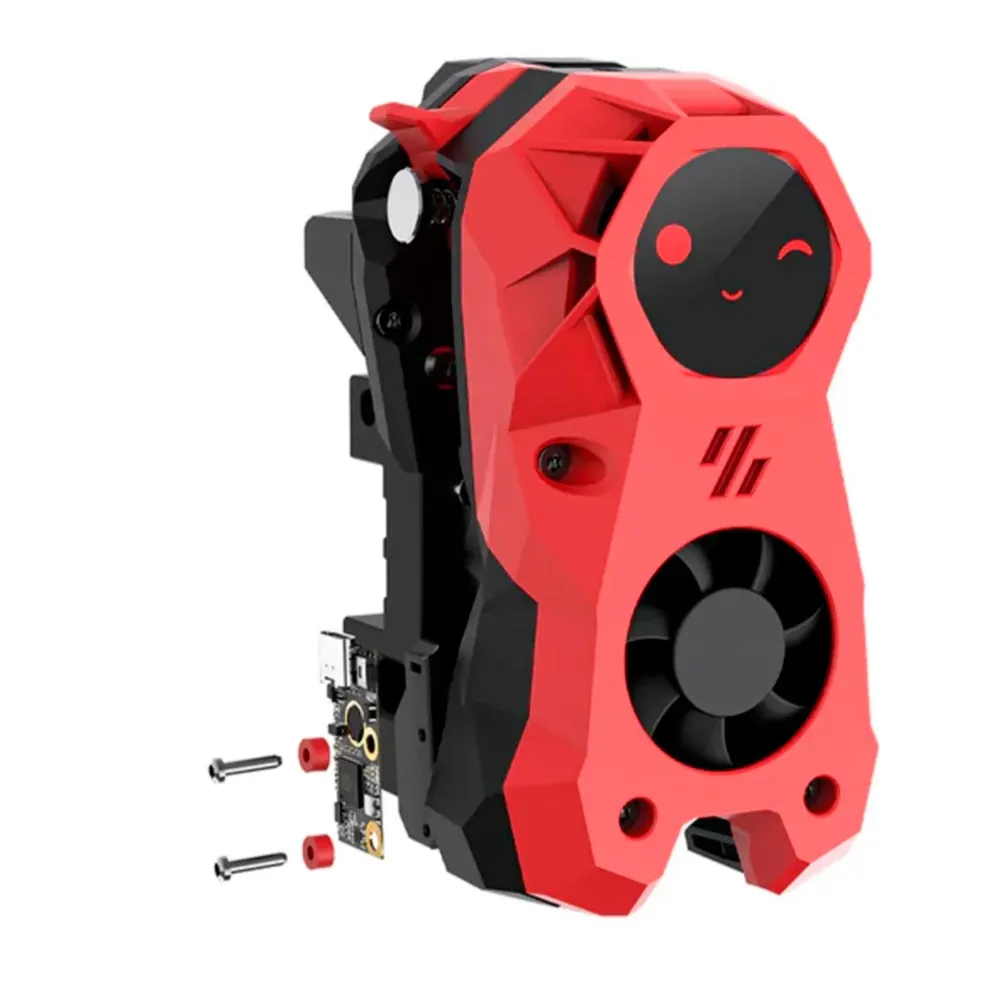
The module must be rigidly attached to the component being measured. A flexible bracket, loose screws, rings that allow movement or a USB cable pulling on the PCB can distort the result. Do not overtighten, and prevent the board or screws from making electrical contact with metal printer parts.
Building Klipper firmware for the RP2040
The official v1.02 manual, updated in May 2025, specifies the following make menuconfig basis:
- Enable extra low-level configuration options: enabled.
- Micro-controller Architecture: Raspberry Pi RP2040/RP235x.
- Processor model: rp2040.
- Bootloader offset: No bootloader.
- Flash chip: GENERIC_03H with CLKDIV 4.
- Communication Interface: USBserial.
cd ~/klipper
make clean
make menuconfig
make
Hold BOOT while connecting USB-C to enter DFU. Check the detected identifier first and use the actual value when flashing:
lsusb
cd ~/klipper
make flash FLASH_DEVICE=2e8a:0003
ls /dev/serial/by-id/*
2e8a:0003 is the common RP2040 DFU identifier shown in the manual. Replace it if lsusb reports another value. The path under /dev/serial/by-id/ persistently identifies your unit and is the one to use in the configuration.
Configuring the S2DW in Klipper
BIGTREETECH's current file uses software SPI between the RP2040 and LIS2DW. Create a separate file such as btt-s2dw.cfg and adapt the serial, orientation and test point:
[mcu btt_lis2dw]
serial: /dev/serial/by-id/ACTUAL_MODULE_USB_ID

[lis2dw]
cs_pin: btt_lis2dw:gpio9
spi_software_sclk_pin: btt_lis2dw:gpio10
spi_software_mosi_pin: btt_lis2dw:gpio11
spi_software_miso_pin: btt_lis2dw:gpio8
axes_map: -y,x,-z

[resonance_tester]
accel_chip: lis2dw
probe_points:
    100, 100, 20
Include the file from printer.cfg:
[include btt-s2dw.cfg]axes_map: -y,x,-z only matches the example orientation. It must describe which axes printed on the module follow the machine's X, Y and Z movements. 100, 100, 20 is also an example: the point must be within the real travel, slightly above a central area and clear of obstacles.If Klipper reports Section 'lis2dw' is not a valid config section, the installation lacks LIS2DW support. Update Klipper using the maintenance procedure for your image, and avoid combining modern configuration files with an old system without a backup.
Checking and calibrating Input Shaper
- First check belts, pulleys, bearings, guides, toolhead, bed and frame.
- Install the analysis dependencies specified by the current Klipper documentation if they are not part of your image.
- Restart Klipper and run
ACCELEROMETER_QUERY. It should return plausible values that vary when the sensor is moved gently. - Run
MEASURE_AXES_NOISE. If noise is abnormal, check the mount, power, USB and fans before continuing. - Supervise the first test and keep
M112available: the test produces intense movements and vibration. - Run
SHAPER_CALIBRATE AXIS=Xand thenSHAPER_CALIBRATE AXIS=Y. On a bed-slinger, move the module between the two tests. - Review the recommendations and run
SAVE_CONFIGwhen they are sensible. - Validate the result by printing and determine a safe maximum acceleration separately. Input Shaper does not set the machine's mechanical limits.
Calibration is not required before every print. Repeat the measurement after relevant mechanical changes such as changes to toolhead mass, belts, rigidity or kinematics, and check that no component was loosened by the test.
[include btt-s2dw.cfg] before restarting. Otherwise Klipper will wait for a disconnected USB MCU and will be unable to complete startup.S2DW V1.0 or ADXL345 V2.0
Both BIGTREETECH modules combine an RP2040, USB-C, BOOT button and ESD protection, and both can calibrate Input Shaper. The S2DW uses LIS2DW and the [lis2dw] section; the BIGTREETECH ADXL345 V2.0 uses ADXL345 and [adxl345].
BIGTREETECH publishes a 1.6-1600 Hz output rate and noise as low as 1.3 mg RMS in low-power mode for the S2DW. For the ADXL345 V2.0 it publishes 0.1-3200 Hz and up to 3.9 mg/LSB resolution. These figures describe different quantities and do not establish that either product is always more accurate or better. Choose according to support, configuration and availability, and do not interchange their files.
This is for you if
- You use Klipper and want to calibrate Input Shaper from a real measurement.
- You prefer connecting the accelerometer to the host over USB instead of routing a long SPI cable.
- You can secure it rigidly and adapt serial, orientation and coordinates.
- You want a compact tool that can be moved between printers.
This is not for you if
- You expect an automatic improvement without preparing firmware, mount and configuration.
- Your printer does not use Klipper or the host cannot recognise an RP2040 USB MCU.
- You cannot mount the sensor rigidly with electrical isolation.
- You expect software to compensate for backlash, loose belts or damaged parts.
Contents
- 1 × BIGTREETECH S2DW V1.0 module.
- Screw and silicone rings for the temporary mounting method shown by BIGTREETECH.
The USB-C cable is not included unless explicitly listed in the options. Use a reliable, flexible data cable that is long enough not to pull on the sensor during testing.
See the official BIGTREETECH LIS2DW/S2DW repository for the manual, drawing, STEP model and current configuration. Follow Klipper's official Measuring Resonances documentation for the test procedure.