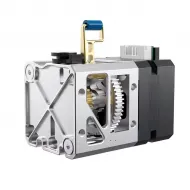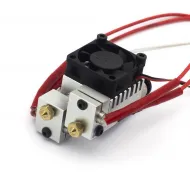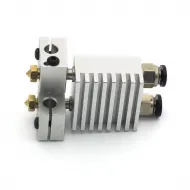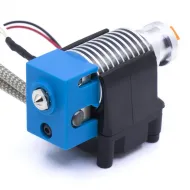


- Stock: 999
- Model: Hotend-V6-1.75-PT100Termistor

Model:

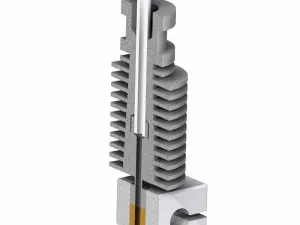
Classic V6

V6 encapsulated thermitor

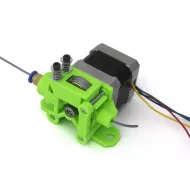
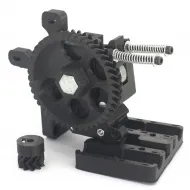
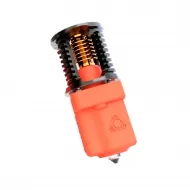
Compact V6 TOP components
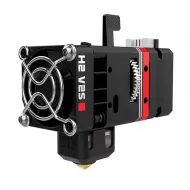
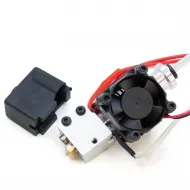
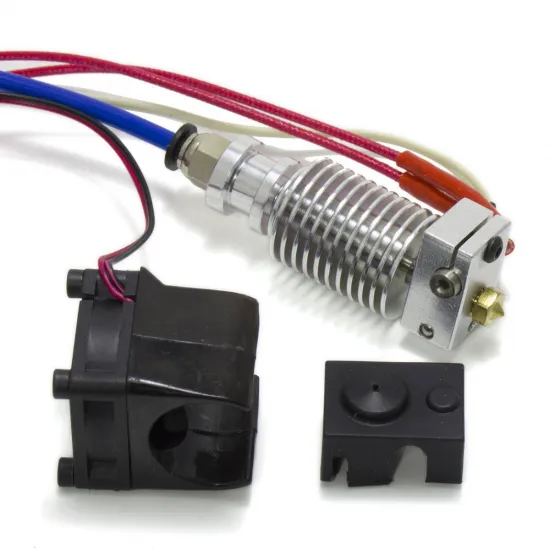
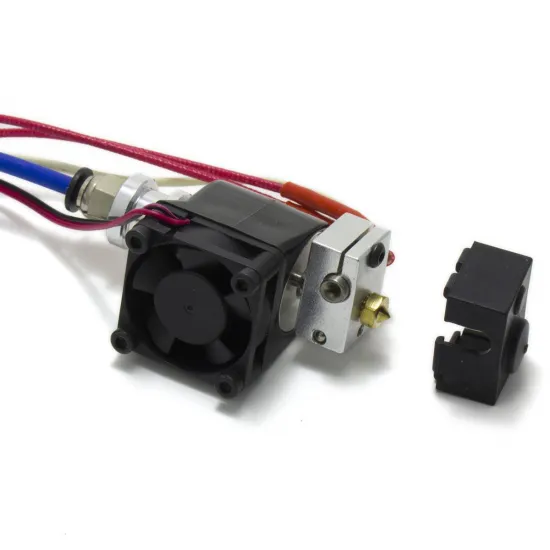
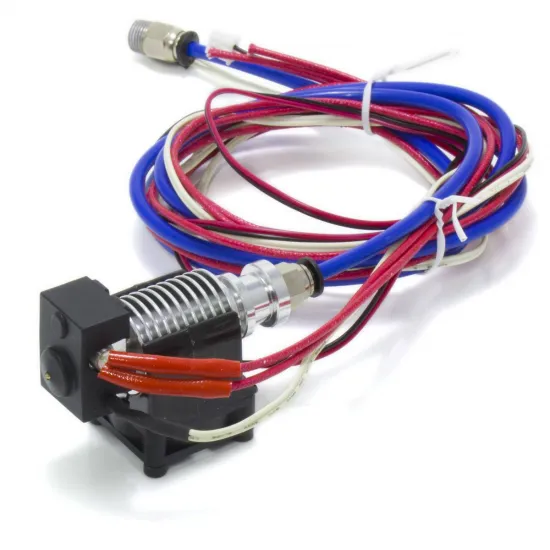
Complete V6 hotend for 1.75 mm filament with an aluminium block, 3 mm encapsulated thermistor, silicone sock and dedicated cooling. It is supplied assembled, with selectable voltage, heatbreak and nozzle diameter to suit the printer and material.
The encapsulated sensor is better protected against impacts, pulling and maintenance damage than an exposed glass-bead thermistor. The silicone sock reduces heat loss from the block and helps keep its exterior cleaner.
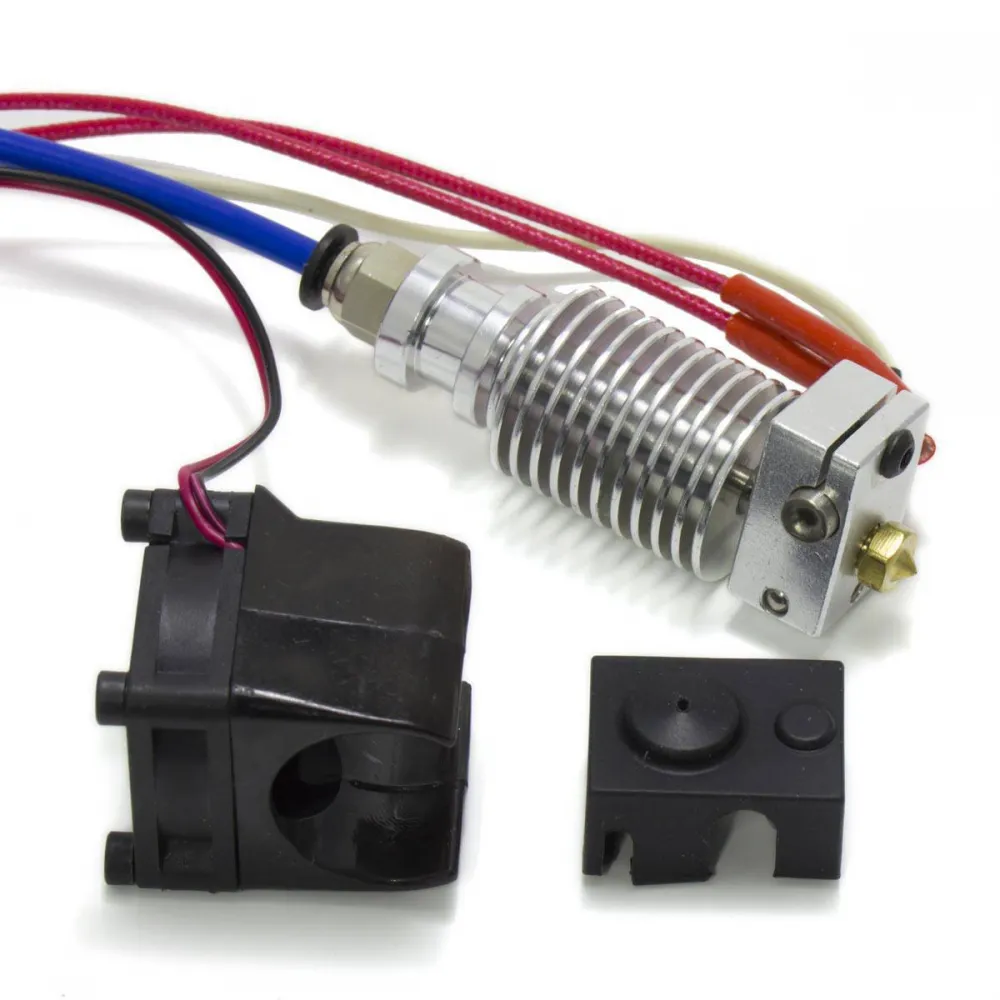
Available options
| Selection | Options | What to check |
|---|---|---|
| Voltage | 12 V or 24 V | It must match the printer supply; also verify the fan voltage |
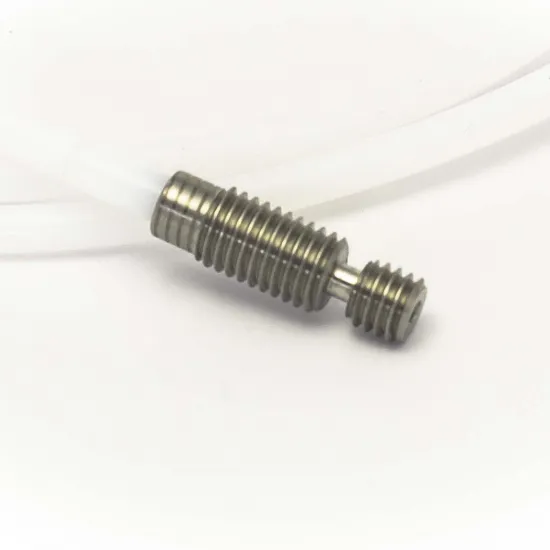
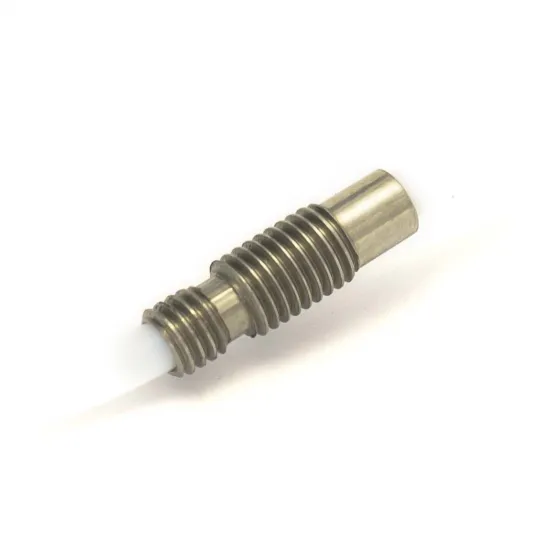
| Heatbreak | All-metal or PTFE-lined | Expected material, temperature, cooling, retraction and maintenance |
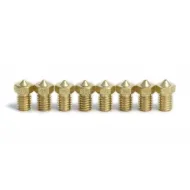
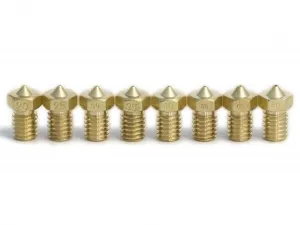
| Brass nozzle | 0.25, 0.30, 0.35, 0.40, 0.50, 0.60, 0.80 or 1.00 mm | Detail, line width, layer height and the assembly's real melting capacity |
A 0.4 mm nozzle is the familiar general-purpose choice. Smaller sizes prioritise detail and require careful calibration; larger ones allow wider lines, but useful flow remains limited by the hotend, material, temperature and desired print quality.
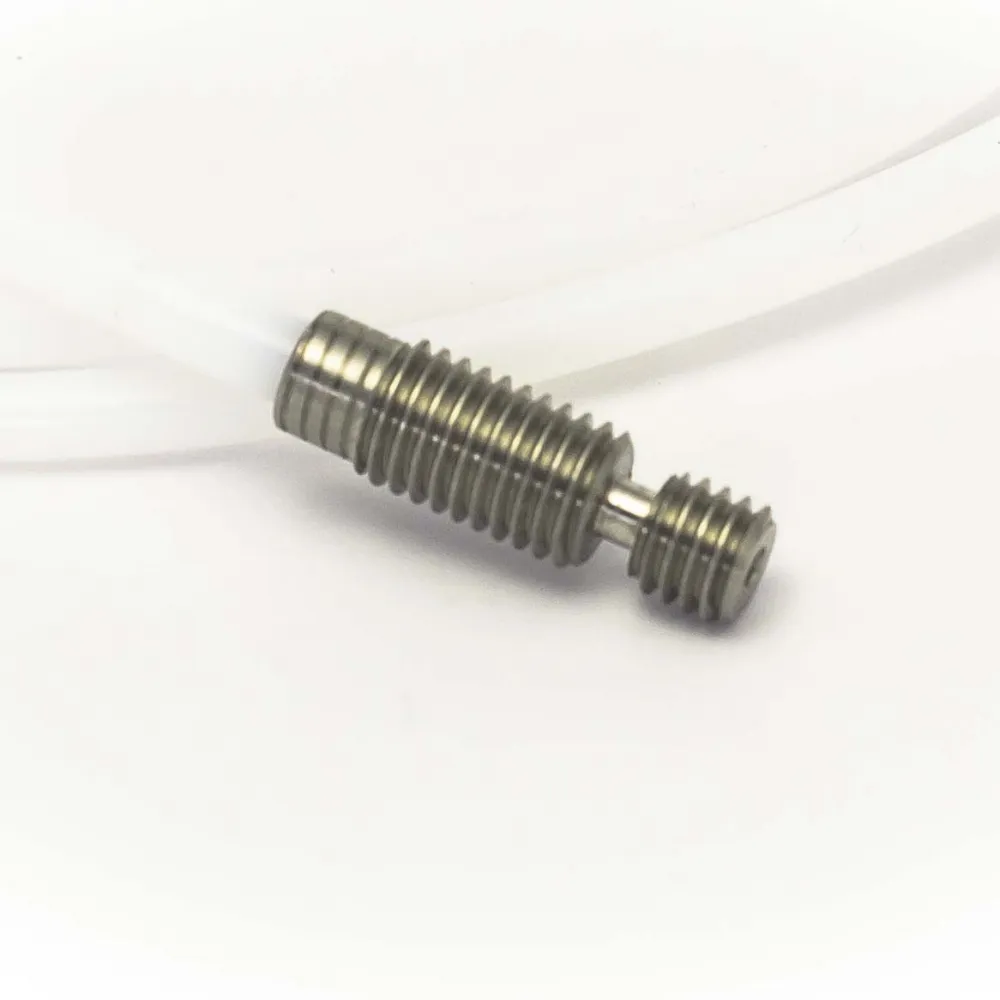
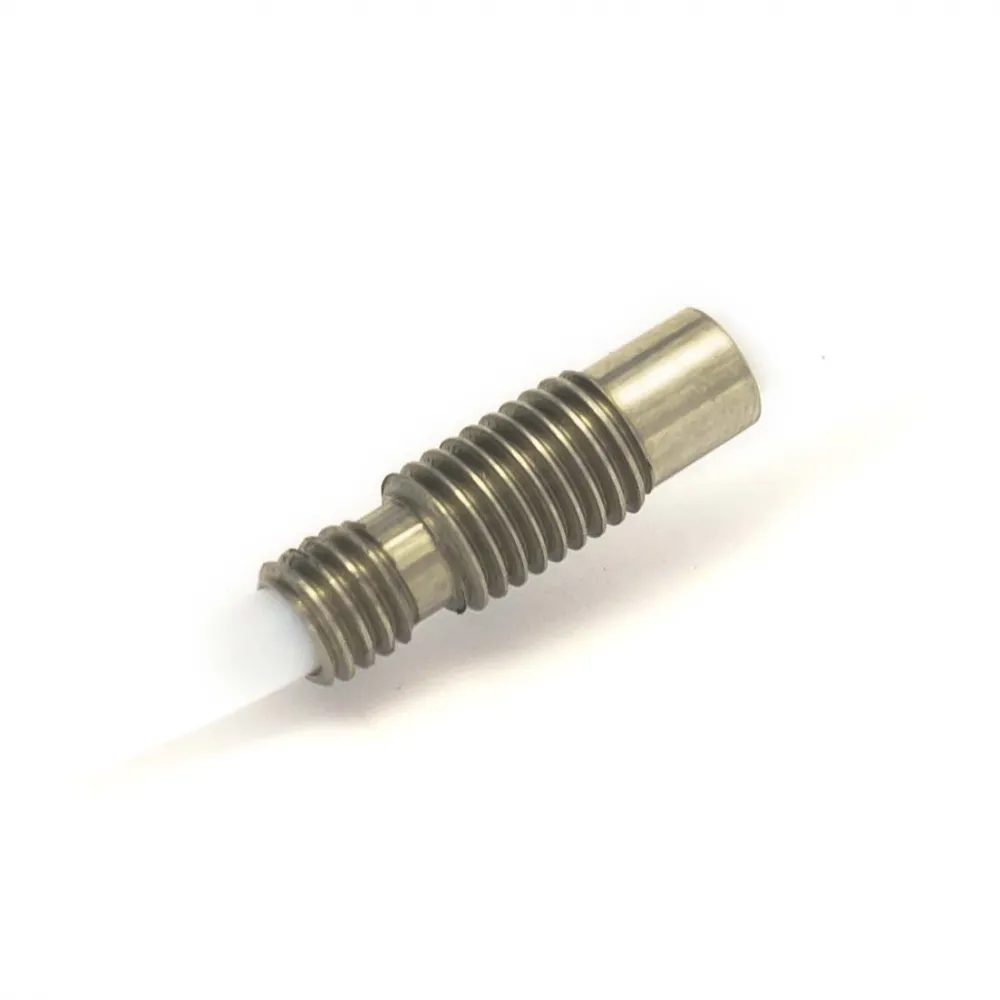
All-metal or PTFE-lined heatbreak
The all-metal option keeps PTFE away from the hot zone. It suits projects that require a heatbreak without an internal tube near the nozzle, but needs continuous heatsink cooling and normally works best with shorter, recalibrated retraction.
The PTFE-lined option guides filament close to the nozzle and makes common and flexible materials easier to feed. The tube becomes a service item and sets a thermal limit that must be respected.
Package contents
- Aluminium V6 heatsink with an upper Groove Mount interface.
- Selected all-metal or PTFE-lined heatbreak.
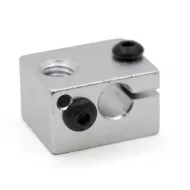
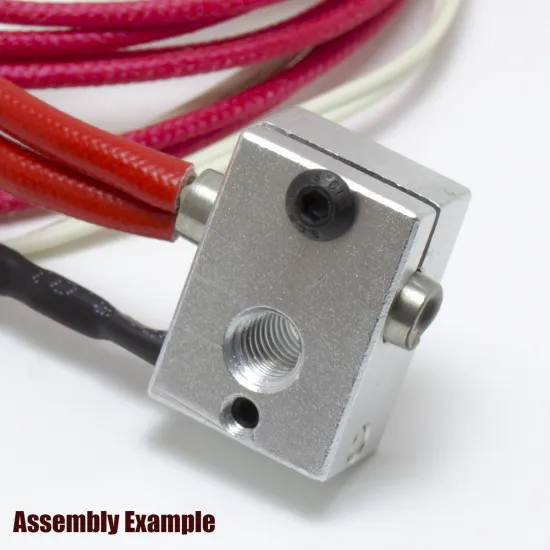
- Aluminium V6 heater block for an M6 nozzle and 3 mm sensor.
- Brass nozzle in the selected diameter.
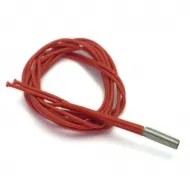
- Heater cartridge and 3010 fan for the selected voltage.
- 3 mm encapsulated 100K Beta 3950 NTC thermistor.
- Silicone sock and fan mount.
- Approximately 1 m of blue PTFE tube and the Bowden fittings stated in the product configuration.
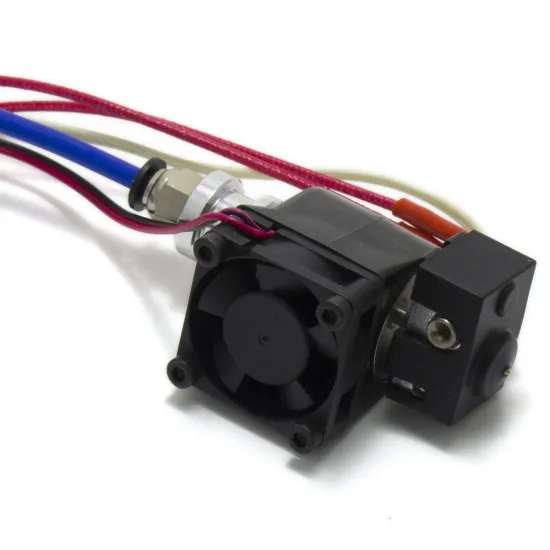
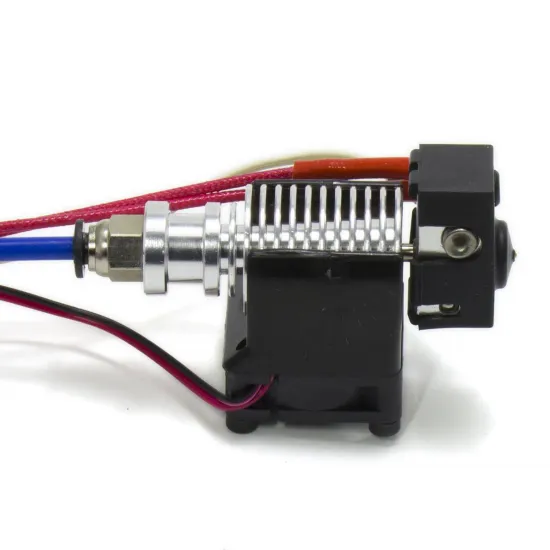
Heater power is not part of the published specification. Photographs show an example configuration; the voltage, heatbreak and nozzle selected with the order take priority.
Mechanical, electrical and thermal compatibility
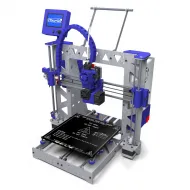
The heatsink uses a V6-family or Groove Mount upper interface. It can be integrated into P3Steel, 3DSteel, Prusa i3/Rework and other RepRap designs when their mount and geometry match. It may also be used in custom projects, but the V6 name alone does not make it a direct replacement.
Before ordering or installing, check the mount, nozzle-tip height and position, extruder, part-cooling duct, probe, fittings and available space. Stock Ender machines, Bambu Lab, current Prusa models or Voron toolheads may require a specific mount or adapter and a full geometry review.
The selected voltage must match the power supply and heater output. Also check fan voltage, controller or MOSFET capacity, wiring, connectors and pinout. At minimum, Z offset and thermal control must be recalibrated after replacing the hotend.
Thermistor configuration
The included sensor is a generic 3 mm encapsulated 100K Beta 3950 NTC thermistor. It is not a PT100 or PT1000: sharing a diameter or using two wires does not make their curves or electrical inputs equivalent.
- Marlin: with the common 4.7 kΩ pull-up input use
#define TEMP_SENSOR_0 11. This change may require recompiling and flashing the firmware. Keep thermal protection enabled and tune PID with an adaptable example such asM303 E0 C8 S210 U1, followed byM500. - Klipper: use
sensor_type: Generic 3950and the correctsensor_pin,heater_pin,min_temp,max_tempandmax_powerfor the machine. Tune withPID_CALIBRATE HEATER=extruder TARGET=210and finish withSAVE_CONFIG. - RepRapFirmware 3: define a 100 kΩ Beta 3950 thermistor on the actual input with
M308, configure the output withM950and tune withM303. Pins, heater number and pull-up resistance depend on the board.
Command temperatures are examples. Before heating to printing temperature, confirm a plausible room-temperature reading, observe a smooth rise and verify thermal protection.
Installation and commissioning
- Check heater and fan voltage before connection.
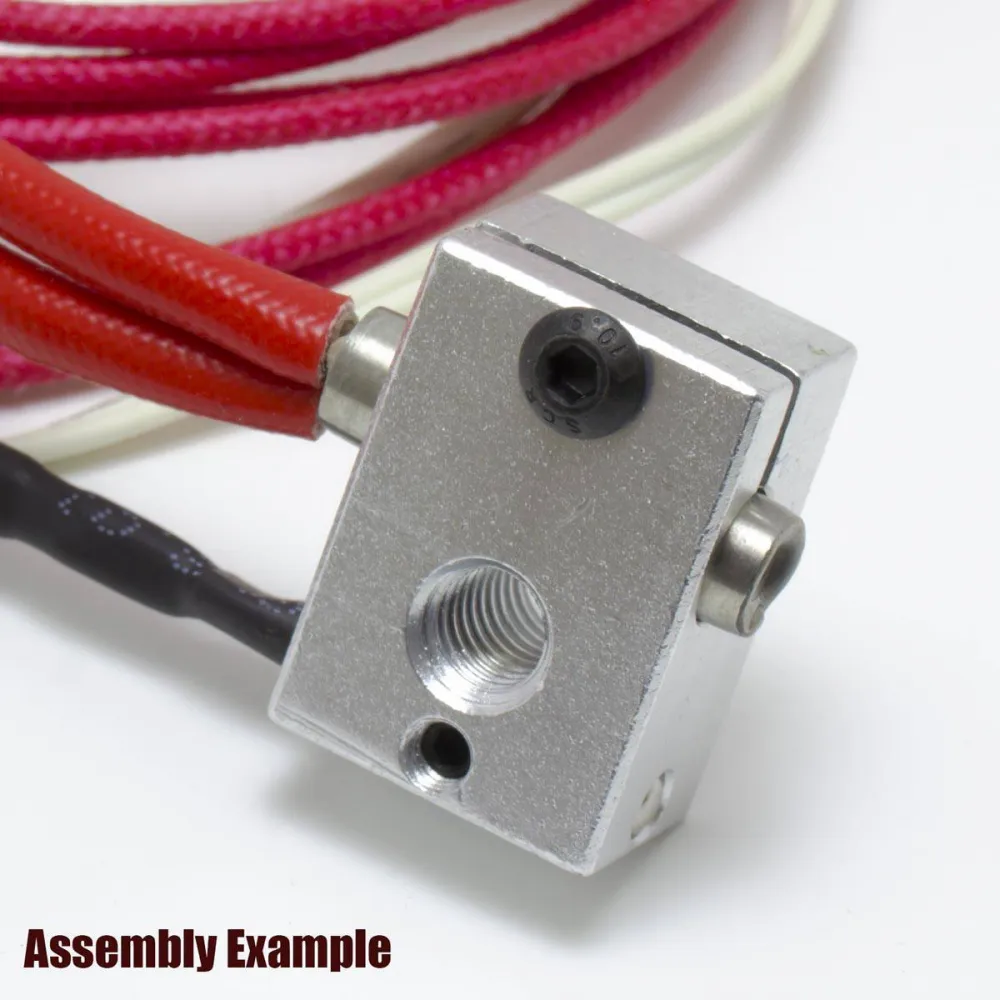
- Make sure heater and sensor are fully inserted and retained without crushing their sleeves.
- The nozzle must seal against the heatbreak, not against the heater-block face. A small gap should remain before final tightening.
- Perform the final hot tightening while holding the block with a suitable tool. Do not twist the wires or use the heatsink as a lever.
- Keep the heatsink fan running whenever the hotend is hot.
- Recalibrate Z offset, temperature, retraction, flow, pressure/linear advance and PID before printing.
It is for you if
- You want a complete assembled V6 hotend with an encapsulated sensor that is more robust than an exposed glass bead.
- You need to select 12 or 24 V, an all-metal or PTFE-lined heatbreak and several nozzle diameters.
- You can verify the mechanical, electrical and firmware integration and complete the final calibration.
It is not for you if
- You need a drop-in replacement without checking the mount, height, cooling, voltage, wiring and firmware.
- You require a certified maximum temperature or flow rate for every possible configuration.
- You plan continuous abrasive-filament use without replacing the brass nozzle with a suitable alternative.
Spares and maintenance
Separate replacements include the aluminium V6 block for 3 mm sensors, brass V6 block for 3 mm sensors, encapsulated B3950 thermistors with either a Dupont connector or XH2.54 connector, V6 nozzles from 0.20 to 1.00 mm, the V6 silicone sock and the hotend maintenance spanner.