

- Stock: 2
- Model: MKS-PI

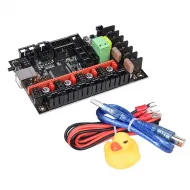
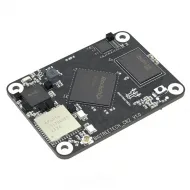
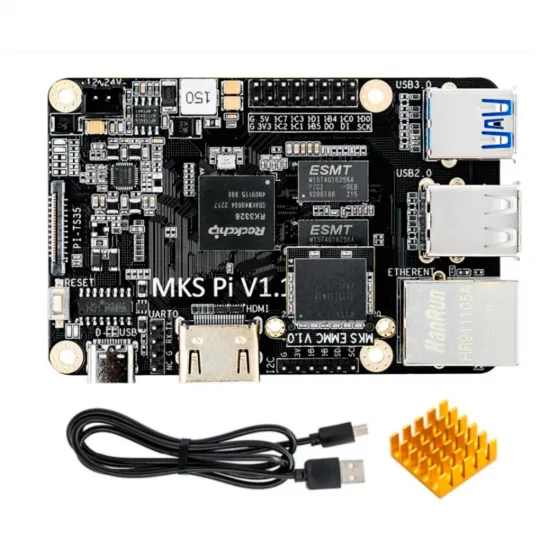
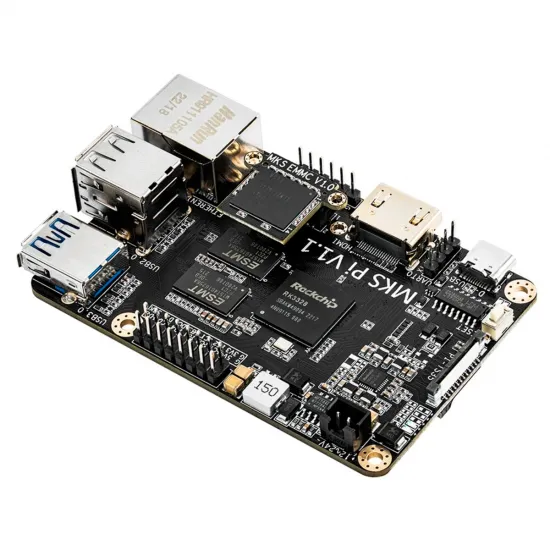
The MKS Pi V1.1 is a 64-bit host computer designed by Makerbase to run Klipper without relying on a Raspberry Pi. It integrates a quad-core Rockchip RK3328 SoC, 1 GB of DDR3 memory, Ethernet, three USB ports, HDMI and a direct 12/24 V input, making it particularly convenient for installation inside a 3D printer.
Important: this is not the printer controller board. The MKS Pi runs Linux, Klipper, Moonraker and the web interface; a compatible controller is still required to operate motors, endstops, sensors, fans and heaters. The two are normally connected over USB.
Main features
- Processor: quad-core, 64-bit Rockchip RK3328.
- Memory: 1 GB DDR3.
- Power: dedicated 12 to 24 V DC input.
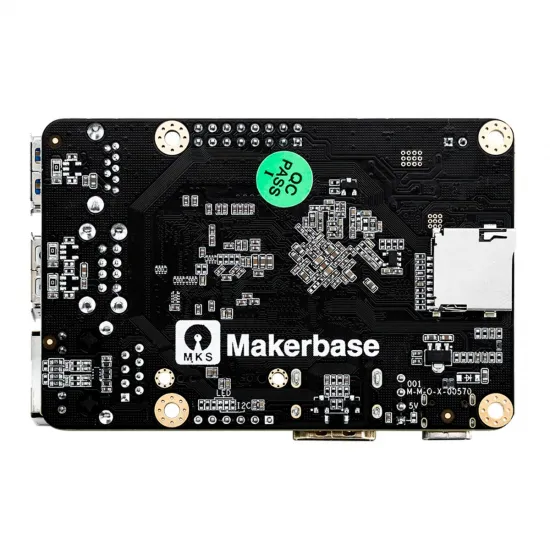
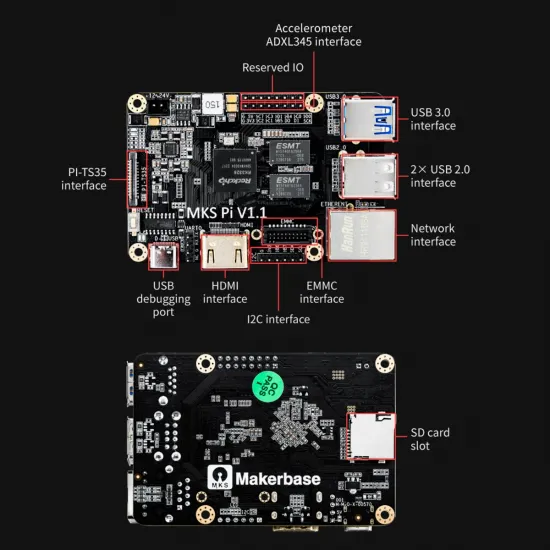
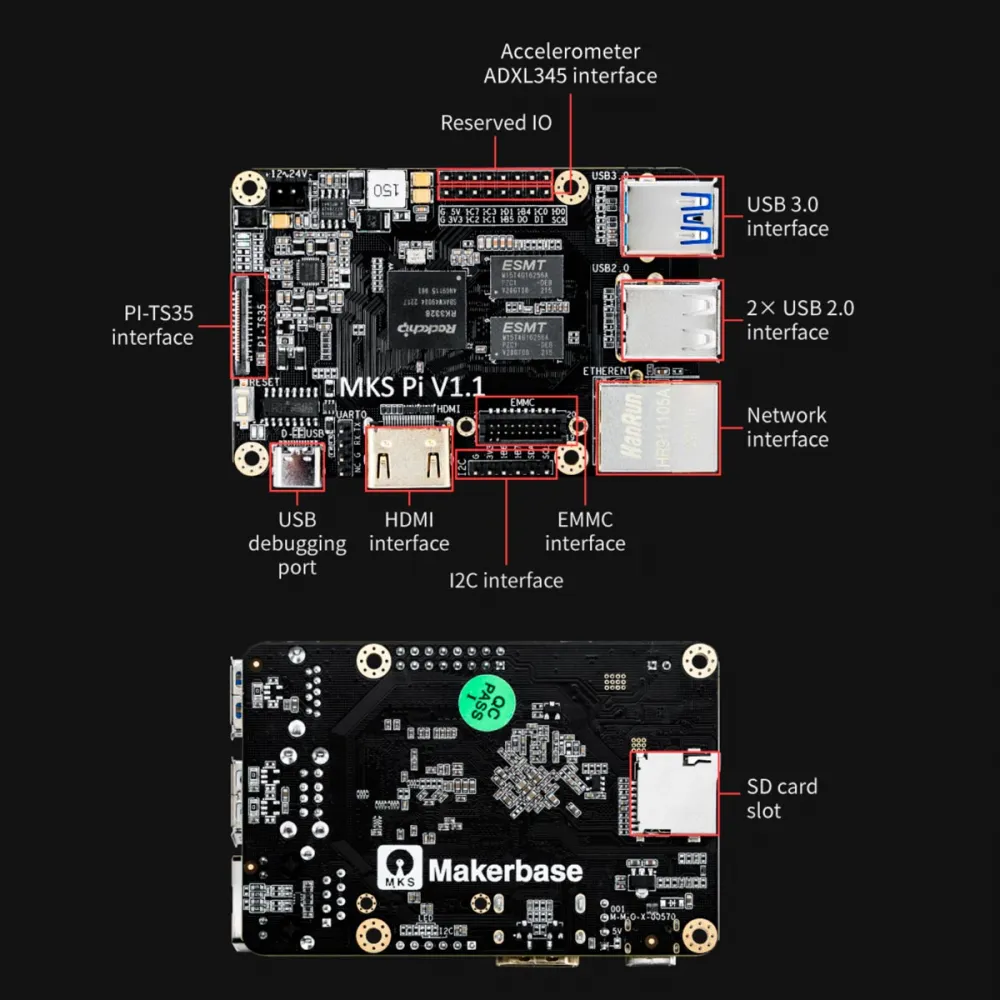
- Storage: microSD/TF boot and an interface for optional eMMC.
- Network: 10/100 Mb/s Ethernet; Wi-Fi through a compatible USB adapter.
- USB: one USB 3.0 and two USB 2.0 ports for a controller, camera, Wi-Fi or other compatible peripherals.
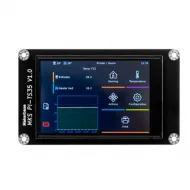
- Video and display: Type-A HDMI and a dedicated MKS PI-TS35 connector.
- Advanced interfaces: UART0, SPI for an ADXL345, USB-C debug and auxiliary signals.
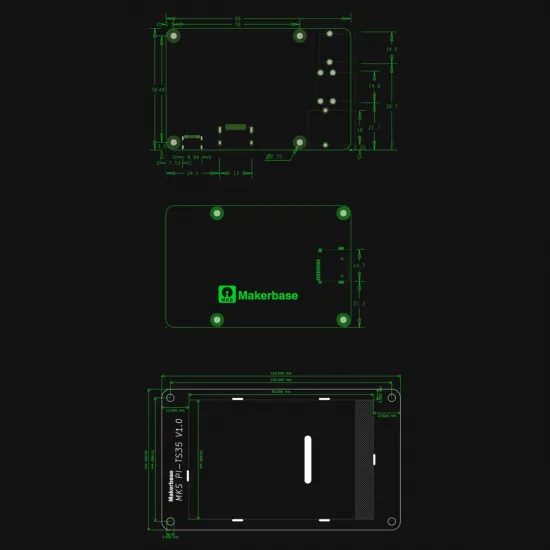
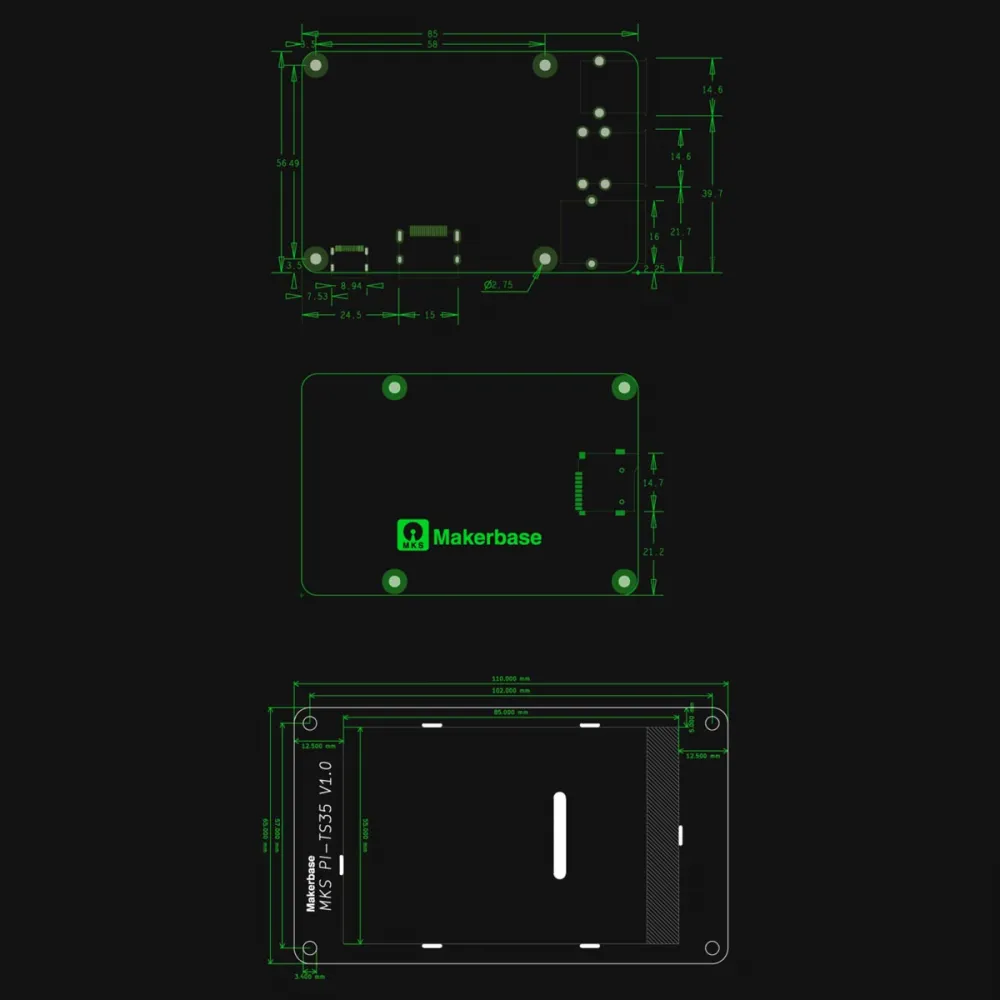
- Compact format: 85 × 56 mm PCB with a 58 × 49 mm mounting pattern.
Technical specifications
| Parameter | Value |
|---|---|
| Model | MKS Pi V1.1 |
| SoC | Rockchip RK3328, 4 cores, 64-bit |
| RAM | 1 GB DDR3 |
| Power input | 12-24 V DC through dedicated connector |
| Storage | microSD/TF; optional eMMC interface |
| Ethernet | 10/100 Mb/s |
| USB host | 1 × USB 3.0 Type-A + 2 × USB 2.0 Type-A |
| Video | Type-A HDMI |
| Dedicated display | MKS PI-TS35 interface |
| Debug | USB-C with CH340C serial converter |
| Other interfaces | UART0, SPI for ADXL345 and auxiliary I/O |
| Dimensions | 85 × 56 mm |
| Mounting | 58 × 49 mm; 4 × Ø2.75 mm holes |
What the MKS Pi does in a Klipper printer
Klipper divides the work between a Linux host and one or more MCUs. The MKS Pi runs the high-level services, processes the configuration, hosts the web interface and sends timed commands to the controller. The mainboard MCU runs its specific Klipper firmware and physically operates the machine.
This architecture enables printer management through Fluidd or Mainsail, Moonraker integration, KlipperScreen, macros and functions such as input shaping or pressure advance when supported by the hardware, sensors and configuration. The board does not improve speed or quality by itself: results depend on the mechanics, electronics and correct calibration.
Direct 12 or 24 V power
The dedicated DC input allows the MKS Pi to run from a 12 or 24 V main supply without a separate 5 V converter. Use a protected branch, suitable wire gauge, verified polarity and adequate supply headroom. An enclosed installation should provide airflow around the processor and regulator.
The USB-C connector is a serial debug interface, not the board's normal power input. Do not connect or disconnect power, UART, accelerometers or the controller while the system is energised. If UART is used, both boards must share ground and use compatible logic levels.
Operating system and Klipper image
Makerbase publishes an Armbian-based image prepared for the MKS Pi with the usual Klipper components preinstalled. This is the most direct route for an initial setup, but check the image date, its documentation and the actual installed versions before updating the system or combining tutorials.
More recent community Armbian images also exist for this board. They can be useful for experienced Linux administrators, but they are not official Makerbase images and may require manual installation and configuration of Klipper, Moonraker, the web interface and KlipperScreen. Do not use a Raspberry Pi image: matching dimensions do not imply a shared processor, bootloader or operating system.
Recommended commissioning procedure
- Confirm that the silkscreen identifies the board as MKS Pi V1.1.
- Install the heatsink and secure the board on spacers, never directly against a conductive surface.
- Flash a compatible image to a microSD card of at least 8 GB. A quality card with additional capacity is preferable for logs and updates.
- Connect Ethernet for the first startup; the normal configuration obtains an address through DHCP.
- With the supply switched off, connect the dedicated 12/24 V input with strictly correct polarity.
- Find the IP address through the router or configured display and log in according to the image documentation.
- Immediately change any default password and make a backup before changing the kernel, device tree or core packages.
- Compile and flash the controller with Klipper firmware matching its MCU, bootloader, revision and communication interface.
- Connect the controller over USB and use a persistent
/dev/serial/by-id/...path in the[mcu]section. - Verify temperatures, endstops, motor direction and emergency shutdown before heating or moving the machine.
USB or UART controller connection
USB is recommended for most installations: it simplifies wiring, makes the MCU easier to identify and avoids logic-level mistakes. A board such as the BIGTREETECH Octopus Pro H723 can operate as a Klipper controller over USB, but it must be compiled and configured specifically for its MCU and revision.
UART0 is an advanced alternative for a direct serial connection. Use it only after checking both pinouts, logic voltage, crossed TX/RX, common ground and the MCU build settings. Makerbase's documented image exposes it as /dev/ttyS0, but the device name may change with the installed system.
Network, Wi-Fi and remote access
The board provides 10/100 Mb/s Ethernet and does not include Wi-Fi. Wireless networking requires a USB adapter supported by the image kernel. Makerbase documents RTL8188CUS and RTL8188EUS adapters; other chipsets may require additional drivers or may not work. A Wi-Fi adapter also occupies one of the three USB ports.
Do not directly expose Fluidd, Mainsail, Moonraker, SSH or a camera to the Internet. Use a maintained, authenticated solution such as a VPN for remote access, and keep configuration backups.
Compatible displays
| Display | Connection | Conditions |
|---|---|---|
| MKS PI-TS35 | Dedicated PI-TS35 connector | Cable, orientation, image and device tree must match the revisions being used. |
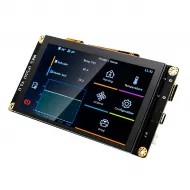
| 5-inch MKS IPS50 | HDMI video, USB touch and separate 12/24 V power | KlipperScreen must be installed and configured on the MKS Pi. |
| Generic HDMI/USB display | Model-dependent | Conditional on video mode, touch controller, power, Linux kernel and configuration. |
KlipperScreen runs on the MKS Pi, not on the display. A PI-TS35 and an HDMI/USB touchscreen provide a similar user-facing function but use different interfaces and are not cable-for-cable replacements.
Input shaping and accelerometers
The MKS Pi provides an SPI interface intended for an ADXL345. Using it requires the correct pinout, voltage, connector orientation and bus for the installed image. Makerbase's historical setup uses Klipper's Linux host MCU, but it should be checked against the current documentation for the installed Klipper version.
An independent alternative is the BIGTREETECH ADXL345 V2.0 with RP2040 and USB-C. This uses a different architecture: it appears to Klipper as its own USB MCU and occupies one USB port. In either case, the accelerometer must be mounted rigidly and configured for the correct axes.
microSD and eMMC
Normal boot uses a microSD card. The official 8 GB minimum can hold the image, but a higher-capacity, write-resistant card provides more headroom for logs and updates. Stable power and an orderly shutdown reduce the risk of corruption.
The eMMC interface does not make every module compatible. Check the physical format, pinout, image support, flashing method and boot priority before purchase or installation. The microSD card, eMMC module and Wi-Fi adapter are sold separately unless explicitly stated in an option.
Mechanical compatibility with Raspberry Pi 3B
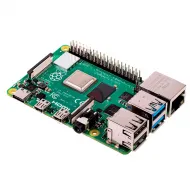
The board measures 85 × 56 mm and uses a four-hole 58 × 49 mm mounting pattern, so it can share simple supports with a Raspberry Pi 3B. This match does not guarantee compatibility with an enclosed case: check cut-outs, heatsink height and the positions of power, USB, Ethernet, HDMI, microSD and internal connectors.
It is not automatically compatible with Raspberry Pi HATs, the 40-pin GPIO header, USB-C power supplies, Raspberry Pi system images or architecture-dependent accessories. The equivalence is primarily dimensional and must always be validated on the actual assembly.
This is for you if
- You want a compact Klipper host powered directly from 12 or 24 V.
- You have a compatible controller and are comfortable connecting it over USB.
- You prefer Ethernet or accept adding a compatible USB Wi-Fi adapter.
- You need HDMI, KlipperScreen, a USB camera or resonance measurement as part of a planned system.
- You can follow Linux documentation, maintain backups and verify revisions before updating.
This is not for you if
- You need a board that directly connects motors, heaters and sensors.
- You require built-in Wi-Fi or the Raspberry Pi HAT and GPIO ecosystem.
- You want to keep Marlin or RepRapFirmware without migrating the machine architecture to Klipper.
- You require guaranteed compatibility with every camera, Wi-Fi dongle, eMMC, display or case.
- You cannot provide stable power, ventilation or maintenance access.
Contents
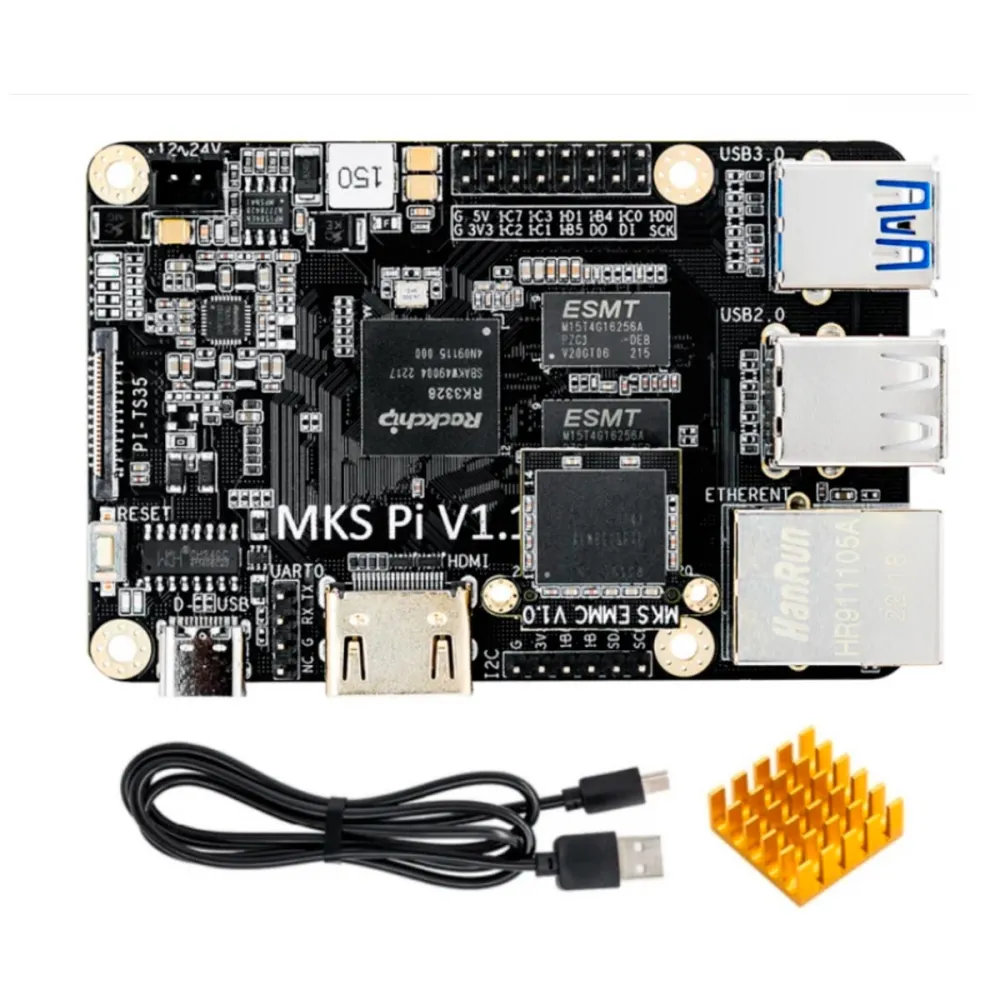
The current presentation includes the MKS Pi V1.1, a heatsink and a USB-A to USB-C debug cable. The microSD card, eMMC, Wi-Fi adapter, display, power supply, printer controller, camera and enclosure are not included unless explicitly listed in an option.
Documentation
Makerbase maintains schematics, pinout, drawings, system images and procedures in the official MKS Pi repository. For current operation and configuration, also refer to the official Klipper documentation. Always confirm that the guide matches MKS Pi V1.1 and the installed image.