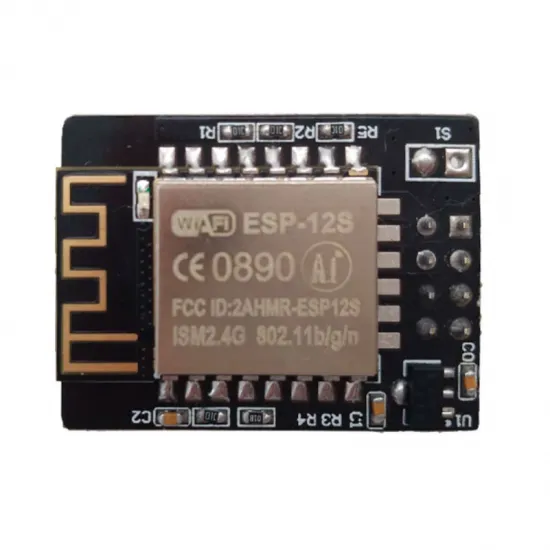


- Stock: 8
- Model: Modulo-Wifi-MKS

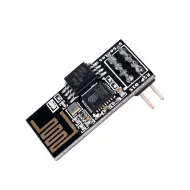
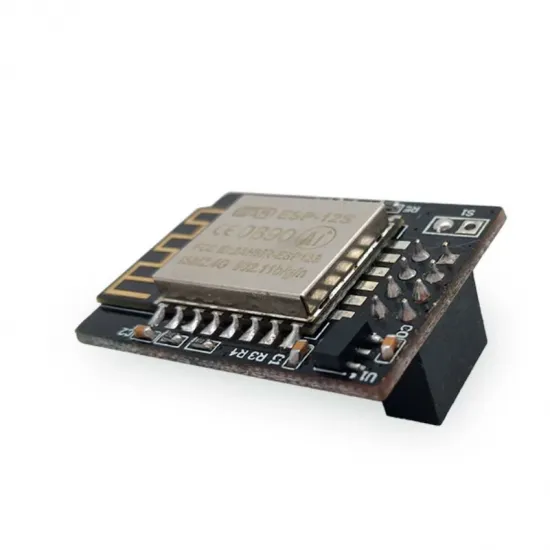
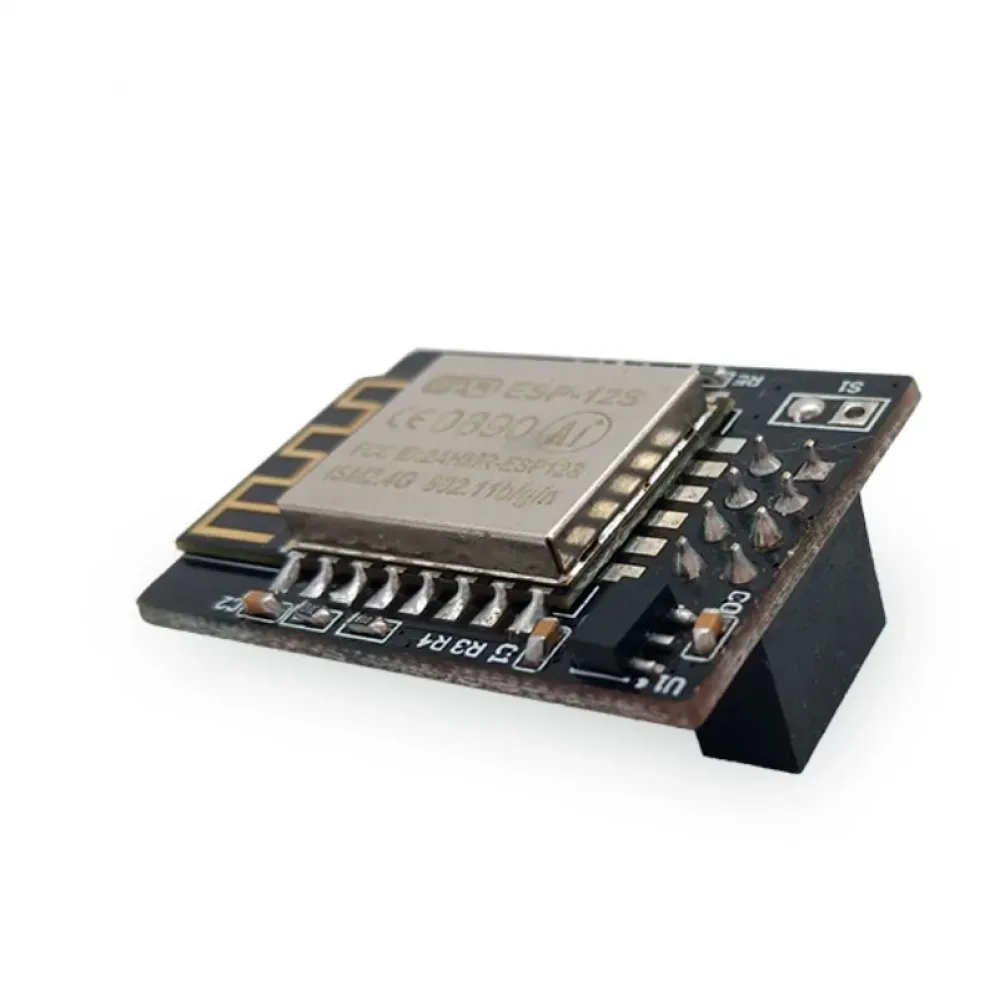
The MKS TFT WiFi V1.0 module adds 2.4 GHz wireless connectivity to compatible Makerbase touchscreens. It combines an ESP8266-based ESP-12S with the 2 × 4 MKS TFT WiFi host connector.
With suitable firmware it can work with compatible LAN tools, send files to storage managed by the screen and relay commands to the printer. It is not a universal WiFi adapter for every Marlin, Arduino or Klipper board: it requires an MKS TFT screen whose hardware revision and host firmware explicitly support this interface.
Main specifications
| Feature | Value |
|---|---|
| Board model | MKS WIFI TFT V1.0 |
| Wireless module | ESP8266-based ESP-12S |
| Network | 2.4 GHz WiFi, IEEE 802.11 b/g/n |
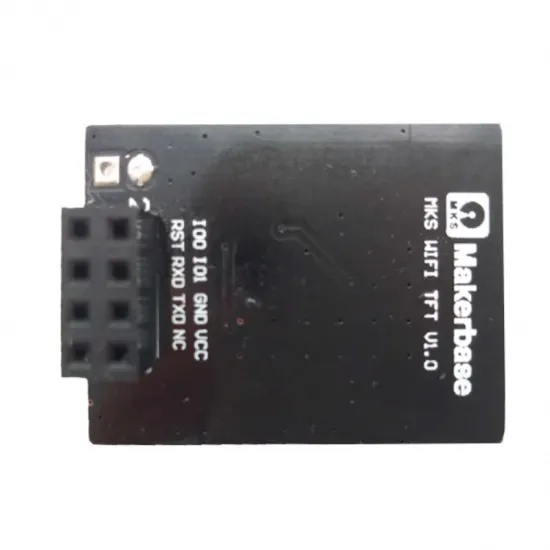
| Host interface | UART, RESET, IO0 and IO1/GPIO4 through a 2 × 4 connector |
| Supply | 5 V from a compatible MKS TFT socket; on-board regulation to 3.3 V |
| PCB dimensions | 32 × 24 mm |
| Antenna | Integrated into the ESP-12S |
| Contents | 1 MKS TFT WiFi V1.0 module |
Required screen
Official documentation confirms the compatible WIFI_CNT socket on specific revisions including MKS TFT24 V1.1_003, TFT28 V4.0_003, TFT32_L V4.0_003, TFT35 V1.0_003 and TFT70 V1.1_003/V1.1_004. The commercial model name alone is insufficient because other hardware revisions may differ.
The MKS TFT35 touchscreen in the catalogue is a candidate, but check the actual PCB revision, 2 × 4 socket and pinout before ordering this module. For MKS Robin boards that use the dedicated socket, choose the MKS Robin WiFi module; the two modules are not physically interchangeable.
- Do not connect directly to a controller board merely because it runs Marlin.
- Do not assume compatibility with BIGTREETECH TFTs, SPI screens, MKS TS35 units or CB1/Klipper displays.
- Confirm that the screen firmware supports MKS WiFi and that the required SD card or storage operates correctly.
- Keep the antenna area clear; a metal enclosure or nearby copper plane may reduce range.
MKS TFT WiFi connector pinout
| Pin | Signal | Function |
|---|---|---|
| 1 | RESET | Reset controlled by the screen |
| 2 | IO0 | Boot or update selection |
| 3 | RXD | Module UART receive |
| 4 | IO1 / GPIO4 | Indicates that the screen is ready to receive |
| 5 | TXD | Module UART transmit |
| 6 | GND | Ground |
| 7 | NC | Not connected |
| 8 | VCC | 5 V from the compatible screen |
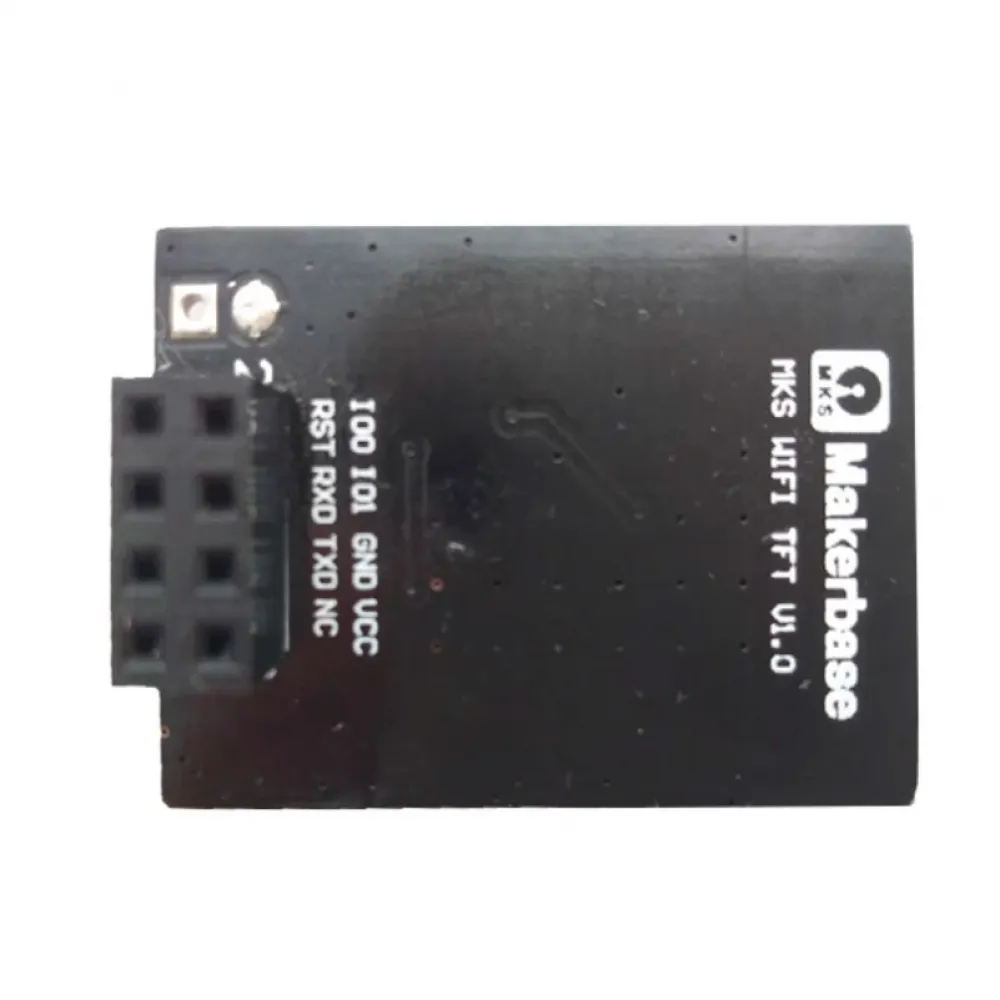
Locate pin 1 using the square pad, silkscreen and the schematic for your screen. Never apply 12 or 24 V, and do not install the module reversed or offset by one row. The ESP operates internally at 3.3 V and this board includes its own regulator.
Safe installation
- Switch the printer off, disconnect its power supply and allow the electronics to discharge.
- Identify the exact screen model and hardware revision. Compare its schematic with the pinout above.
- Check pin 1, GND and VCC; confirm that the socket provides 5 V rather than the printer's 12/24 V rail.
- Align both complete rows and insert the module without tilting, reversing or offsetting its contacts.
- Place the antenna away from metal and motor, bed or heater wiring.
- Power up initially without starting motion or heaters. Check that the screen detects the module and displays its status, firmware or IP address.
- Configure a 2.4 GHz network and make the first transfer with a small file while attending the printer.
Network setup and software
The official firmware can initially create an access point named MKSWIFI at 192.168.4.1, and it can also join a 2.4 GHz network as a client. The screen passes the network name and key to the module.
- Repetier-Host and Pronterface: Makerbase documents LAN control through the module's IP address and TCP port
8080. - Cura: the MKS plugin supports file transfer and compatible control functions. Speed depends on the network, firmware, screen and storage.
- Web interface: the firmware uses HTTP on port
80. - MKS Cloud: historical documentation describes cloud functions, but current availability of the app, servers and every feature is not guaranteed.
Firmware and updates
Makerbase publishes MKS WiFi firmware separately from version 1.0.4 onwards. A normal update uses the correct official MksWifi.bin: copy it to the root of the compatible screen's SD card, insert the card while powered off and restart so that the screen can program the module.
- Use only a binary intended for MKS WiFi and suitable for the screen's host firmware.
- Maintain stable power and do not switch off, remove the card or disconnect the module during updating.
- Confirm the reported version and operation before sending a print file.
- Compiling the source requires Makerbase's modified ESP8266 core; the generic Arduino core may not compile this project.
Marlin, Arduino, ESP3D and Klipper
- Marlin: compatibility is indirect and conditional. The screen must communicate correctly with the Marlin board and translate the commands and states used by the module.
- Arduino: Arduino IDE is a tool used to compile the ESP8266 firmware, not evidence of direct compatibility with every Arduino board.
- ESP3D: Makerbase says it can run on this hardware, but doing so requires reflashing and adapting the interface to AUX-1. This is not the standard installation and does not retain MKS firmware.
- Klipper, Moonraker, Mainsail, Fluidd and RepRapFirmware: there is no documented direct integration for this MKS TFT module. It should not be purchased as a replacement for those systems' own network interfaces.
Before starting a print
- Manually verify that start, pause, resume and stop produce the expected result.
- Test with a small file and confirm that it has transferred completely to the selected storage device.
- Do not send motion or heating commands until the printer response has been checked.
- Attend the machine during initial tests and apply the same safety measures as for a locally started print.
Contents
- 1 MKS TFT WiFi V1.0 module with ESP-12S and integrated antenna.
Touchscreen, controller board, microSD card and other accessories are not included.