

- Stock: Out of Stock
- Model: RAMPS1.6
Model:

Ramps 1.4

Ramps 1.5

Ramps 1.6

Ramps 1.6+
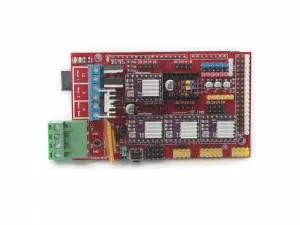
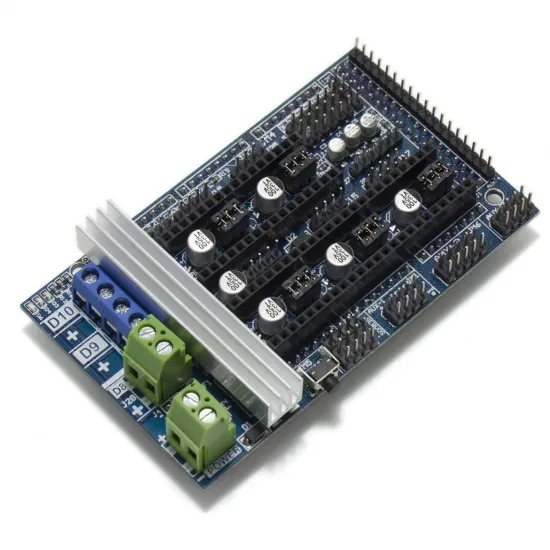
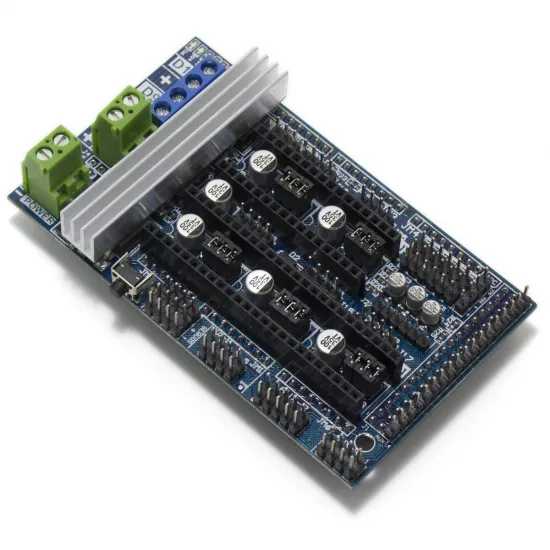
The RAMPS 1.6 is an Arduino Mega 2560 expansion shield for RepRap projects and repairs to printers built around this architecture. It brings together connections for motors, endstops, thermistors, a heated bed, hotend and fan, with replaceable stepper drivers. It retains the modular approach of earlier RAMPS boards and uses two power terminals and a large heatsink over the power section.
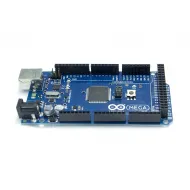
It is not a standalone controller: it needs a compatible Arduino Mega, stepper drivers, power supply, sensors and firmware configured for your machine. This is the ordinary RAMPS 1.6, not the 1.6+ (PLUS), which adds dedicated SPI driver-connection options.
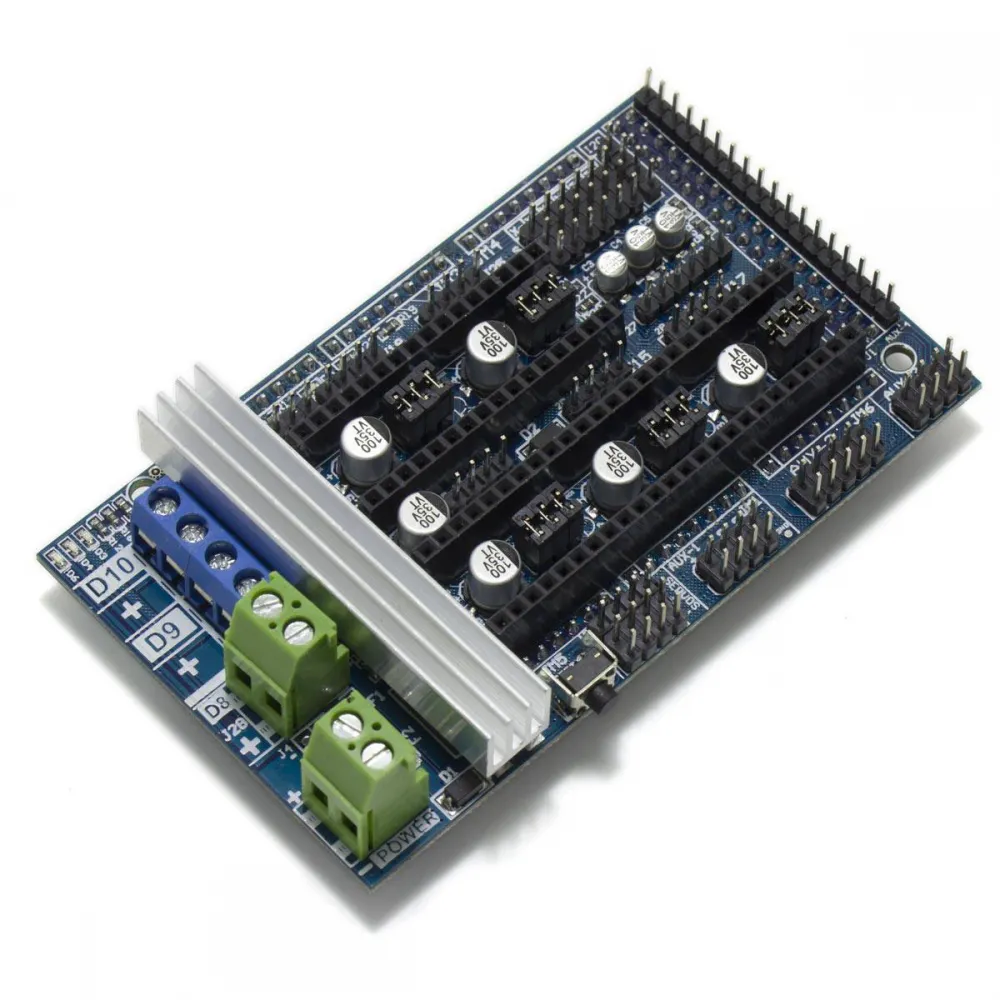
Connections
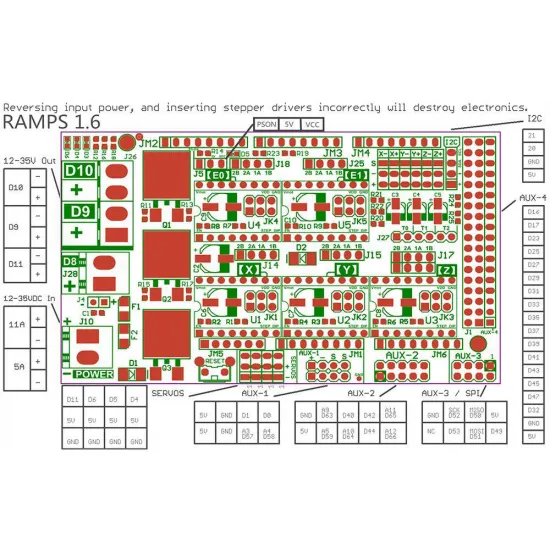
- Five driver sockets: X, Y, Z, E0 and E1 for modules with suitable size and pinout. The two Z motor connectors share one Z driver; they are not independently controlled axes.
- Three power outputs: D10, D9 and D8. In a common EFB setup these serve the hotend, fan and bed, respectively. Another firmware variant can assign different functions, so verify wiring before attaching loads.
- Three temperature inputs plus endstop, display-adapter and auxiliary connections. The shield does not determine which thermistor curve to use; configure each actual sensor model in firmware.
- Microstepping jumpers: the small links below each driver select the mode required by that module. Refer to the driver's own table rather than assuming A4988, DRV8825 and other modules use the same pattern.
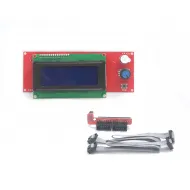
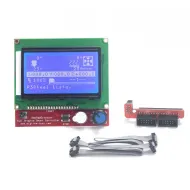
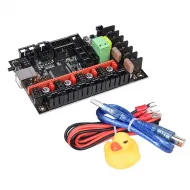
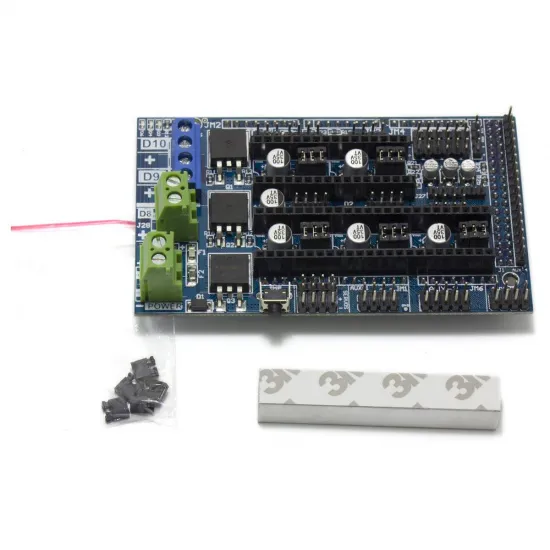
The kit photograph shows the shield, jumpers and separate heatsink. The driver sockets are empty: the Arduino Mega, drivers and display must be selected separately for your build.
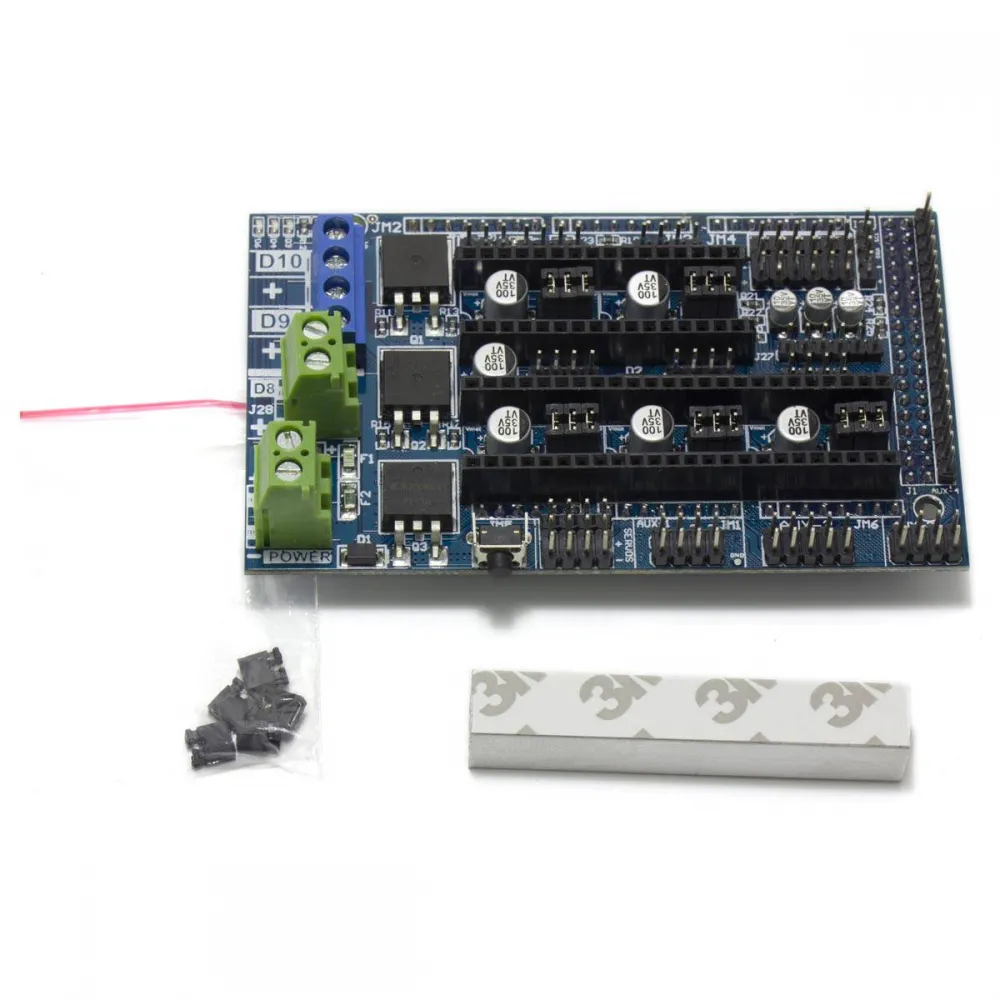
Drivers and the difference from RAMPS 1.6+
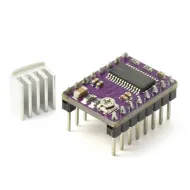
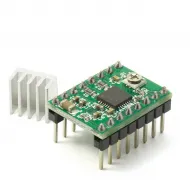
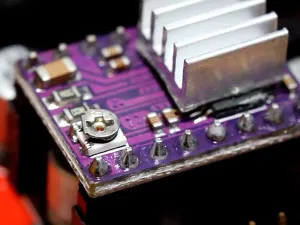
A STEP/DIR driver such as our Pololu-format A4988 can suit this architecture once its orientation, supply, cooling and motor-current setting have been checked. Ordinary RAMPS 1.6 does not itself route SPI to the driver sockets like RAMPS 1.6+. If you choose a TMC driver with UART or SPI features, plan and verify the extra signal wiring first. Plugging it into the socket alone does not enable advanced communication.
Firmware setup
Marlin: for the standard arrangement with hotend on D10, fan on D9 and bed on D8, BOARD_RAMPS_14_EFB is the conventional pin-map starting point in current Marlin. The «14» in that firmware name describes the pin family, not the physical revision of this shield. Verify that your actual wiring is EFB; alternatives such as EEB assign outputs differently. Do not select BOARD_RAMPS_BTT_16_PLUS_EFB, which is for another board.
Klipper: Klipper's generic-ramps.cfg example provides an initial Mega/RAMPS pin map. Build for your Arduino's MCU —usually ATmega2560— and connect Klipper over its USB port. Then adapt printer.cfg to the actual motors, jumpers, travel, endstops, thermistors, heaters and fans. The example file's PID values, dimensions and sensor types are not specifications of this shield.
With either firmware, first check plausible ambient-temperature readings and the action of each endstop. Only then test motion and heaters gradually.
Power and safe installation
RAMPS builds commonly use 12 V, but the safe voltage of the Mega + shield + drivers + loads cannot be inferred from a terminal label or capacitor rating. Do not connect 24 V directly without checking the Arduino Mega's power path —including D1— and confirming that the supply, fuses, drivers, bed, heaters and fans are suitable.
With both the power supply and USB disconnected, mount the shield on the Mega, fit jumpers and orient each driver according to its pinout. Check the polarity of both power inputs and which circuit each one feeds. Before attaching a 5 V servo or powered probe, verify the board's 5 V/GND markings and J5 link; do not copy a jumper position from another revision. On first startup, also ensure bed wires, terminals and connectors are sized for the real current. A heatsink does not replace that check.
Is it right for you?
Choose it if you maintain an Arduino Mega-based RepRap printer or want a modular learning project with replaceable drivers. Choose another solution if you need a standalone 32-bit board, independently controlled dual-Z motors, SPI drivers ready to use without extra wiring or a drop-in replacement for a modern printer.