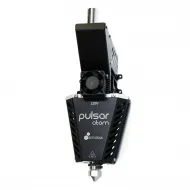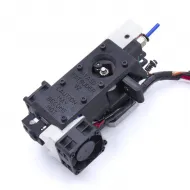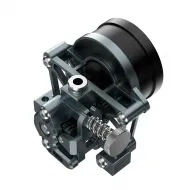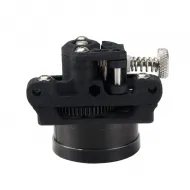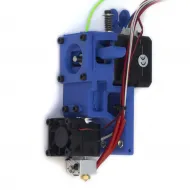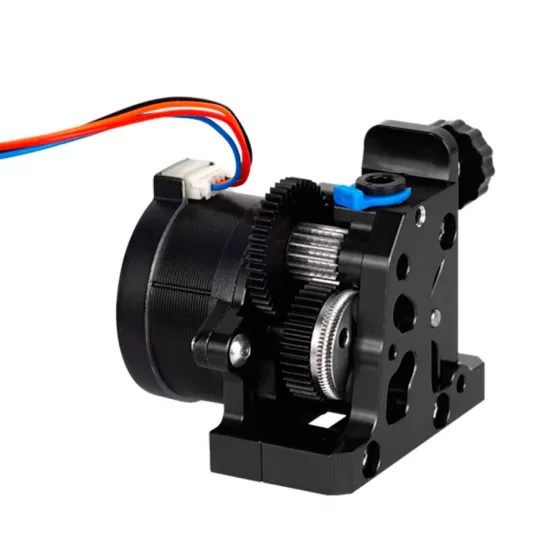
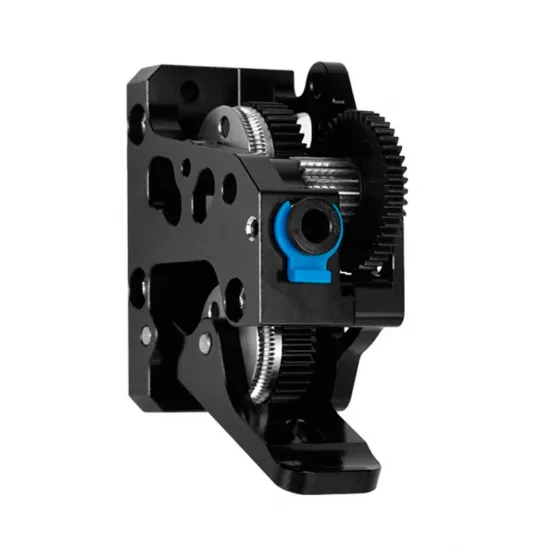
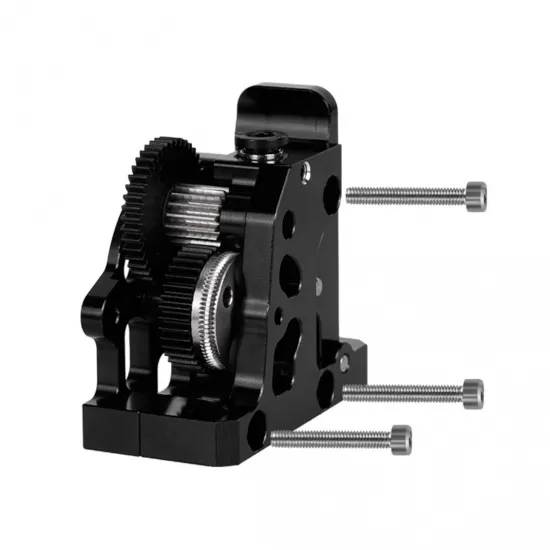


- Stock: 10
- Model: HGX-Lite

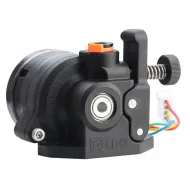
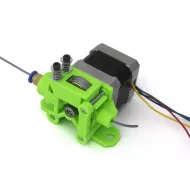
HGX Lite 9.5:1 extruder without motor for 1.75 mm filament
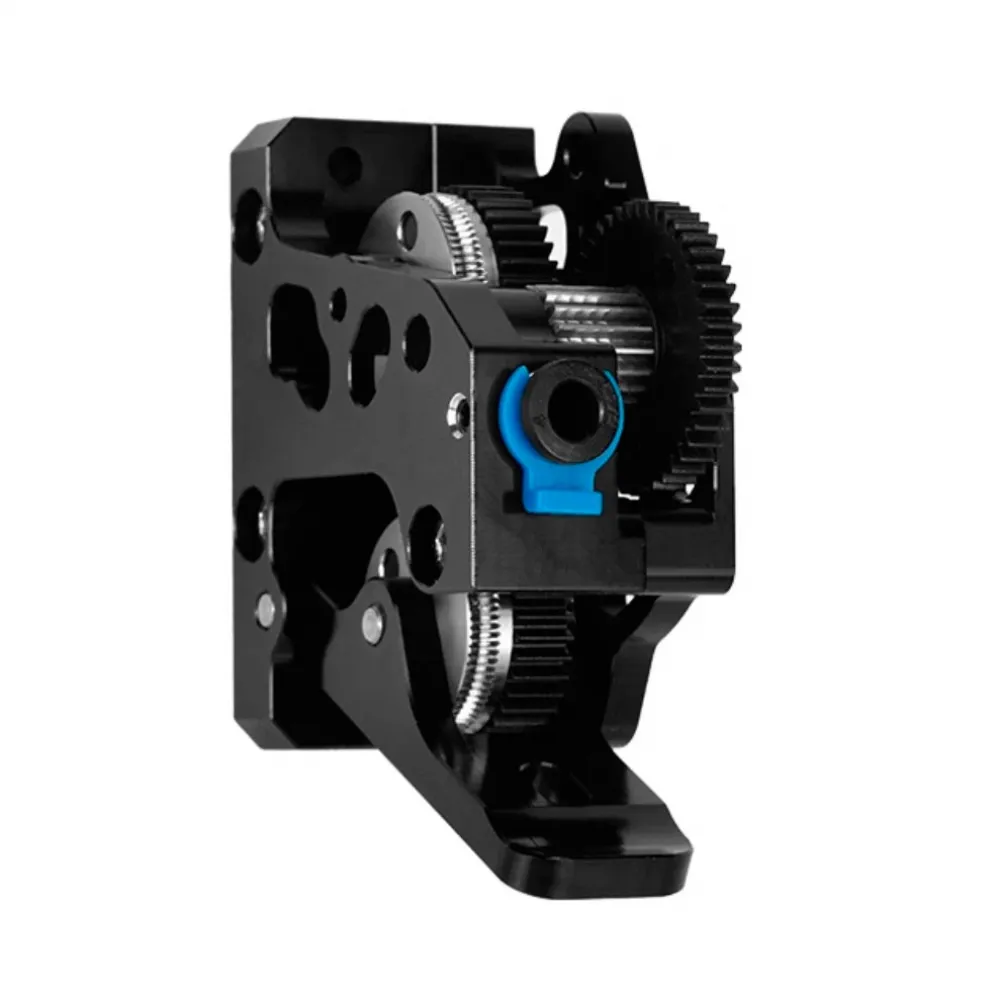
The HGX Lite is a compact geared extruder for 1.75 mm filament, intended for direct-drive configurations where low toolhead mass and firm filament control are important. Its metal body weighs approximately 76 g and combines an advertised 9.5:1 reduction with dual-sided filament drive.
This product contains the extruder body without a motor. It is not a complete hotend either: the motor, hotend, nozzle, heater, temperature sensor, fans and mount must be selected for the machine and toolhead.
Main features
| System | Geared dual-drive extruder |
|---|---|
| Filament | 1.75 mm |
| Advertised ratio | Approximately 9.5:1 |
| Advertised maximum force | Over 60 N, depending on motor, current, filament and adjustment |
| Body weight | Approximately 76 g, without motor |
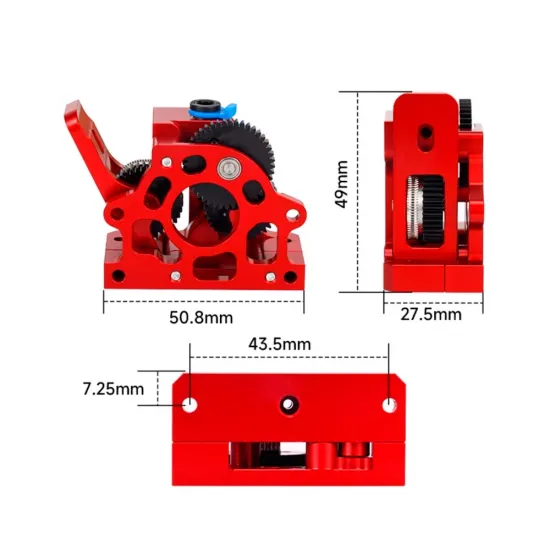
| Approximate dimensions | 50.8 × 49 × 27.5 mm |
| Motor | Not included; compact 36 mm format with 10-tooth pinion and matching mount |
| Colour | Black |
The force figure is an advertised maximum, not a guaranteed flow rate. Actual flow and print speed also depend on the hotend, nozzle, material, temperature, cooling and slicer settings.
Required motor
The HGX Lite requires a compact round 36 mm stepper motor with a 10-tooth straight pinion and matching attachment points. Our NEMA 14 36HS1718 motor with 10-tooth pinion belongs to this type of assembly.
However, the NEMA 14 name or a ten-tooth pinion alone does not guarantee compatibility. Check tooth profile and width, axial pinion position, mounting centres, available space, coil pairs, connector and driver current before assembly. Never connect or disconnect a motor while the controller is powered.
Dimensions and mechanical integration
The stated envelope is approximately 50.8 × 49 × 27.5 mm. The available drawing places the two motor mounting points about 43.5 mm apart. These dimensions are useful for preparing a mount, but verify the actual unit and toolhead CAD before producing the final printed or machined part.
The extruder does not determine the nozzle position by itself. Its mount must align the HGX Lite outlet with the hotend inlet through a short, step-free filament path. Heatsink cooling, part cooling, probe, toolboard, wiring and the full axis travel must also be checked.
3D printer compatibility
It can be integrated into Cartesian, CoreXY and other custom printers when a mount has been designed specifically for the HGX Lite geometry. Compatibility is a mechanical and electrical adaptation, not a universal replacement:
- Ender-3, Ender-3 V2, CR-10 and derivatives: require a direct-drive conversion that matches the carriage, hotend, fans and probe. It does not directly replace the original Bowden extruder.
- Voron 2.4 and Voron Trident: can use it only with a toolhead or community adaptation designed for this geometry. It is not a drop-in Clockwork 2 replacement or an official Voron component.
- Other printers: check mounting pattern, nozzle position, occupied volume, moving mass, motor current and wiring direction.
If you prefer a motor-integrated module with documented StealthBurner or EVA 3 mounting resources, see the BIQU H2 V2X. For a compact system that also integrates a hotend, the BIQU H2 V2S uses a different architecture and should be evaluated as a separate product.
Filaments and tension adjustment
The dual drive helps distribute load on the filament and is useful with PLA, PETG, ABS, ASA, TPU and other 1.75 mm materials. Whether each material can actually be printed is primarily determined by the installed hotend, nozzle, temperature, environment and filament preparation.
Use the lowest pressure that prevents slipping. Excessive tension may deform flexible filament, leave deep marks, increase motor load and accelerate wear. If under-extrusion occurs, check temperature, nozzle condition, path alignment and filament moisture before increasing tension.
Marlin configuration
There is no universal steps-per-millimetre value because the motor is not supplied and the advertised 9.5:1 ratio is approximate. With the hotend at printing temperature, slowly command a known length and measure the actual filament movement:
new_E = current_E × requested_distance / actual_distanceApply the result with M92 E<value> and use M500 only when EEPROM is enabled and the setting should be stored. Calibrate linear advance and retraction afterwards; do not copy these values from another toolhead.
Klipper configuration
Configure the actual motor and driver conservatively, then calibrate rotation_distance on the assembled extruder:
new_rotation_distance = current_rotation_distance × actual_distance / requested_distanceKlipper can separate rotation_distance and gear_ratio, but the latter should preferably use actual tooth counts. Do not combine a rotation distance that already includes the reduction with another gear_ratio, as this would apply the reduction twice. Tune pressure_advance only after extrusion, current and temperature are stable.
RepRapFirmware configuration
First configure microstepping and current for the motor that is actually installed. Calibrate steps per millimetre with the same physical measurement and set the result using M92 E... in config.g. Speed, acceleration, jerk and pressure advance limits should be increased progressively: a small geared NEMA 14 motor does not necessarily share the settings of a NEMA 17 extruder.
Installation and first commissioning
- Check the mount, motor, pinion, hotend and fasteners before closing the toolhead.
- With power disconnected, identify the motor coil pairs and verify connector order.
- Turn the mechanism by hand and check for tight spots or excessive backlash.
- Align the extruder outlet and hotend inlet, removing any step that could catch filament.
- Begin with conservative current, speed and acceleration; verify direction with a short move.
- Heat the hotend, calibrate delivered filament at low speed and monitor motor and driver temperature.
- Retune retraction and pressure compensation before judging final print quality.
It is for you if
- You want a compact direct-drive extruder and intend to select its motor and hotend separately.
- You have a dedicated mount or can adapt the toolhead around the required dimensions.
- You want dual drive and high reduction for controlled low-speed feeding.
It is not for you if
- You need a plug-and-play kit for a specific printer.
- You expect a motor, hotend, heater, sensor or fans in the same package.
- You cannot modify the mount, wiring and firmware configuration.
Package contents
- 1 × black HGX Lite extruder body, without motor.