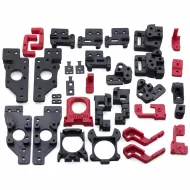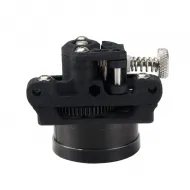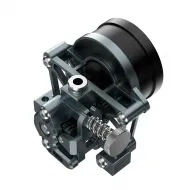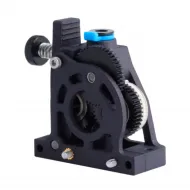


- Stock: Out of Stock
- Model: Orbiter-V2.5

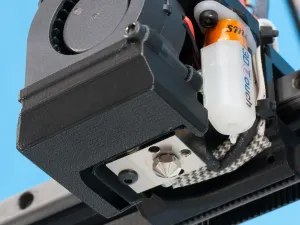
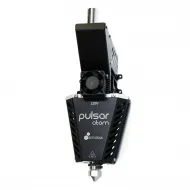
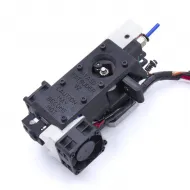
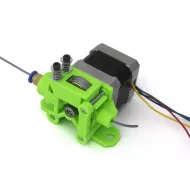
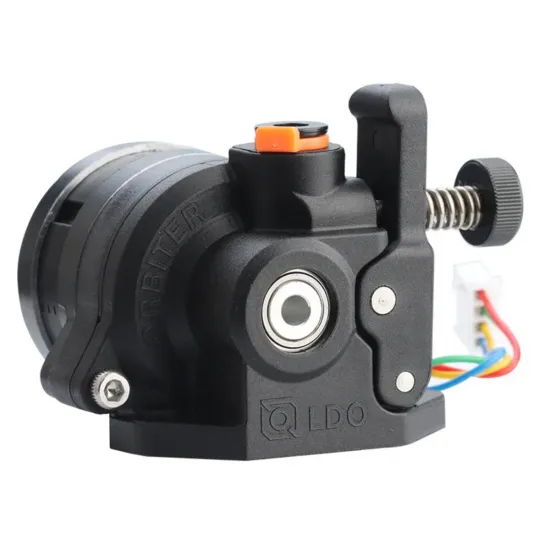
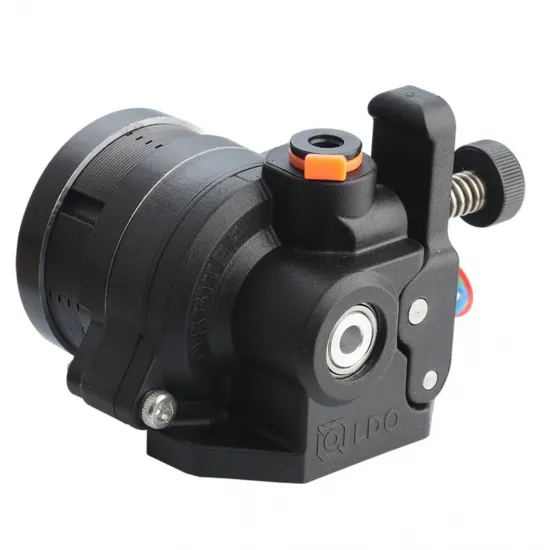
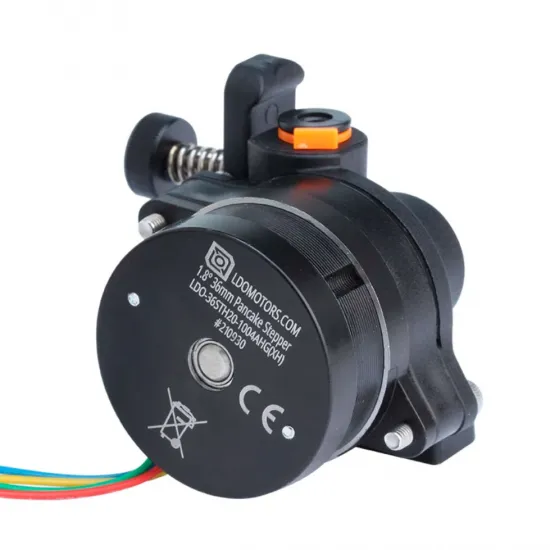
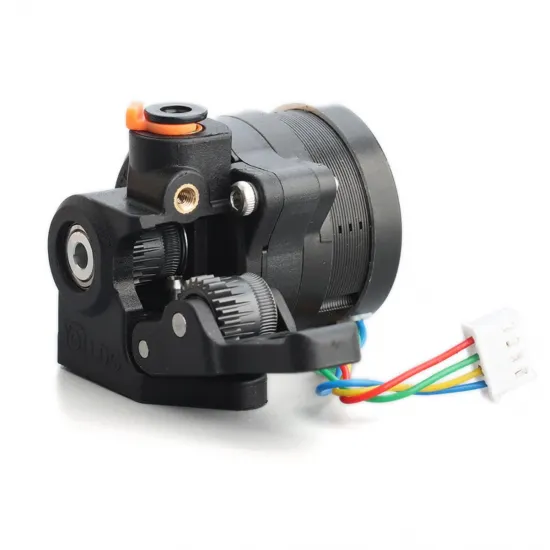
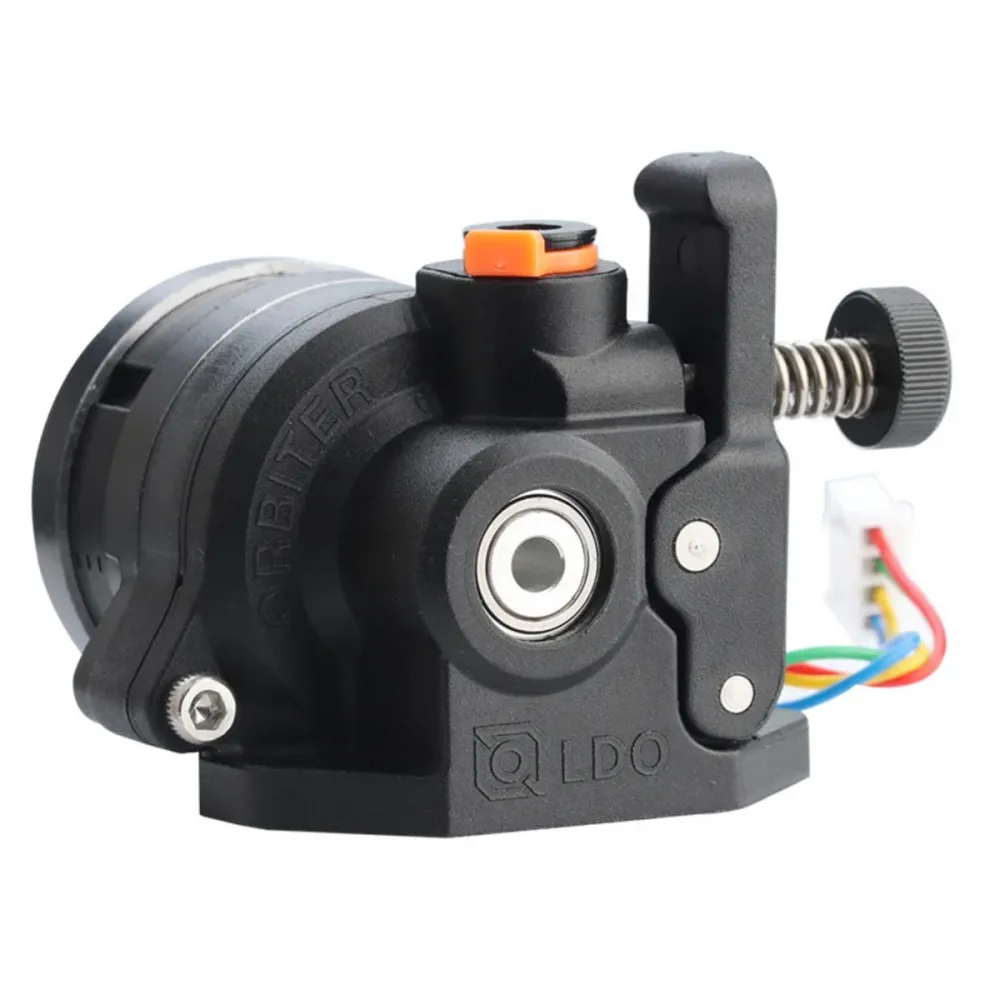
The LDO Orbiter V2.5 is a compact, lightweight direct extruder for 1.75 mm filament. It combines a 36 mm LDO motor, planetary reduction and dual drive gears to feed filament accurately without adding excessive moving mass to the toolhead.
V2.5 retains the Orbiter V2.0 housing and architecture while revising the parts that most directly affect drive concentricity: a press-fit main shaft, a larger-bore inner bearing and RNC-coated gears with a wider flat-bottom groove. This promotes more consistent extrusion with rigid materials and properly tuned flexible filaments.
What actually changes in Orbiter V2.5
- Knurled press-fit main shaft: improves the shaft-to-gear connection and reduces eccentricity.
- Revised concentricity: the project publishes approximately 20–30 µm for V2.5 versus 50–140 µm for V2.0. This is design data, not an individual measurement of every unit.
- 9 mm inner bearing: supports the revised shaft.
- RNC-coated drive gears above HRC60: provide good wear resistance.
- Wide flat-bottom groove: reduces effective drive-diameter variation when the filament moves slightly sideways.
The short filament path, 11 mm drive gears, stainless-steel outlet guide, PEEK sleeve and captive tension system come from the Orbiter V2.0 platform and remain part of this design.
Main specifications
| Type | Planetary dual-drive direct extruder |
|---|---|
| Filament | 1.75 mm |
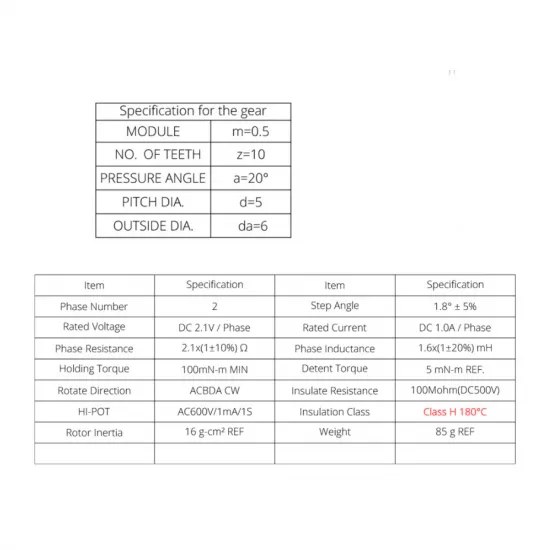
| Motor | LDO-36STH20-1004AHG(XH), 1.8° |
| Drive gears | 11 mm, V2.5 flat-bottom profile, RNC coating and published hardness > HRC60 |
| Approximate mass | 135 g |
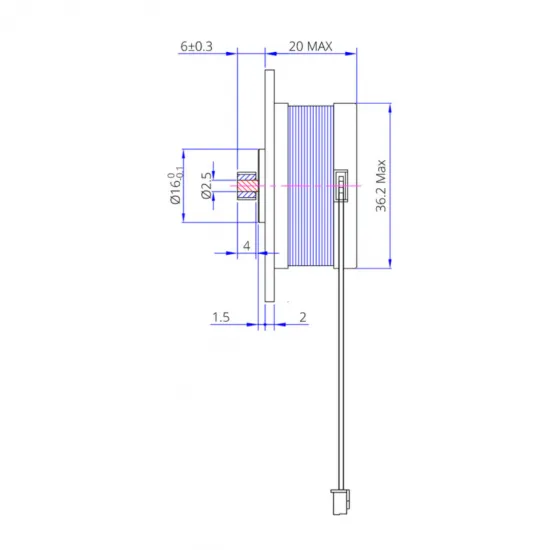
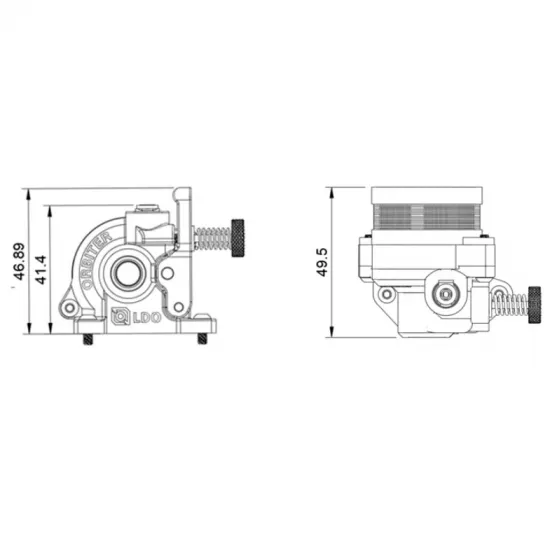
| Approximate envelope | 51 × 49.5 × 46.9 mm; always check the mount or CAD before machining |
| Initial extrusion setting | 690 steps/mm at 16 microsteps or rotation_distance: 4.69 in Klipper; calibration required |
| Documented current | Up to 1.2 A peak / 0.85 A RMS as a configuration reference, subject to driver and cooling |

Mechanical compatibility
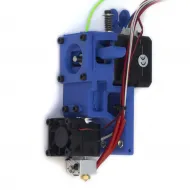
The Orbiter V2.5 is not a universal drop-in replacement. It requires a mount or toolhead designed for the Orbiter V2.0/V2.5 and enough clearance for the motor, tension lever, filament inlet and wiring.
It can be integrated into Voron projects, CoreXY printers, Cartesian machines and other platforms when a suitable mount is available, but this does not make it directly compatible with every revision. Before buying or printing a mount, check:
- The exact toolhead version and mounting pattern.
- Hotend position, cooling ducts and probe.
- Rigidity, clearances, tension access and usable axis travel.
- Filament routing, strain relief and cable movement.
Because V2.5 keeps the V2.0 body, V2.0 mounts are the best starting point, but the final installation must still be checked on the actual machine.
Initial firmware configuration
The following values come from the project documentation and are starting points. Gear, filament, hotend and driver tolerances require real extrusion calibration after installation.
| Firmware | Documented baseline | Required check |
|---|---|---|
| Klipper | full_steps_per_rotation: 200, microsteps: 32, rotation_distance: 4.69, run_current: 0.85 and stealthchop_threshold: 0 | Confirm RMS current and the driver's sense resistor; calibrate rotation_distance. |
| Marlin | M92 E690 at 16 microsteps; references M201 E3000, M203 E120 and M205 E5 | Use M906 T0 E850 only when the board, driver and build support digital current control. Calibrate Linear Advance. |
| RepRapFirmware | M350 E16 I1, M92 E690, M203 E7200, M566 E300, M201 E3000 and M906 E1200 I10 | Confirm how the board expresses current and calibrate Pressure Advance and retraction. |
Retraction and Pressure Advance
- Initial retraction: 1–1.5 mm. Tune distance and speed for each hotend and material.
- TPU: start with slow retractions, around 30 mm/s or below, and use the shortest distance that controls stringing.
- Pressure Advance: 0.02–0.03 s is a project starting reference, not a universal value.
- Extruder acceleration: 3000 mm/s² is a prudent starting point. No-filament theoretical limits do not represent real printing conditions.
Motor, wiring and current
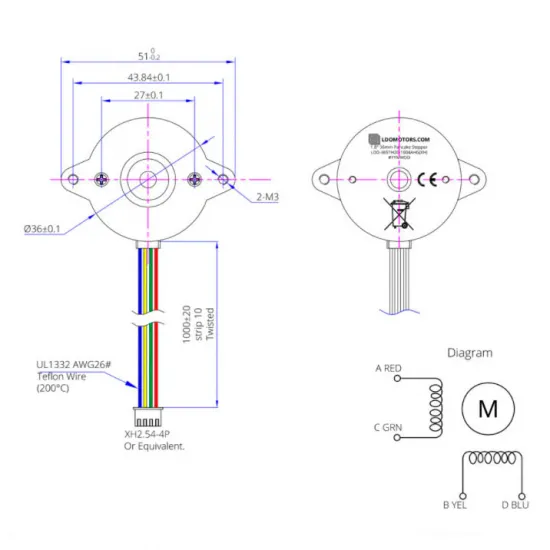
The motor drawing identifies two coil pairs: red/green and yellow/blue. Confirm continuity with a multimeter and adapt the order to your controller's actual pinout; do not assume every four-pin connector uses the same order.

The coil's rated voltage is not the printer supply voltage: the stepper driver regulates current. Always check whether the firmware uses RMS or peak current and confirm the controller's sense resistor. In a heated chamber, start with lower current, check torque and temperature, and increase only when necessary.
Calibration after installation
- With the printer off, verify coil pairs, connector orientation and free movement.
- Set a conservative current and check rotation direction without forcing filament.
- Heat the hotend to a suitable temperature for the material.
- Measure extrusion over a long distance, preferably 300–400 mm, and correct steps/mm or
rotation_distance. - Tune flow, retraction and Pressure/Linear Advance.
- Run a supervised extended test and check motor, driver and connector temperature as well as extrusion quality.
Contents
- Assembled Orbiter V2.5 extruder.
- Installed LDO motor.
- Motor cable.
The filament sensor, hotend, printer-specific mount and other accessories are not included unless explicitly shown in the selected option or order images.
If you already own a genuine Orbiter V2.0 and would rather reuse its motor and compatible components, see the Orbiter V2.0 to V2.5 upgrade kit. It is not intended for V1.x units, clones or similarly shaped extruders unless every component has been verified.
It is for you if
- You want a lightweight direct extruder with good control of rigid and flexible filaments.
- Your toolhead has a mount designed for Orbiter V2.0/V2.5.
- You can adapt the wiring and firmware and perform final calibration.
It is not for you if
- You need a universal drop-in replacement with no mount or configuration work.
- You expect a kit that already includes a hotend or filament sensor.
- You cannot verify the pinout, driver current or toolhead clearances.
See the Orbiter V2.5 technical documentation for the project's mechanical comparisons and revision notes.