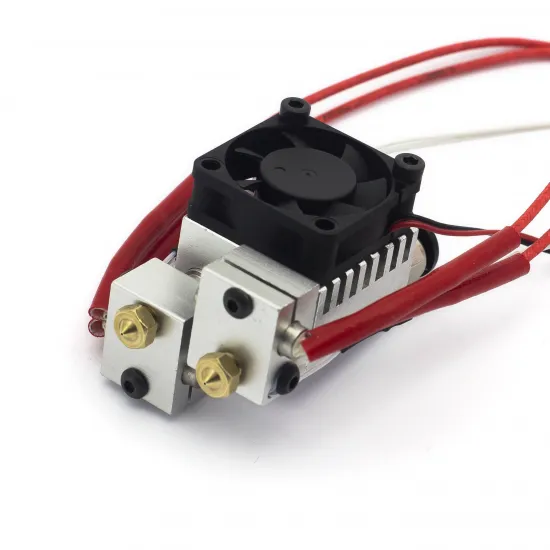


- Stock: 68
- Model: HTA3D-DUAL-EXTRUDER

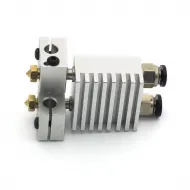
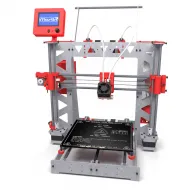
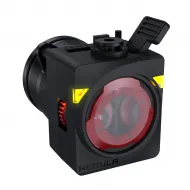
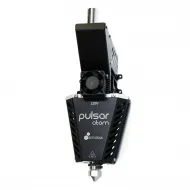
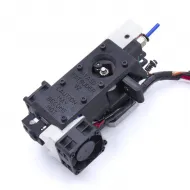
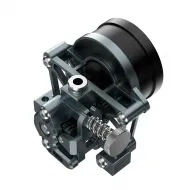
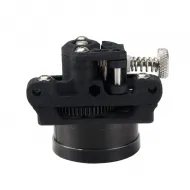
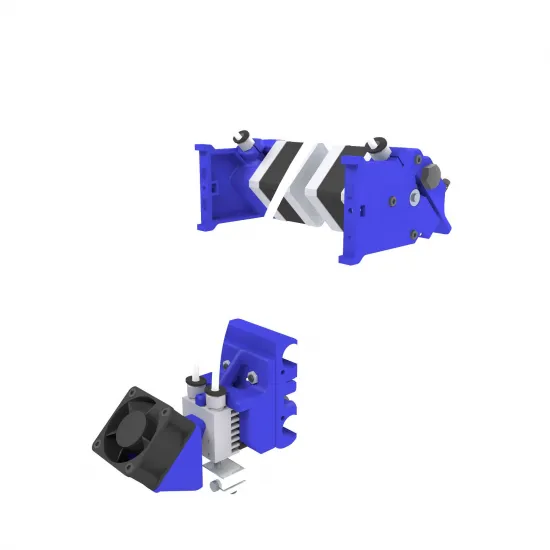
The HTA3D dual Bowden extruder for P3Steel combines two independent MK8 drive systems with a two-nozzle Chimera-style hotend to add dual extrusion to a compatible P3Steel. It can print in two colours, combine a model material with a support material, or dedicate each tool to a different filament, provided that their temperatures and printing requirements are mutually compatible.
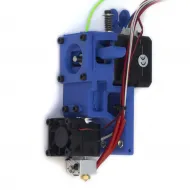
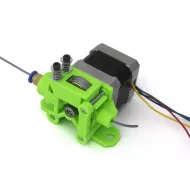
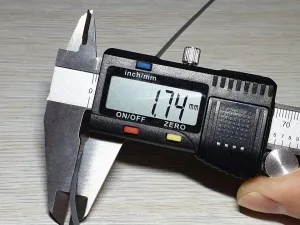
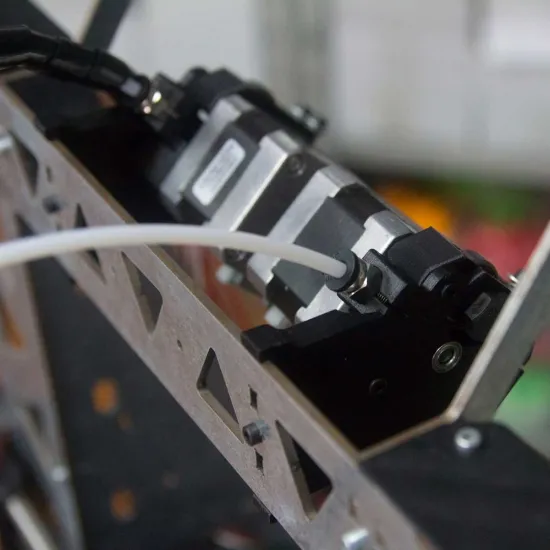
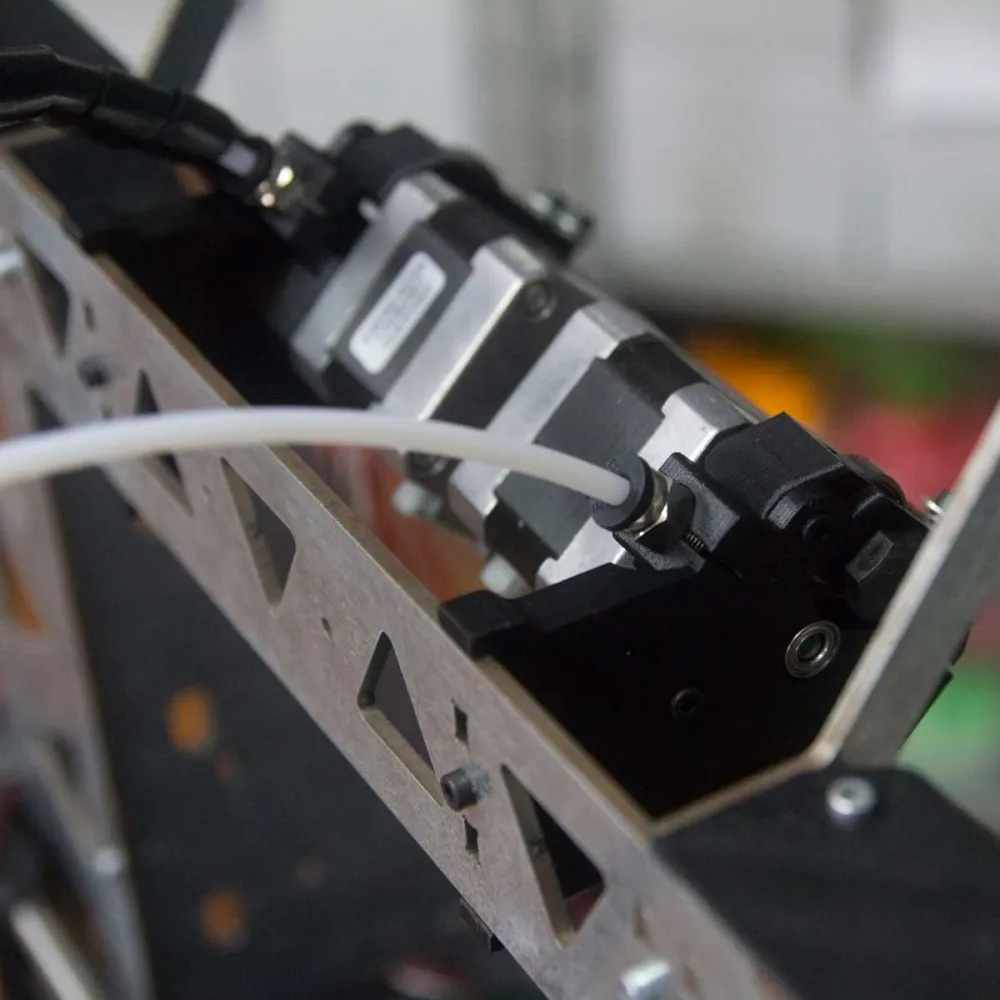
Its architecture keeps moving mass off the X axis: both NEMA 17 motors attach to the frame and feed 1.75 mm filament through PTFE tubes. The carriage carries the shared heatsink, two heater blocks and two nozzles. Each filament retains its own motor, heater, sensor and outlet; the materials are not mixed inside one nozzle.
How it is built
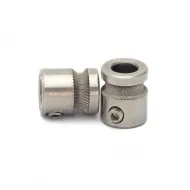
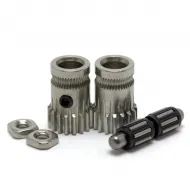
- Two MK8 Bowden extruders: each filament has its own motor and drive mechanism.
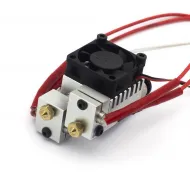
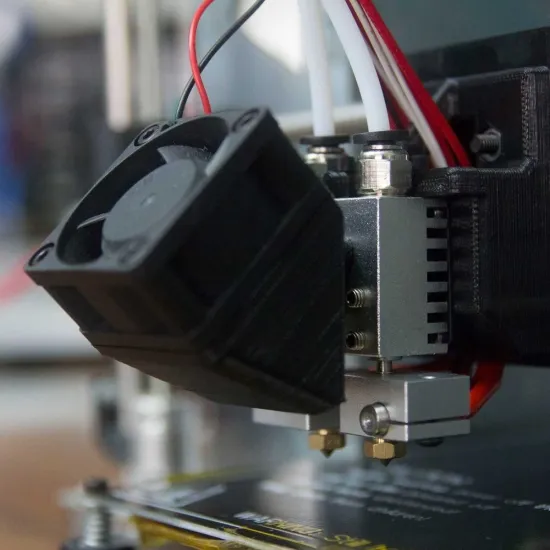
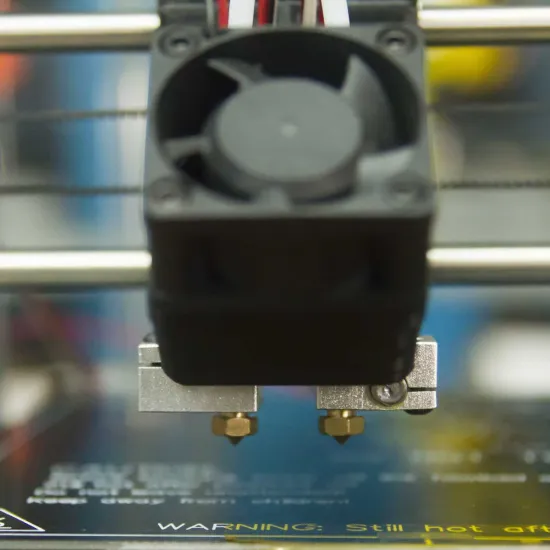
- Dual-nozzle hotend: two independent melt zones installed in a shared Chimera-style heatsink.
- Two 40 W heaters and two 100K NTC thermistors: each tool temperature is controlled separately.
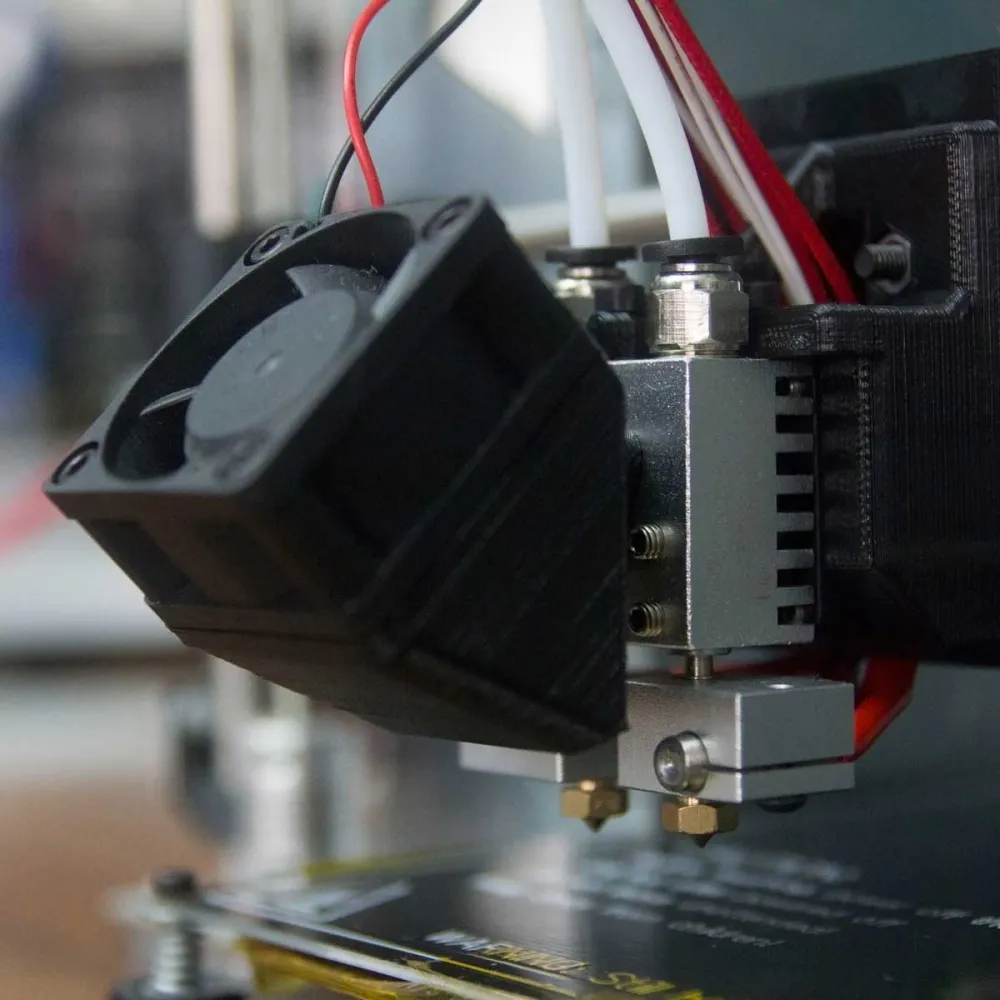
- Heatsink cooling: one shared 3010 axial fan.
- Remote feeding: PTFE tubes and Bowden fittings for 1.75 mm filament.
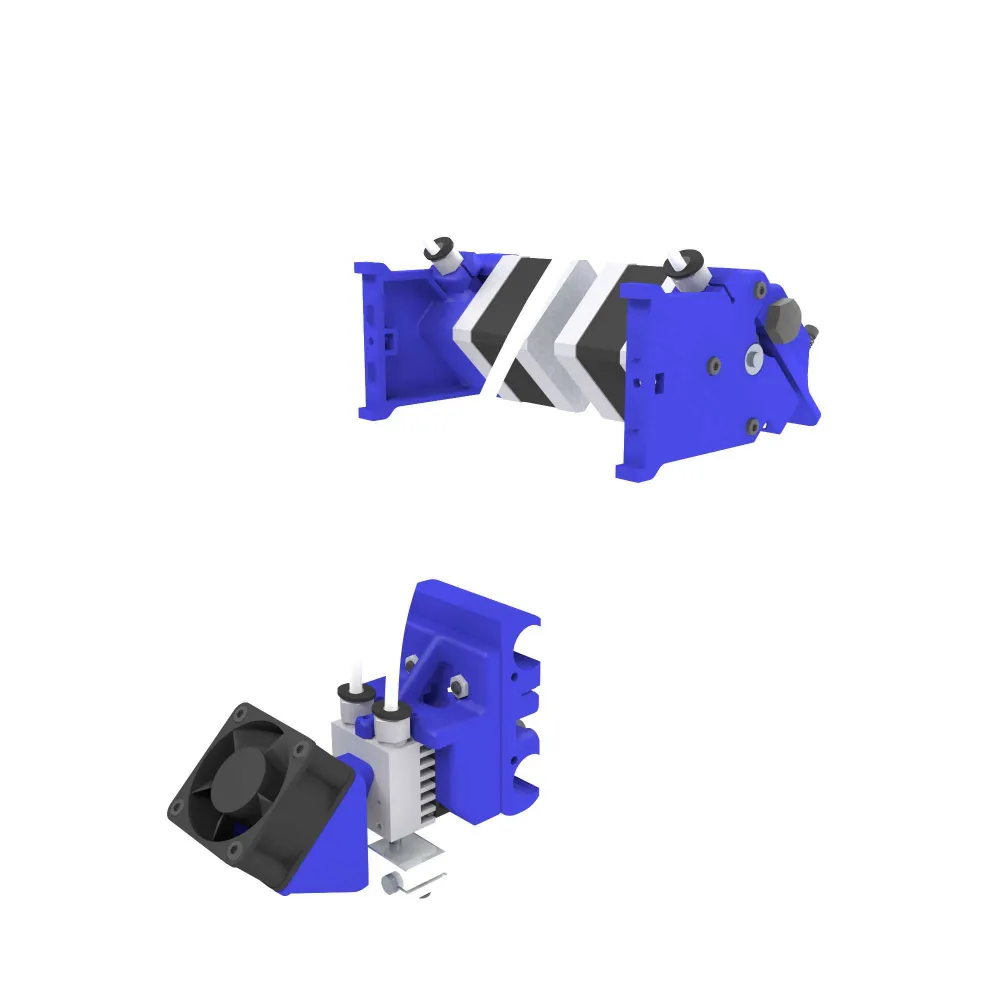
- Purpose-built mounting: left and right extruder bodies, X carriage, hotend holder and auxiliary parts developed for the HTA3D P3Steel Dual.
Kit contents
| Group | Documented components |
|---|---|
| Drive system | 2 x 40 mm NEMA 17 motors, 2 x MK8 drive gears for 1.75 mm filament, 2 x 608ZZ bearings, 2 x MR105ZZ bearings and approximately 1 m Dupont cables. |
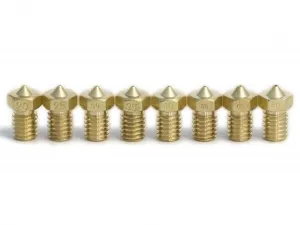
| Hotend | Chimera-style hotend with two blocks and nozzles, 2 x 40 W heaters, 2 x 100K NTC thermistors, one 3010 fan and PTFE tubes. |
| Bowden connections | 4 fittings for 4 mm tube, covering the hotend and both extruder ends. |
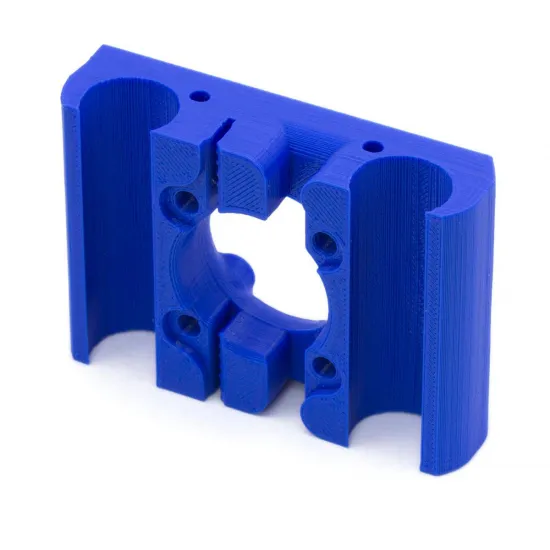
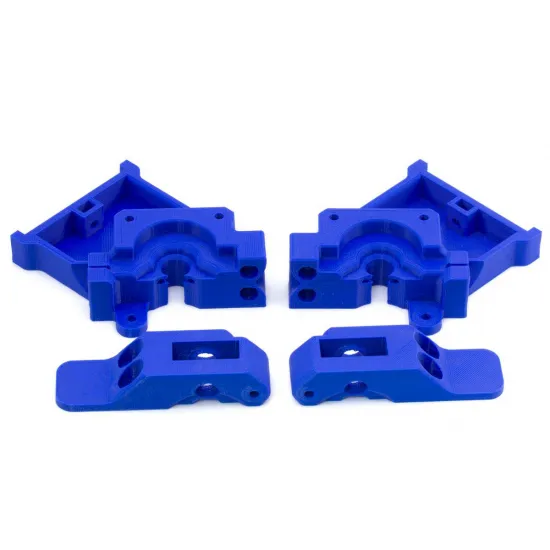
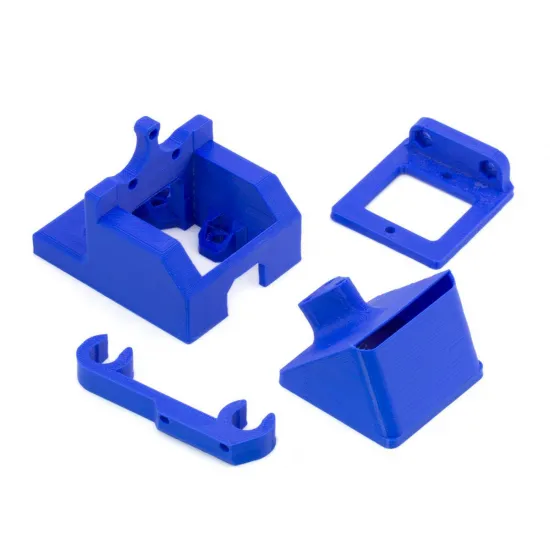
| Printed parts | Left and right extruders with tensioners, X carriage, hotend holder, layer-fan support and the auxiliary supports shown. |
| Fasteners | 3 x M3x8, 2 x M3x12, 3 x M3x16, 4 x M3x20, 6 x M3x25, 4 x M3x35 with springs and washers, 4 x M4x25, 2 x M8x20, 6 x M3 nuts and 4 x M4 nuts. |
Mechanical and electronic compatibility
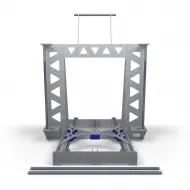
The assembly is designed around the geometry of the HTA3D P3Steel Dual. It may provide a starting point for other P3Steel or Prusa i3 Steel machines, but compatibility is conditional: frame mounting points, X carriage, endstops, available travel and cable management must all match. Sharing the same printer family name does not prove that every revision uses identical parts.
The controller must provide at least two extruder drivers, two heater outputs and two temperature inputs, plus suitable fan outputs. When adapting it to another board, check pin mapping, current capability and voltage before connecting any component.
- The P3Steel Dual printed-parts kit can replace or complete the mechanical family.
- The P3Steel Dual fastener kit groups the hardware for the complete printer.
- The 4 x 2 mm PTFE tube is the format used to guide 1.75 mm filament; check the required length and fitting condition before ordering a replacement.
- The 18 mm Chimera-style dual heatsink belongs to the same family, but separation, threads and mounting geometry must be compared before replacement.
Not IDEX and not a mixing hotend
Both nozzles are fixed to the same carriage and always move together. This system cannot park one tool away from the print like an IDEX machine, and it does not combine two filaments inside one nozzle like a mixing hotend. Its advantage is to provide two complete thermal channels with relatively simple mechanics and without placing both motors on the X axis.
The trade-off is that the inactive nozzle remains close to the print. Both nozzle heights must be aligned accurately, while standby temperatures, retraction, a purge tower or an ooze shield should be used to manage leakage according to the slicer and materials.
Marlin setup
- Set
EXTRUDERS 2and enable the board's second driver, heater and sensor. - Select
TEMP_SENSOR_0andTEMP_SENSOR_1for the actual thermistor references. A 100K rating alone is not enough to choose a table. - Do not enable
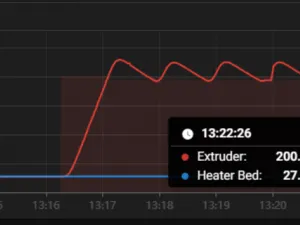
DUAL_X_CARRIAGE,SWITCHING_EXTRUDERorSWITCHING_NOZZLE: the two nozzles are fixed on one carriage. - Calibrate E0 and E1 steps independently and run PID autotune for each heater.
- Measure the second nozzle's X/Y displacement and set it with
M218 T1 X... Y.... Check it withM503and, when using EEPROM, save it withM500. - Configure the shared heatsink fan to run whenever either hotend is hot.
Klipper setup
Klipper requires an [extruder] section and an [extruder1] section, each with its own motor, heater, sensor and PID configuration. Tool changes are commonly implemented with T0 and T1 macros that call ACTIVATE_EXTRUDER and apply the measured offset with SET_GCODE_OFFSET.
Do not copy pins or values from a generic example: rotation_distance, sensor type, thermal limits and offsets depend on the actual board and hardware. Calibrate both extruders and hotends separately.
RepRapFirmware setup
In RepRapFirmware, create one tool for each channel with M563, assigning its real drive and heater, then enter measured offsets with G10 Pn X... Y.... Active and standby temperatures can also be defined to limit ooze. Drive, heater and fan numbers vary by controller, so they must come from the board documentation rather than a universal command line.
Safe commissioning
- With power disconnected, verify the voltage marked on the heaters and the current capability of the controller outputs.
- Check that each thermistor is paired with the correct heater. During the first test, heat one channel to a low target and confirm that only its corresponding reading rises; then repeat with the other.
- Confirm that the 3010 fan moves air through the shared heatsink whenever either hotend is hot.
- Align both nozzles to the same height while cold and check again after the first heat cycle. A lower inactive nozzle may drag across the print.
- Calibrate each motor's extrusion, each heater's PID and finally the X/Y offset with an alignment print.
- Tune retraction and priming in the slicer. On the original P3Steel configuration, 3 mm at 30 mm/s can be used as an initial reference, but it must be adapted to PTFE length and material.
It is for you if...
- You want to add dual-colour or support-material printing to a P3Steel with matching geometry.
- You prefer to keep both motors off the X carriage to reduce moving mass.
- Your controller provides two complete extrusion channels and you are comfortable calibrating two nozzles.
- You want a documented assembly with parts developed for the HTA3D P3Steel Dual.
It is not for you if...
- You need IDEX, duplication or mirror printing with independent carriages.
- You want to mix two colours inside a single nozzle.
- Your board only provides one extruder driver, heater output or temperature input.
- You intend to fit it to another printer without adapting the carriage, mounts, wiring and firmware.
- You want the simplest possible setup and do not need two materials: a fixed dual nozzle requires more adjustment and maintenance than a single hotend.
For mechanical assembly, see the illustrated HTA3D P3Steel dual-extruder assembly guide. Before starting, identify your machine revision and compare the delivered contents, as printed-part colours and some auxiliary components may vary between batches.