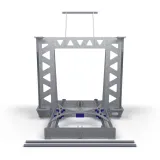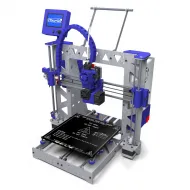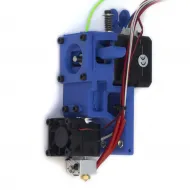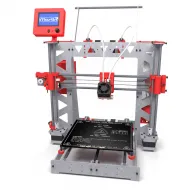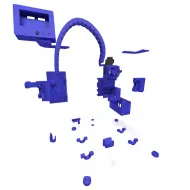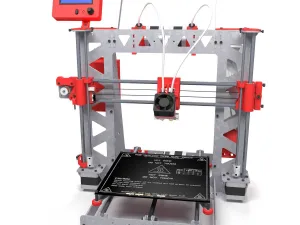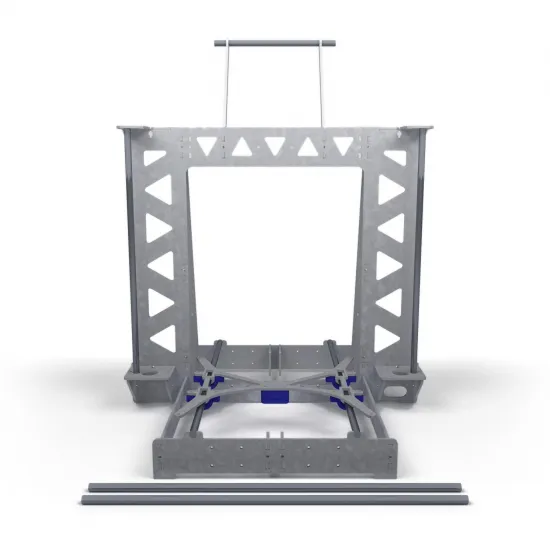
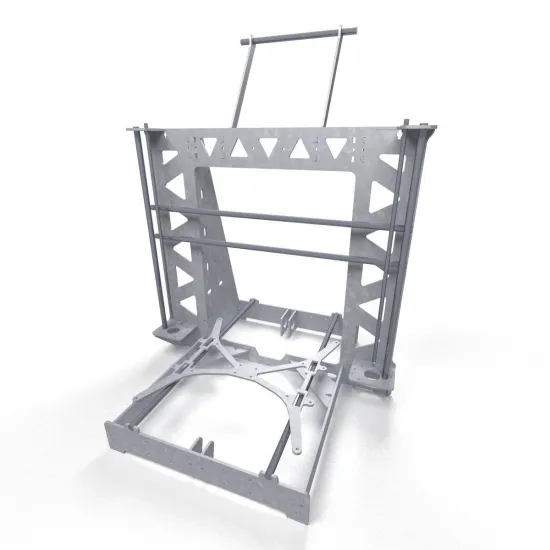
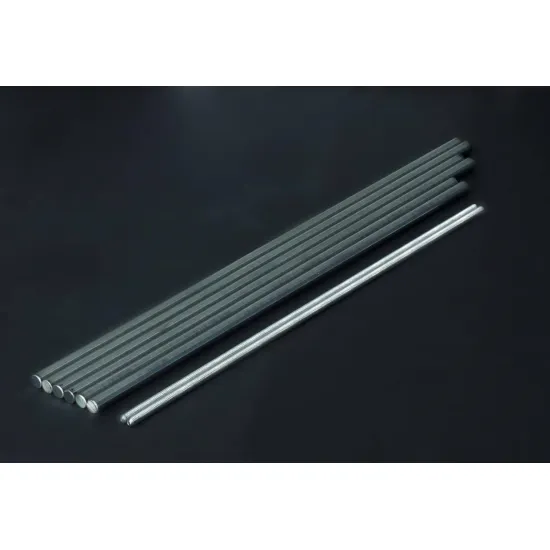


P3Steel Frame for Prusa i3 – Laser Cut Galvanized Steel
85.00€
Ex Tax: 70.25€
- Stock: 13
- Model: P3Steel-frame
Assembly Tutorial
New step by step tutorials:
We have prepared a new updated tutorial serie, with further information about available options. Also printable, so you don't need a display to follow the instructions:
Assembly Tutorial (Spanish with english subtitles):
Important: We recommend reading the instructions in this tab completely, in addition to following the assembly from here since we have included additional information to the videos.
Updates:
- Thermistors have now dupont connector, no soldering required.
- Stepper motors include cable connector on base. In addition, we ship them with the wires in the correct order for Ramps 1.4. So you do not have to change the order.
- Marlin updated to 1.1.0 RC 7 version:
- Improved filament change system from the LCD or using command M600
- Bed leveling function optimized, get easily a perfect first layer.
- Small bugs fixed, now more information is displayed on the LCD.
Frequently asked questions:
- How all fans are connected to the printer?
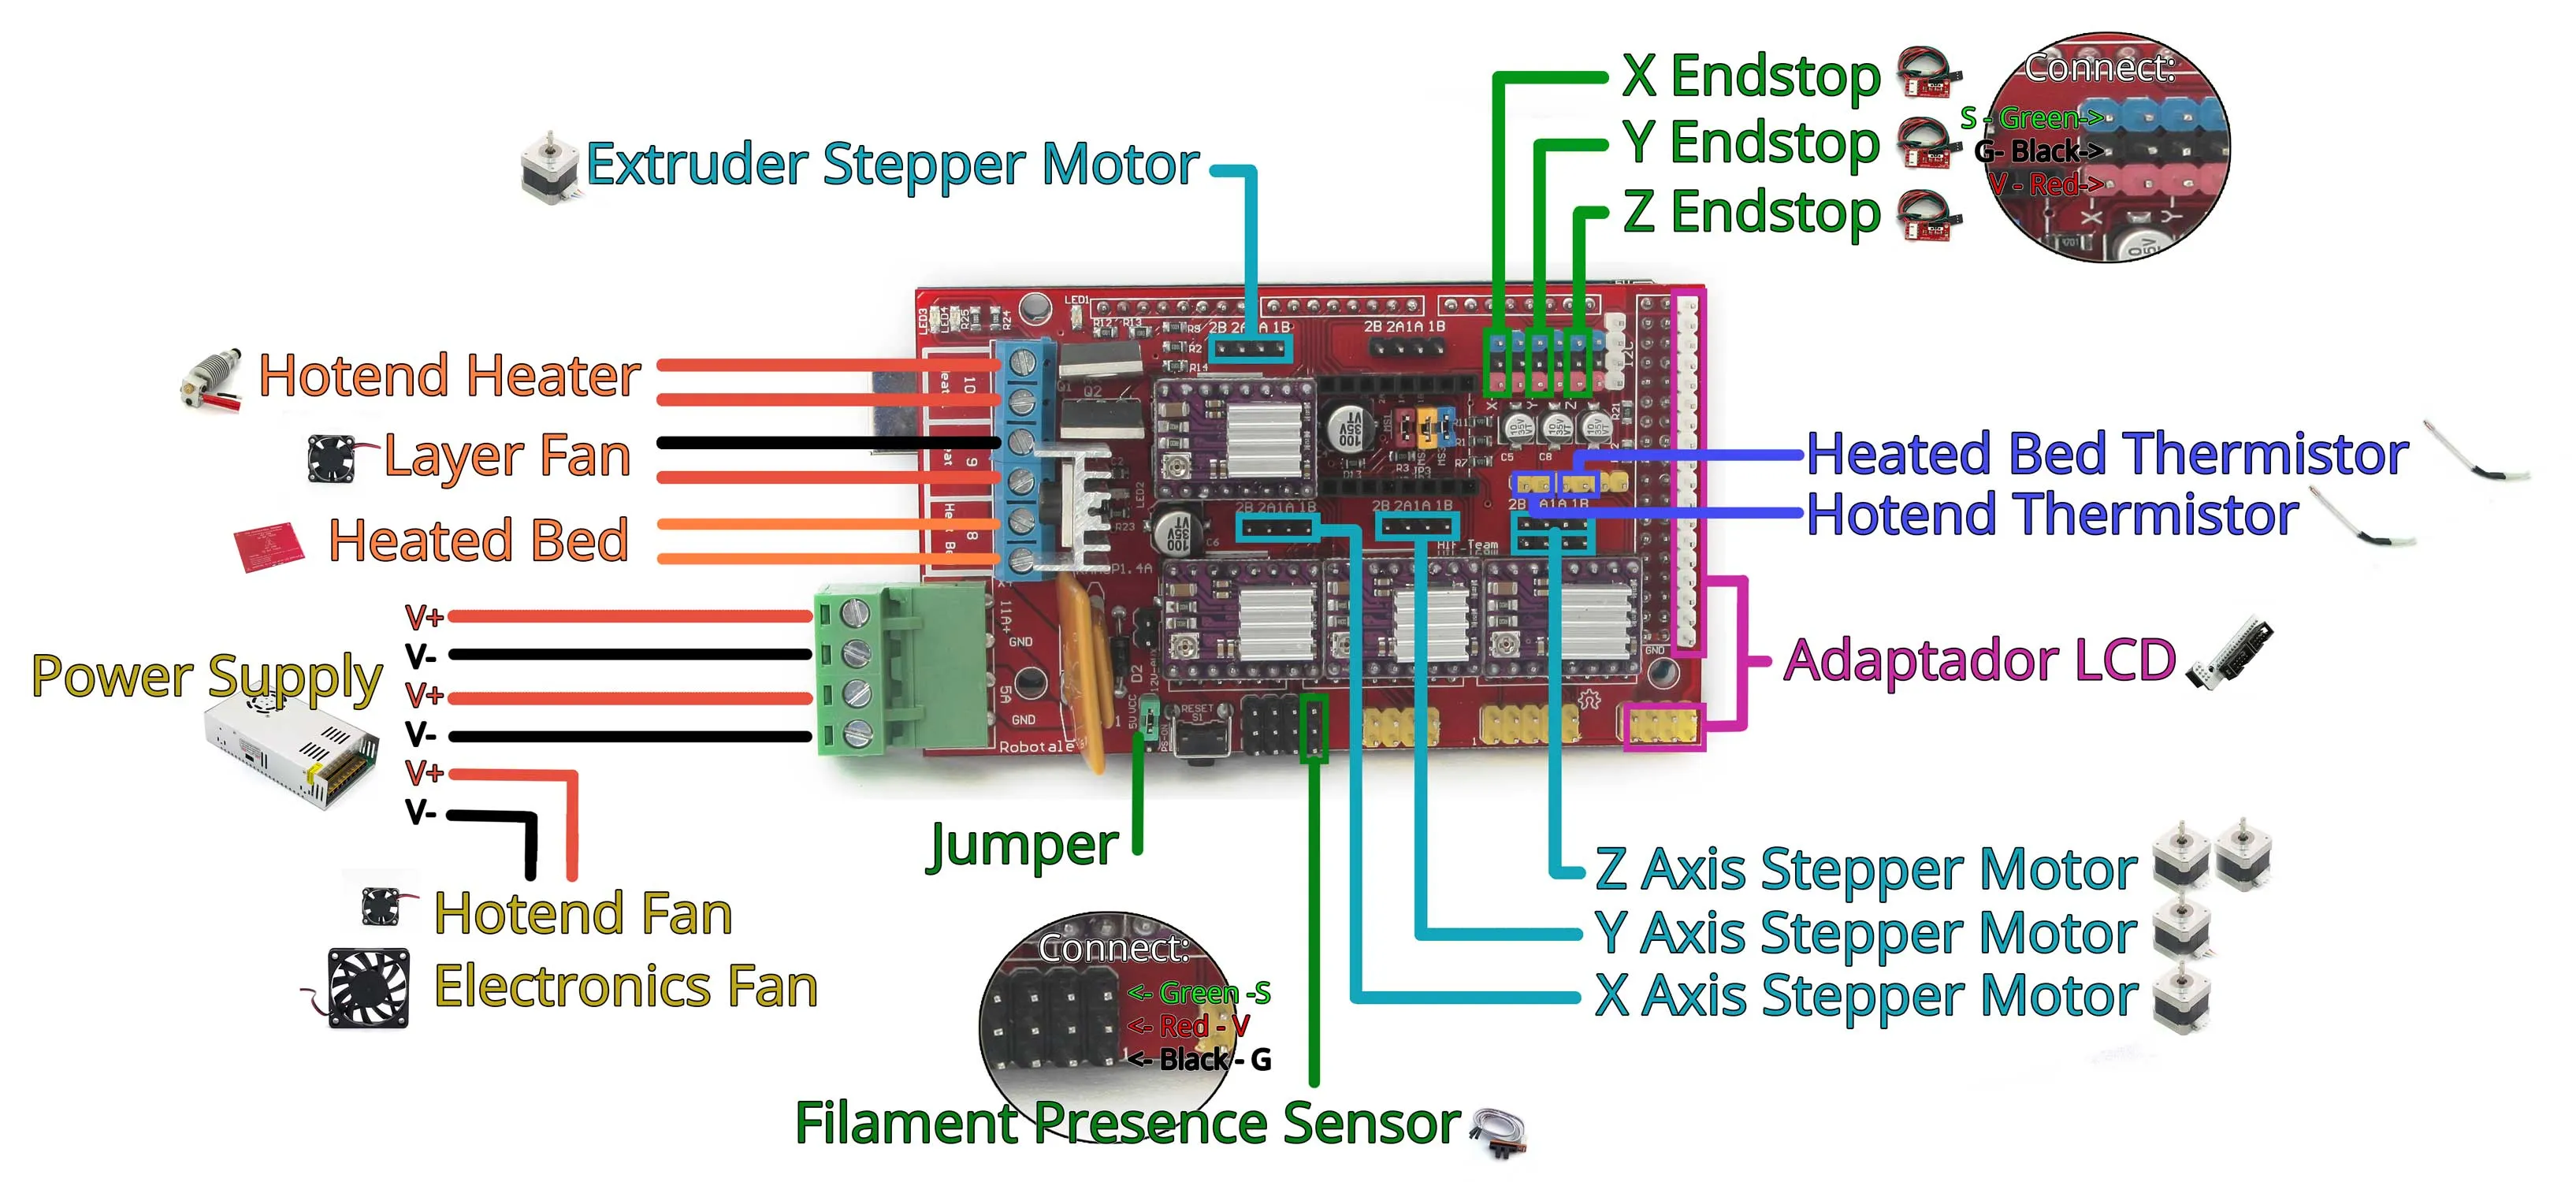
Fans are connected as follows:- Layer fan: Connected to D9 as indicated in the video
- Hotend fan: connected directly to 12v, the connection can be done like on the video or connected to the output of 12v on Ramps 1.4
- Electronics Fan: connected directly to 12v, the connection can be done like on the video or connected to the output of 12v on Ramps 1.4
- The extruder motor does not move when I try to move it from the LCD.
Marlin has a protection to prevent accidental movement, so the extruder will not move with temperatures under 170°C. Try heating the hotend over this temperature and the extruder will move
Assembly drawings:
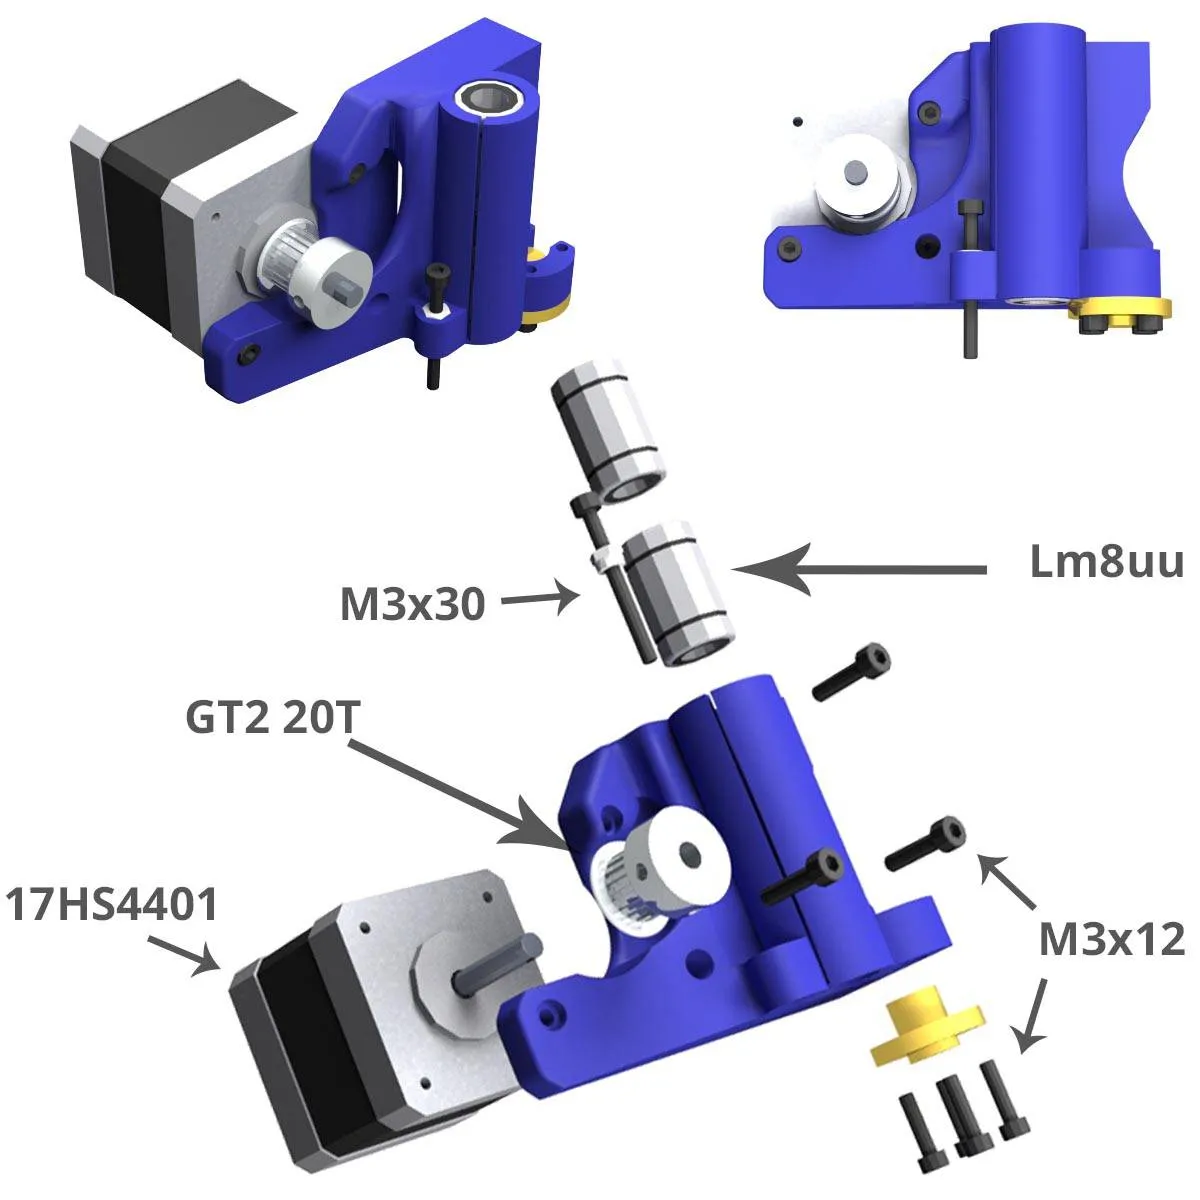
Xmotor, Leadscrews version:
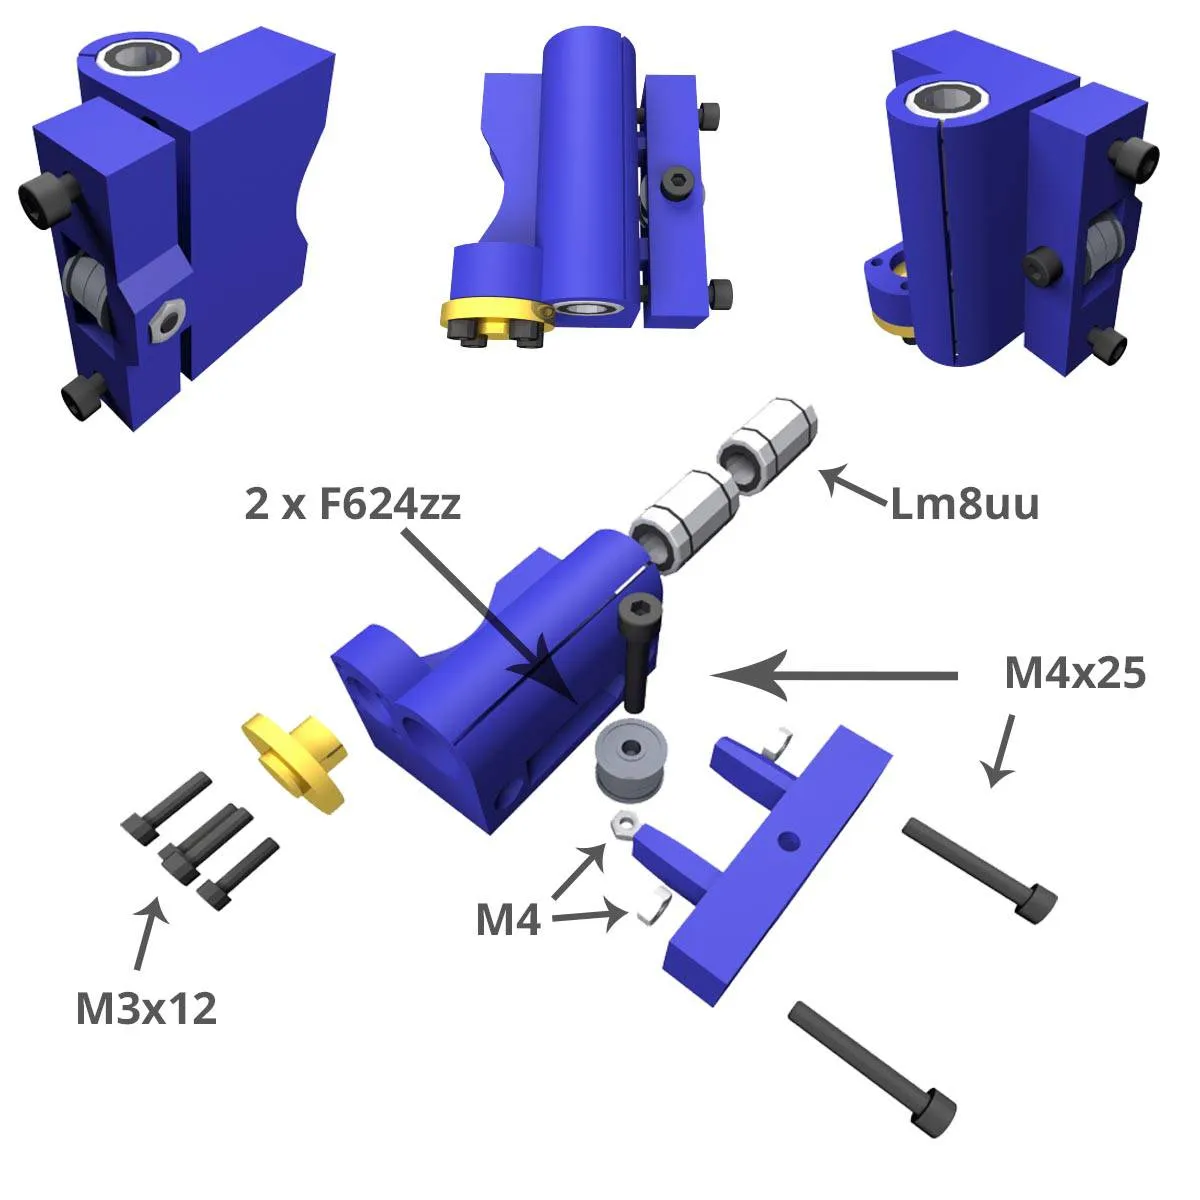
X idler, Leadscrews version:
Extruder detail, Leadscrews version:
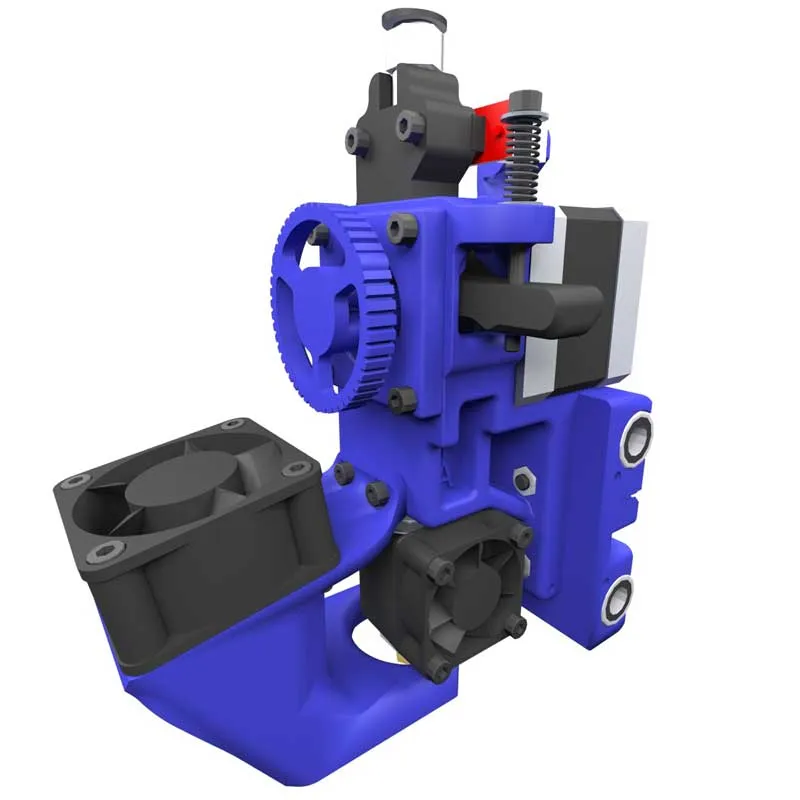
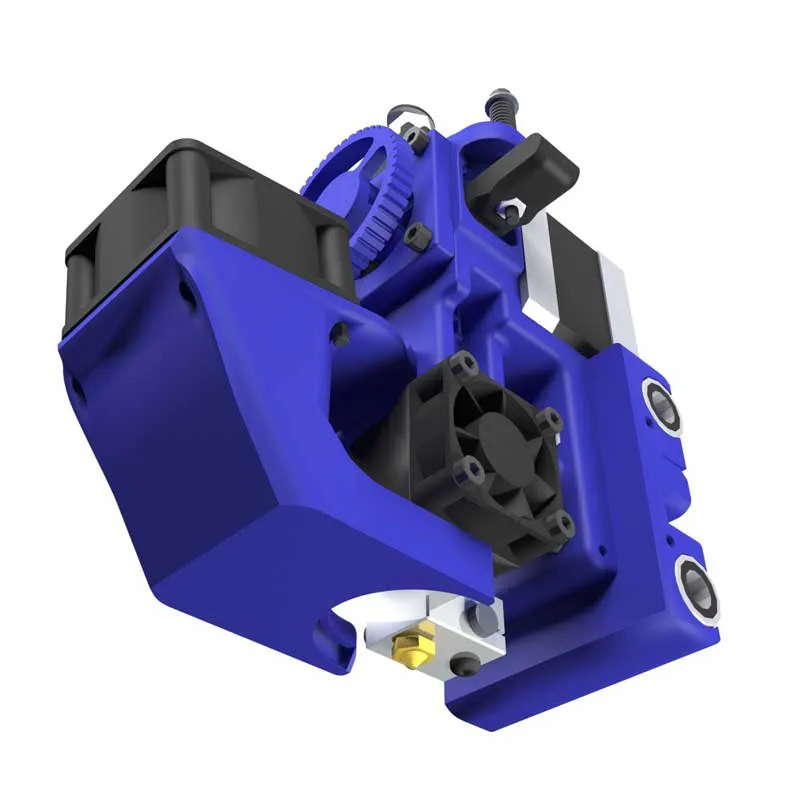
HotEnd detail, Leadscrews version:
Connection Diagram of RAMPS 1.4:
Order and Orientation of the Stepper Motor wires:
Keep the colour order of the wire; the RED wire goes DOWNWARDS when connecting to the RAMPS.
Additional considerations:
- Connect limit switches as indicated in the video or scheme, an incorrect connection can damage the Mega board.