

- Stock: 999
- Model: Eje-Y-3DSteel-V2
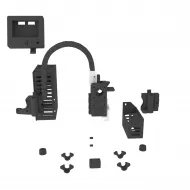
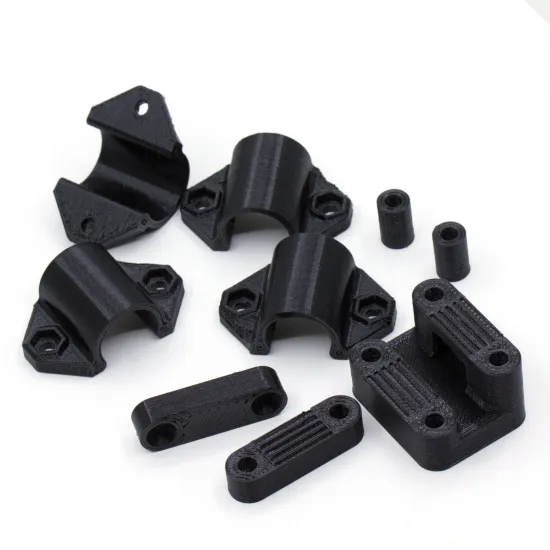
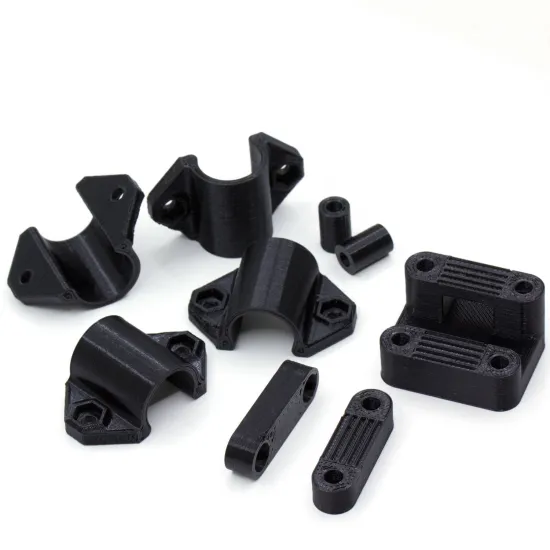
A set of PETG printed parts for building or repairing the HTA3D 3DSteel V2 Y axis. It includes the linear-bearing holders, motor-mount spacers and belt anchor used by the original design.
This is a machine-specific mechanical subset rather than a universal kit for every P3Steel or Prusa i3 Steel. Before ordering it for a modified machine, compare the frame revision, Y carriage, hole positions, motor placement and belt path.
Set contents
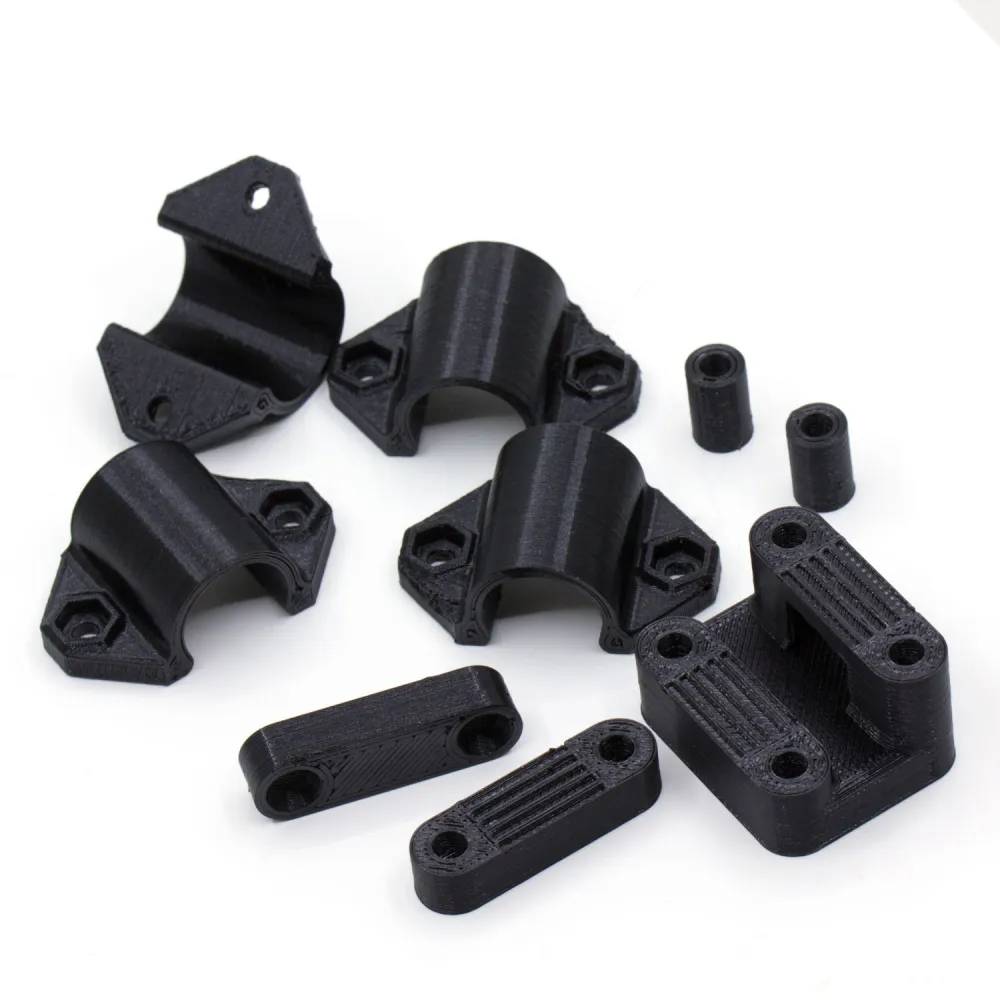
- 1 belt holder for the Y carriage.
- 4 LM8UU linear-bearing holders.
- 4 motor-mount spacers: 2 cylindrical and 2 elongated parts.
The photographs show a black set. Colour is not listed as a selectable specification and may vary; please ask us before ordering if it is important for your assembly.
Compatibility
These parts are designed for the original Y-axis configuration of the HTA3D 3DSteel V2 printer. They are also included in the complete 3DSteel V2 printed-parts set.
The four holders are made for the LM8UU linear bearings used on the design's Y carriage. Compatibility requires the corresponding four-bearing layout, 8 mm rods, hole spacing and 3DSteel V2 carriage.
- Original 3DSteel V2: intended direct compatibility.
- 3DSteel V1: do not assume a direct replacement; compare every part and mounting point.
- P3Steel, Prusa i3 Steel and third-party variants: compatibility is not guaranteed.
- Modified machines: check the carriage, rod diameter and position, mounting-hole distances, pulley height and belt line.
A NEMA 17 motor format or an 8 mm bearing bore alone does not prove that these spacers and holders will fit another machine.
Fastener option
Selecting “Include fasteners: Yes” adds the following hardware for this subset:
| Item | Quantity |
|---|---|
| M3 × 8 screw | 2 |
| M3 × 12 screw | 12 |
| M3 × 25 screw | 2 |
| M3 lock washer | 4 |
| M3 lock nut | 12 |
| M4 × 20 screw | 2 |
| M4 × 25 screw | 3 |
| M4 washer | 2 |
| M4 lock nut | 1 |
This option provides the fasteners for the Y-axis printed parts. It is not the same as the complete 3DSteel V1/V2 fastener kit intended for the whole printer assembly.
Installation and alignment
- Switch the printer off and fully disconnect it before removing the carriage or bed.
- Compare each new part with the one being replaced and retain its orientation as a reference.
- Place the four LM8UU bearings in their holders without forcing or deforming their outer shells.
- Attach the holders to the carriage without fully tightening them yet.
- Insert both clean Y rods and check that they are parallel and coplanar. Tighten the holders gradually in a cross pattern.
- Install the motor spacers in the positions and orientation used by the original design.
- Secure the belt and align it with the motor pulley and return pulley, avoiding twist or side rubbing.
- Move the carriage manually over its full travel. It must move freely without catching on screws, the frame or wiring.
- Tension the belt only enough to remove slack, then perform the first powered test at low speed.
Care of printed parts
- Do not overtighten: PETG may deform or crack around mounting holes and captive nuts.
- Periodically inspect for looseness, cracks, layer separation and belt movement.
- Replace a damaged bearing holder or belt anchor; do not keep it in service with an improvised structural repair.
- Keep the parts away from heat sources not accounted for by the original design.
Order preparation
This product is prepared according to the selected configuration. The current listing states an approximate handling time of 24 to 72 hours before dispatch.