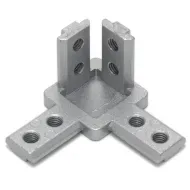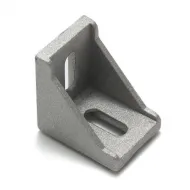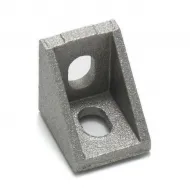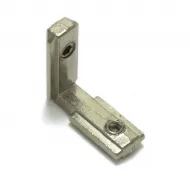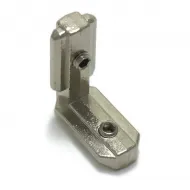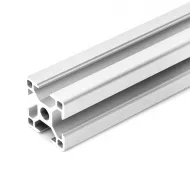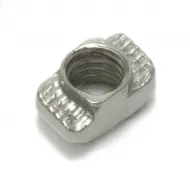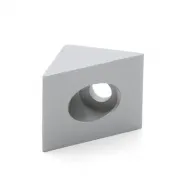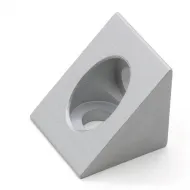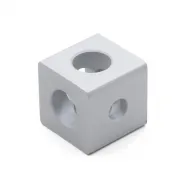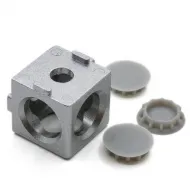


- Stock: 1
- Model: Conector-L-2020
Model:

2020 - L type

2020 -T type

2020 - L type

2020 -T type

3030 - L type

3030 - T type
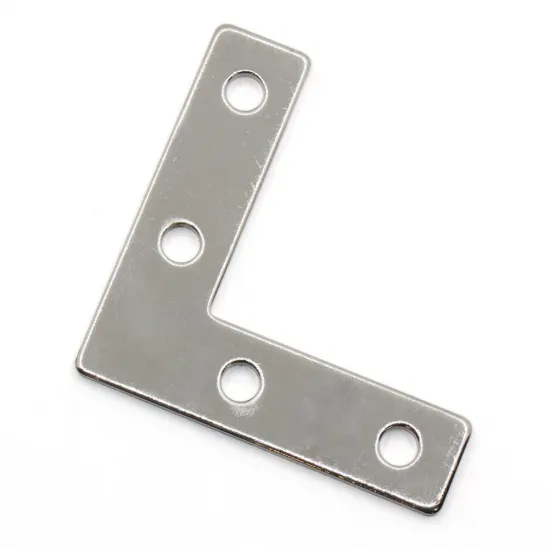
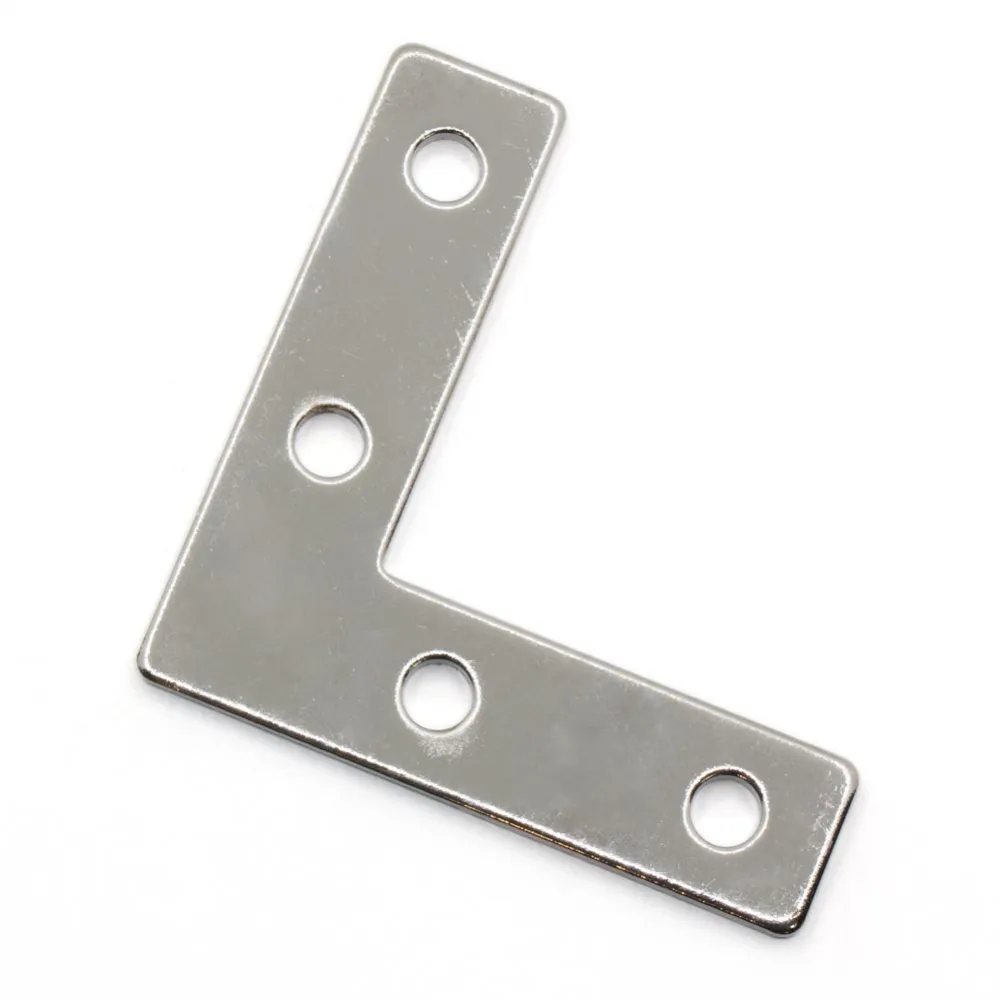
Flat metal L plate for building or reinforcing 90-degree joints between series 20 aluminium profiles. Its four holes distribute the fastening points across both arms and allow an existing frame to be reinforced from the outside whenever the profile slots remain accessible.
It is a compact solution for 3D-printer frames, small CNC machines, enclosures, automation equipment and other modular structures. The plate can stiffen a corner, but final capacity depends on the profiles, fasteners, tightening, load direction and the complete joint geometry.
Nominal dimensions
| Property | Value |
|---|---|
| Shape | Flat L |
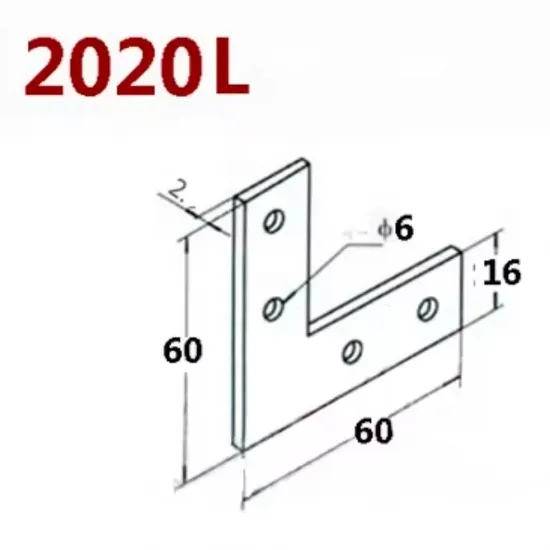
| Outer dimensions | 60 × 60 mm |
| Arm width | 16 mm |
| Nominal thickness | 2 mm |
| Holes | 4, two per arm |
| Nominal hole diameter | 6 mm |
| Contents | 1 plate |
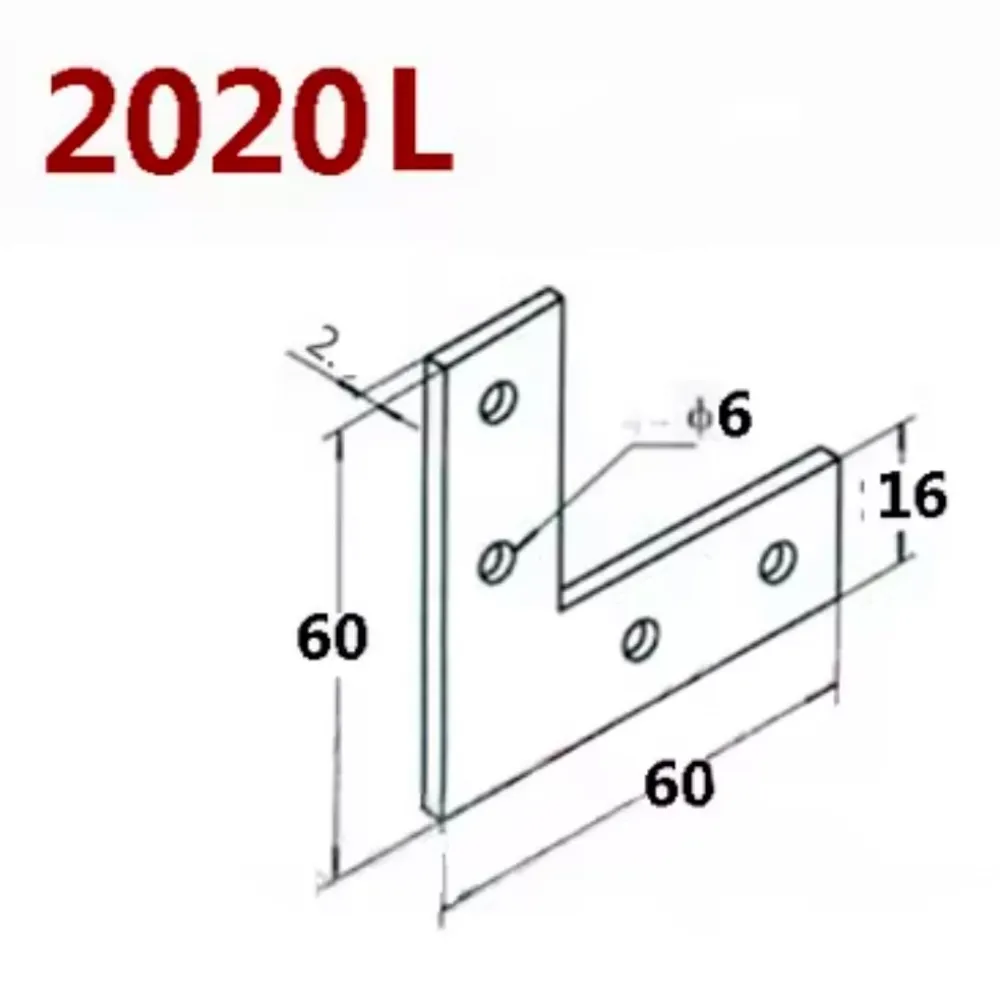
The drawing does not state hole-centre spacing. Measure the supplied plate before designing around existing holes or tight machining tolerances.
Series 20 profile compatibility
The plate is intended for HTA3D series 20 profiles and accessories, including the 2020 aluminium profile and 2040 aluminium profile. On a 2040 profile, select a slot position that lets both arms seat correctly.
With profiles from another supplier, a 20 × 20 or 20 × 40 mm outer section alone does not guarantee fit. Check slot width and geometry, slot-centre position, T-nut type, screw thread, head diameter and tool access.
Contents and fasteners
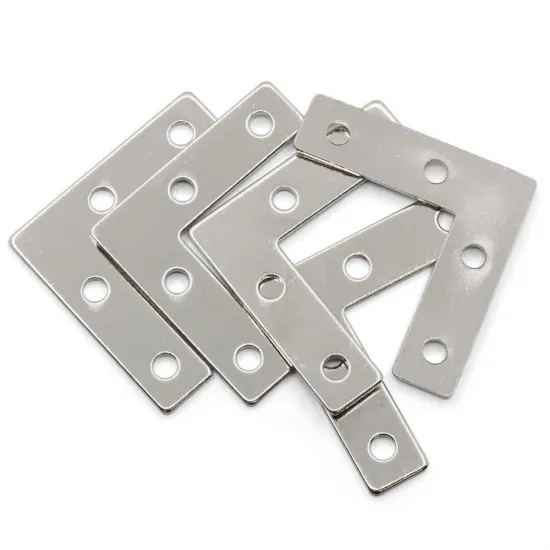
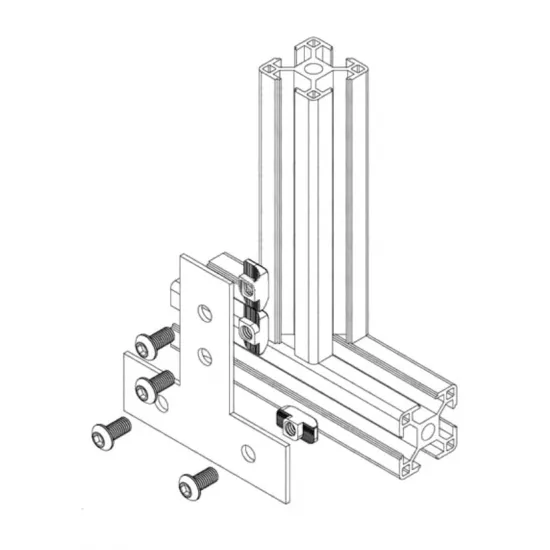
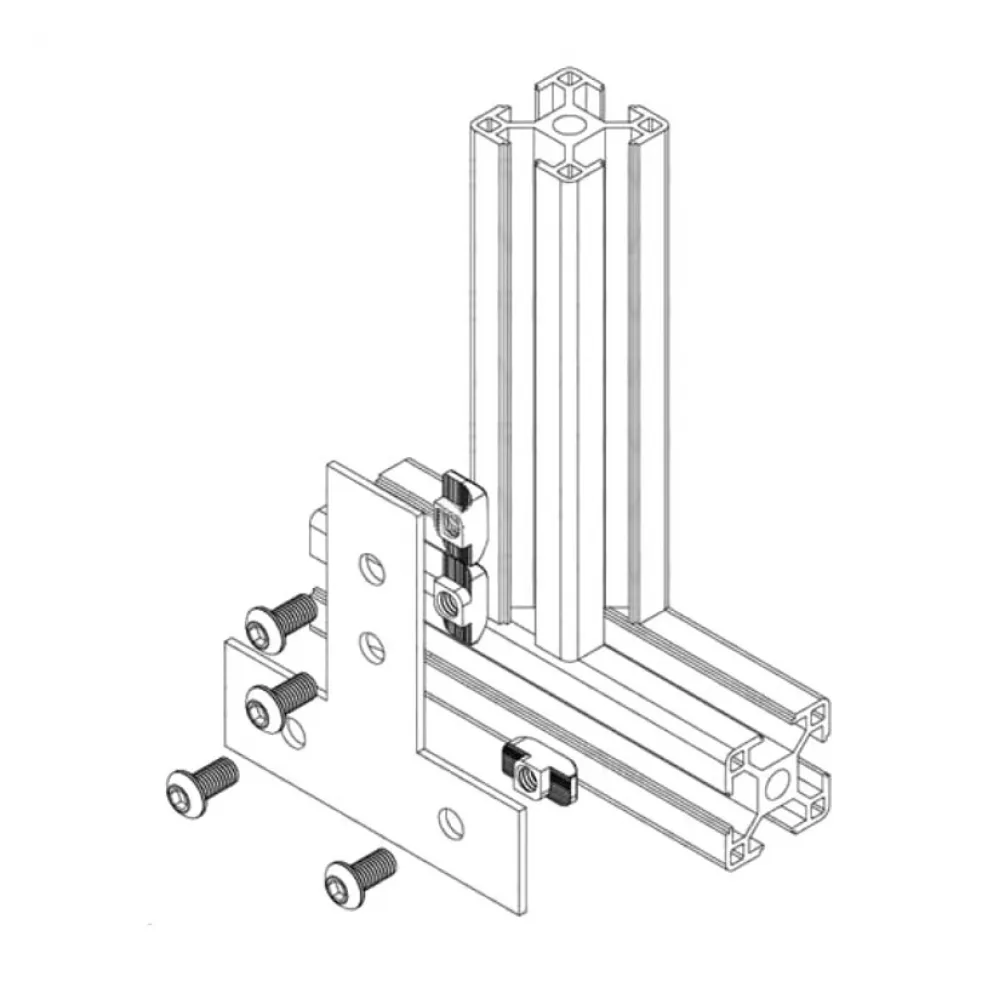
One plate is supplied. The profiles, screws, washers and T-nuts shown in the assembly diagram are not included. The photograph showing several plates illustrates their appearance, not the supplied quantity.
The 6 mm holes provide clearance for compatible fasteners but do not define a single screw thread. Select the screw to match the slot nut, head and required length. A screw that is too long may bottom out in the slot before clamping the plate.
Assembly
- Position the two profiles at 90 degrees and remove dirt or burrs from their mating faces.
- Insert suitable nuts into the slots and place the plate on the outer face.
- Start all four screws without fully tightening them.
- Square and align the joint, checking that the entire plate seats without rocking or bending.
- Tighten progressively in an alternating pattern, within the limits of the screws and profile nuts.
- Inspect the joint again after its first load or vibration cycles.
When to choose a T plate
This L plate forms or reinforces an outer corner. Where one profile terminates perpendicularly against the side or middle of another in the same plane, use the external T joining plate for series 20 profiles.
No material grade, surface treatment, tightening torque, maximum load or certified structural capacity is stated. Joints exposed to significant loads, impacts or risk to people must be engineered and verified as a complete assembly.