

- Stock: 1
- Model: Orbiter-V3

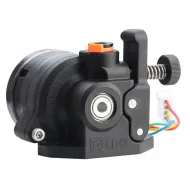
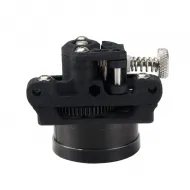
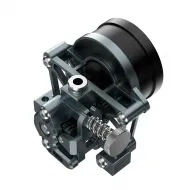
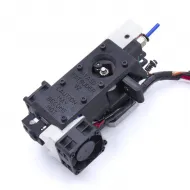
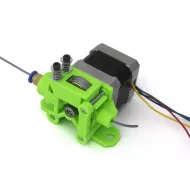
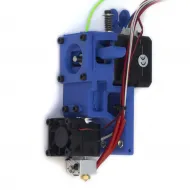
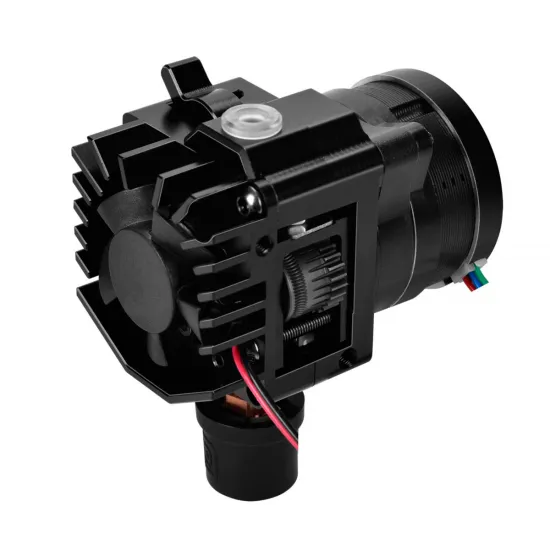
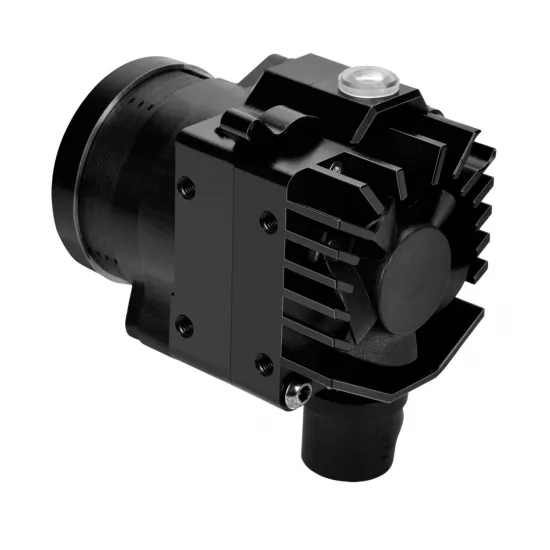
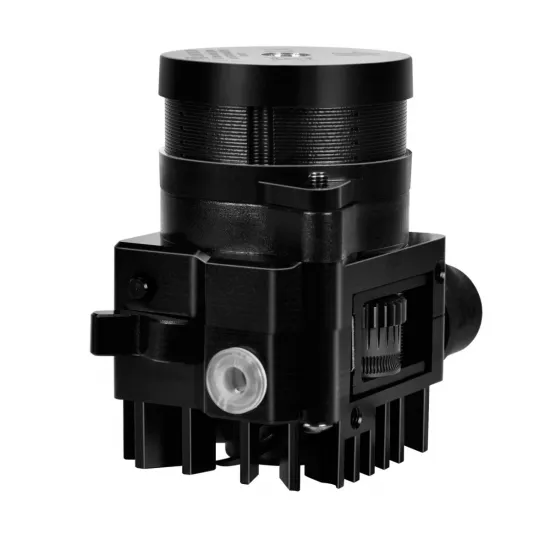
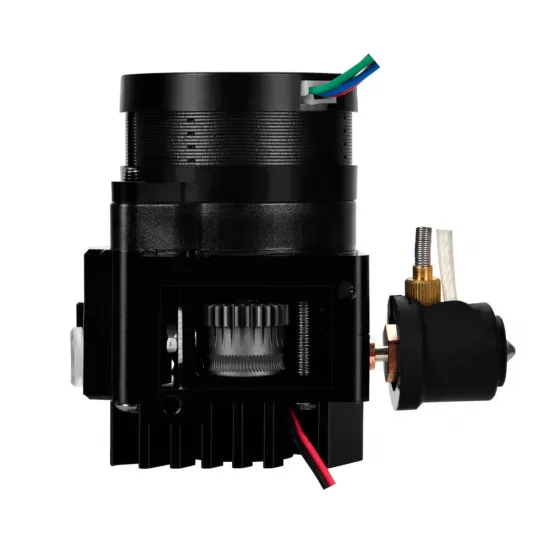
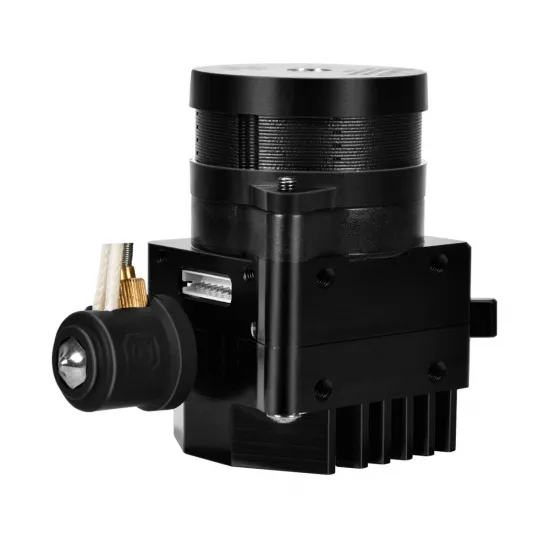
The LDO Motors Smart Orbiter V3 combines a planetary dual-drive extruder, motor, high-flow hotend and Klipper-oriented smart functions in a compact direct-drive toolhead. Its short filament path, close-fitting guides and three-position tensioner support both rigid and flexible materials, while the complete standard-hotend assembly has a stated weight of only 175 g.
This standard version includes a plated-copper heater block, 72 W ceramic heater, bimetal heatbreak, ATC Semitec 104NT-4 sensor and 0.4 mm Bondtech CHT nozzle. It is a high-performance platform for custom builds, but not a universal drop-in replacement: every printer requires a suitable mount, wiring, control electronics and firmware configuration.
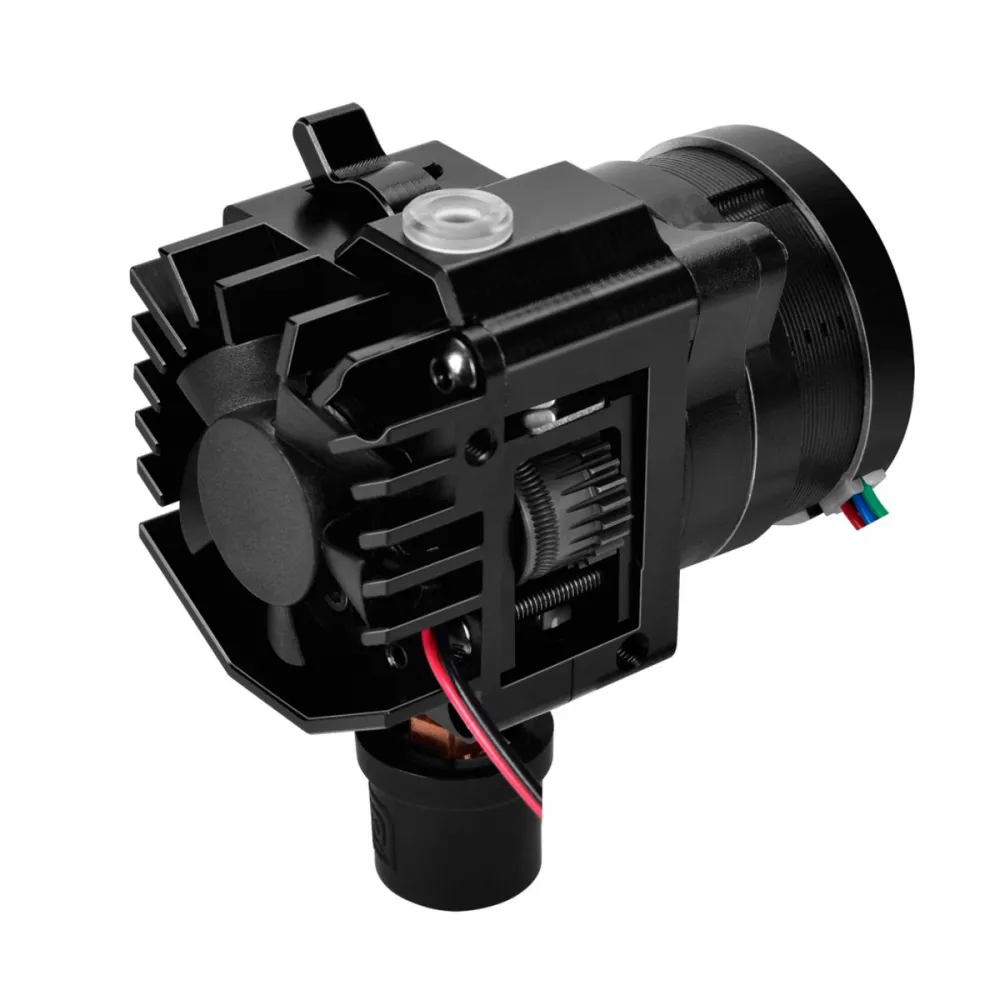
An integrated system, not just an extruder
- 12 mm dual drive: grips both sides of the filament for consistent force transfer.
- 7.5:1 planetary reduction: combines resolution and force with a compact LDO-36STH20-1004AHG motor.
- Stated force above 6.5 kg: a mechanical-system figure published by the designer.
- Dual filament guides: reduce the spaces into which soft TPU could buckle around the drive gears.
- Repeatable tensioning: open, soft L1 and firm L2 positions.
- Accessible maintenance: the secondary drive gear can be removed by undoing one M3 screw.
- Integrated electronics: filament detection, unload button, input RGB LED, hotend light and internal temperature sensing.
Main specifications
| Drive system | RNC-coated 12 mm dual drive gears |
|---|---|
| Gear ratio | 7.5:1 |
| Motor | LDO-36STH20-1004AHG |
| Weight | 175 g with standard hotend |
| Hotend | Plated-copper block, bimetal heatbreak and 72 W ceramic heater |
| Hotend sensor | ATC Semitec 104NT-4-R025H42G |
| Included nozzle | 0.4 mm Bondtech CHT |
| Hotend fan | 24 V frameless fan with tachometer signal |
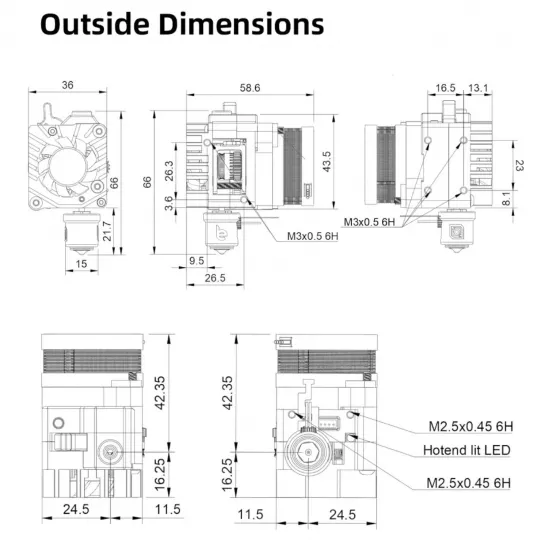
| Main dimensions | 36 mm wide, 58.6 mm deep and 66 mm body; hotend extends 21.7 mm below the body |
| Filament | 1.75 mm |
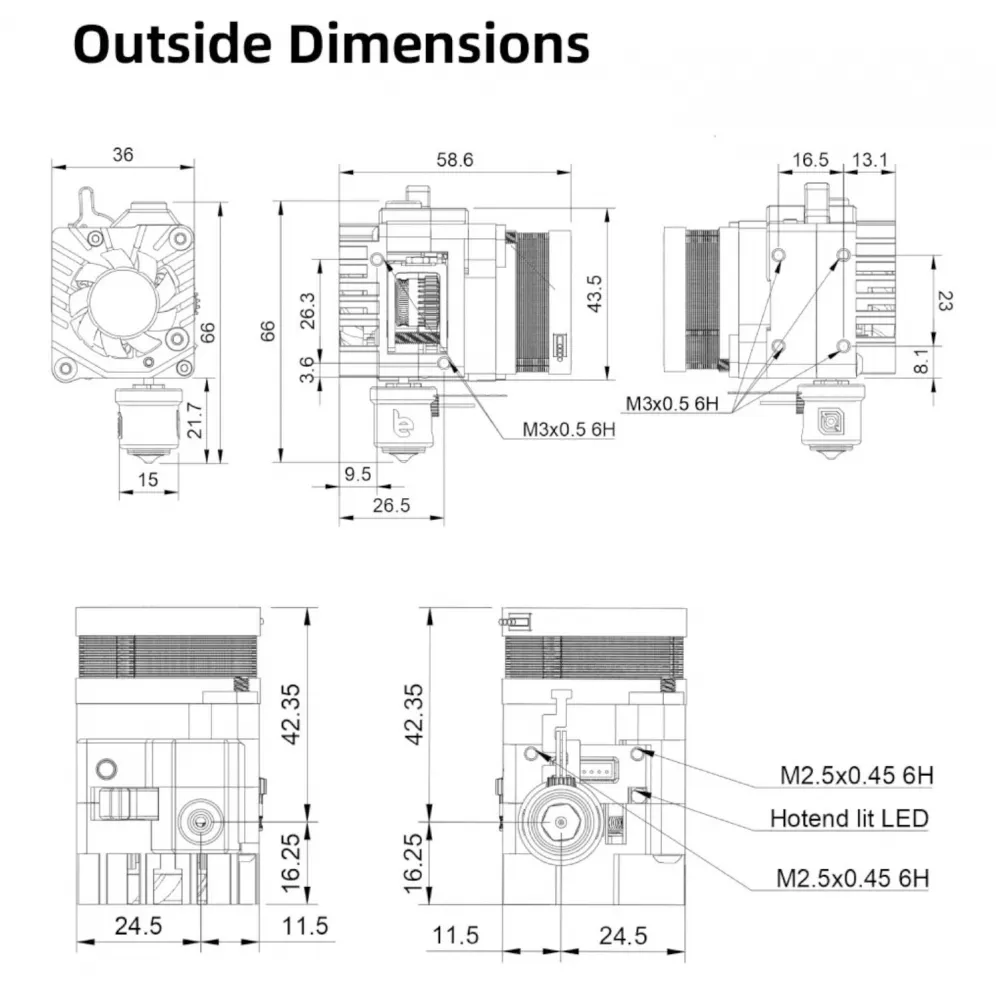
High-flow hotend and quick servicing
The plated-copper block uses a 72 W ceramic heater and Bondtech CHT nozzle for efficient melting. Orbiter Projects publishes an approximate 30–40 mm³/s reference, but this is not a guaranteed flow rate: its graph was produced with PLA+ at 210 °C and results vary with polymer, moisture, temperature, nozzle diameter, layer height and required print quality.
To use the available performance safely, calibrate the maximum volumetric flow for each material. Loss of gloss, weak layer bonding, under-extrusion or rising dimensional error indicate that the practical limit has been exceeded even if the drive still has enough force.
The nozzle-and-block assembly is retained by one screw, with detachable heater and sensor connectors. This simplifies servicing, but does not make every V6 block a direct replacement: M7 geometry, heatbreak, retention, heater, sensor and final nozzle position must all match.
Integrated smart electronics
The built-in PCB groups auxiliary signals, but it is not an independent Klipper controller. It must connect to suitable inputs and outputs on the mainboard or a compatible toolboard. The separate Orbitool SO3 Toolboard described by the project is an optional accessory and is not included with this product.
| Pin | Function | Note |
|---|---|---|
| 1 | Hotend light | White LED control output |
| 2 | Internal temperature | 100 kΩ Beta 3950 NTC; not the hotend sensor |
| 3 | Filament unload | Button signal |
| 4 | Filament presence | Input for detection and automation |
| 5 | Input RGB LED | WS2812B |
| 6 | Supply | +5 V in the current pinout |
| 7 | GND | Integrated-electronics ground |
Before connection, verify Pin 1 orientation, supply voltage, common ground, logic levels and the actual controller pins. The smart signals, motor, heater, 104NT-4 sensor and fan are separate circuits and must not be interchanged.
Electrical installation
- A 72 W heater at 24 V draws approximately 3 A nominally. The MOSFET output, wiring and connectors need adequate margin.
- The hotend fan is rated for 24 V and includes a tachometer wire. Confirm every conductor's polarity and function.
- The 104NT-4 measures the hotend. The integrated Beta 3950 NTC measures the extruder body: they require separate inputs.
- With the machine cold, both hotend and extruder readings must be plausible before enabling the heater.
- Provide strain relief and route cables without loading the ceramic heater or sensor.
- Declared ESD and short-circuit protection does not replace correct installation, fusing, firmware thermal protection and supervised testing.
Initial Klipper configuration
The official repository provides a complete configuration file, but it contains example pins, automation and macros that may conflict with the existing machine. Use it as a reference and review every section; do not include it unchanged.
| Setting | Official starting point | Required action |
|---|---|---|
| Microsteps | 32; 200 full steps/revolution | Confirm driver and board support |
| Rotation distance | 4.69 | Calibrate by measuring actual extrusion |
| Current | 0.8 A RMS in the example; published maximum 0.85 A RMS | Start low, check torque and temperature, and derate above 50 °C ambient |
| StealthChop | Disabled | Keep SpreadCycle unless specifically validated |
| Hotend sensor | ATC Semitec 104NT-4-R025H42G | Assign the real pin and verify the cold reading |
| Maximum temperature | 300 °C in the current configuration | Never exceed the lowest-rated component |
| Pressure advance | 0.015 | Calibrate for every filament/profile |
| Retraction | 0.5–1.0 mm | Reduce as required; 30 mm/s reference for TPU |
- Assign the real STEP, DIR, ENABLE, UART, heater, sensor, fan and smart-feature pins.
- Confirm the driver's sense resistance before declaring `sense_resistor`; a wrong value changes the actual current and may damage the extruder.
- Check direction at low current without forcing cold filament.
- Calibrate `rotation_distance`, PID, flow, pressure advance and retraction.
- Add presence sensing, unload, LEDs and internal temperature one at a time and test each function.
- Review the official macros before inclusion: the file redefines `PAUSE`, `RESUME` and `CANCEL_PRINT`, enables `force_move`, and contains machine-specific positions and temperatures.
Reference documentation and configuration are maintained in the official Smart Orbiter V3 repository.
Marlin configuration
Marlin can control the motor, heater, fan, thermistor and discrete signals when the board offers enough connections. The published starting values are approximately 690 E-steps/mm at 16 microsteps or 1,380 E-steps/mm at 32 microsteps, followed by real extrusion calibration.
In Marlin 2.1.x, `TEMP_SENSOR_0 5` corresponds to the ATC Semitec 104GT-2/104NT-4-R025H42G with a 4.7 kΩ pull-up. Confirm that the board input uses this pull-up, set motor current and direction, enable thermal runaway protection, and run PID calibration. Smart functions require additional pins and logic; there is no universal equivalent to the Klipper macros. RepRapFirmware is omitted because the project does not publish a natural, maintained integration for the complete feature set.
Mechanical compatibility: always mount-dependent
Orbiter Projects links community adapters for Voron 0, Creality Ender 3 S1 Pro/Sprite, Ender 7, Railcore II ZL, BLV MGN Cube, Two Trees Sapphire Pro, BIQU B1 and other projects. This demonstrates that adaptation is possible, not that the extruder directly fits every revision.
Before purchasing or printing a mount, verify the M3 pattern, nozzle position, Z height, part cooling, probe, offset, motor and connector clearance, carriage mass allowance and cable path. After installation, recheck homing, limits, mesh and any lost build volume.
A feature-rich Klipper board such as the BIGTREETECH Manta M8P V2.0 can assign the motor, heater, sensors, fan and auxiliary functions separately; however, the Smart Orbiter does not use a universal connector and wiring must still be designed pin by pin.
Filaments and tension setting
- PLA, PETG, ABS and ASA: use L1 or L2 according to required grip, then calibrate flow and temperature.
- TPU and TPE: the dual guide reduces buckling risk. Start with L1, short retraction and moderate speed; hardness, friction and moisture remain important.
- Engineering polymers: verify the complete hotend temperature limit and the mount and chamber's chemical and thermal suitability.
- Abrasive materials: require a suitable nozzle. Do not assume the included CHT nozzle is hardened for fibre-filled polymers.
Ambient temperature and cooling
The current specification summarises operation up to 70 °C ambient with current derating. Above 50 °C, progressively reduce from the 0.85 A RMS maximum; the published reference at 70 °C is 0.55 A RMS. The motor can run warm, but its case temperature is not a substitute for measuring the environment and setting current correctly.
The hotend fan may be reduced to approximately 60–65% only when cooling remains sufficient. Above 60 °C chamber temperature, the designer requires full speed. If heat creep or jamming occurs, increase cooling before continuing.
Nozzle changes and maintenance
- Work with power disconnected and the assembly cold, except for the strictly necessary thermal procedure to remove residual plastic.
- Always hold the copper section of the block; never grip or load the ceramic heater with tools.
- Insert and secure the heatbreak first, correctly position the strain-relief plate, and then install the nozzle.
- Apply thermal compound to the cold section of the heatbreak entering the extruder. The designer does not require it on the hot-zone parts.
- After service, verify the sensor, fan, sealing and wiring, then recalibrate PID.
This is for you if...
- You want a compact direct toolhead combining extruder, hotend and sensors.
- You want high print speeds and are prepared to calibrate actual flow for each material.
- You use Klipper and can adapt pins and macros to your electronics.
- You need a closely guided path for flexible filaments.
- Your printer has a proven mount or you can design and validate one.
This is not for you if...
- You require a replacement that works without mechanical, wiring and firmware changes.
- Your board cannot control a 24 V, 72 W heater or provide the necessary inputs and outputs.
- You expect an included USB/CAN toolboard: the Orbitool SO3 is a separate accessory.
- You cannot verify polarity, pins, sensor type, current and thermal protection before power-up.
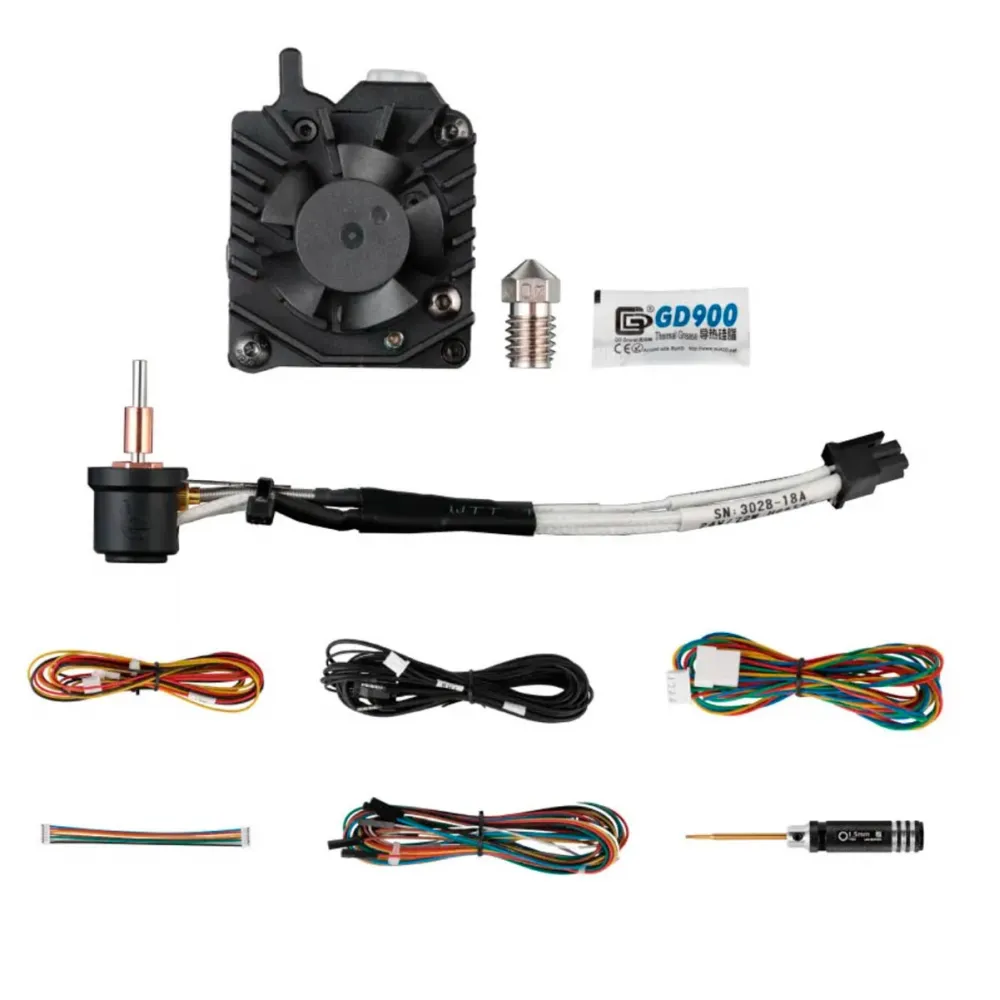
Kit contents
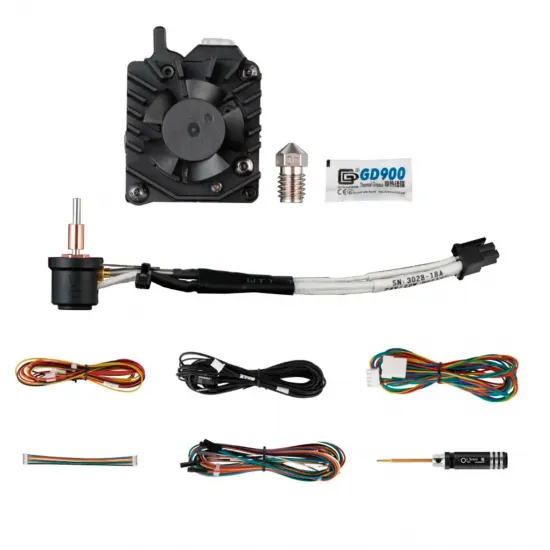
- Smart Orbiter V3 with LDO motor and integrated electronics.
- Standard hotend with plated-copper block and 72 W ceramic heater.
- ATC Semitec 104NT-4-R025H42G sensor.
- 0.4 mm Bondtech CHT nozzle.
- 24 V hotend fan with tachometer.
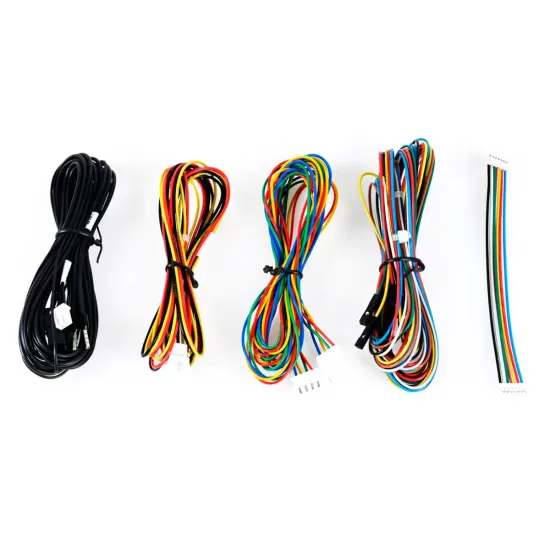
- Wiring shown in the kit photograph.
- Thermal compound and 1.5 mm tool shown in the photograph.
Printer mount, part-cooling system and Orbitool SO3 Toolboard are not included.
Frequently asked questions
Does it include a Klipper toolboard?
No. It includes the sensor electronics built into the extruder, but the Orbitool SO3 Toolboard with MCU and driver is a separate accessory.
Can I install it directly on a Voron or Ender?
Only with a mount suitable for the exact model, revision and toolhead. Part cooling, probe, wiring, offsets and motion limits must also be resolved.
Will it always deliver 30–40 mm³/s?
No. This is a published reference under specific conditions. Actual flow must be calibrated for each filament, temperature, nozzle and quality target.
Which hotend temperature sensor is included?
An ATC Semitec 104NT-4-R025H42G. It is separate from the internal 100 kΩ Beta 3950 NTC used to monitor the extruder body.
Is it suitable for TPU?
Yes. Its short path and dual guides are designed to reduce buckling, but tension, temperature, speed, flow and retraction still require calibration for the specific hardness.