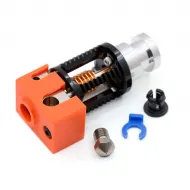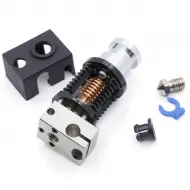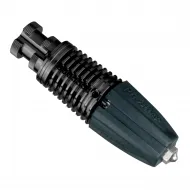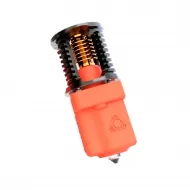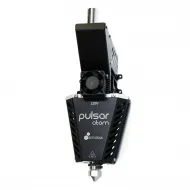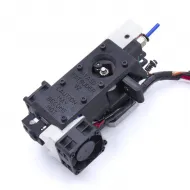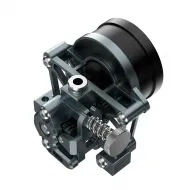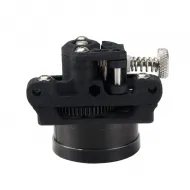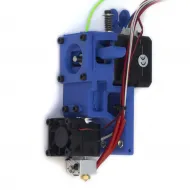


- Stock: 1
- Model: TBG-Air-LDO

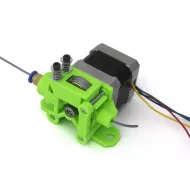
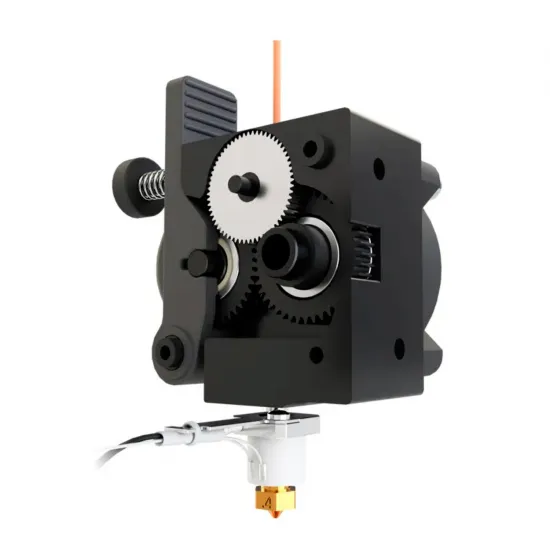
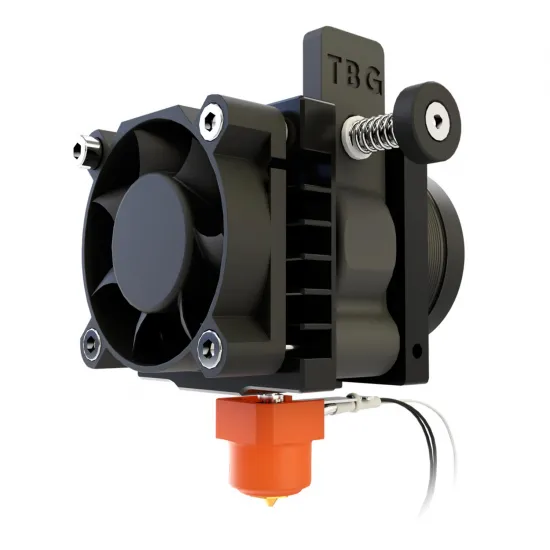
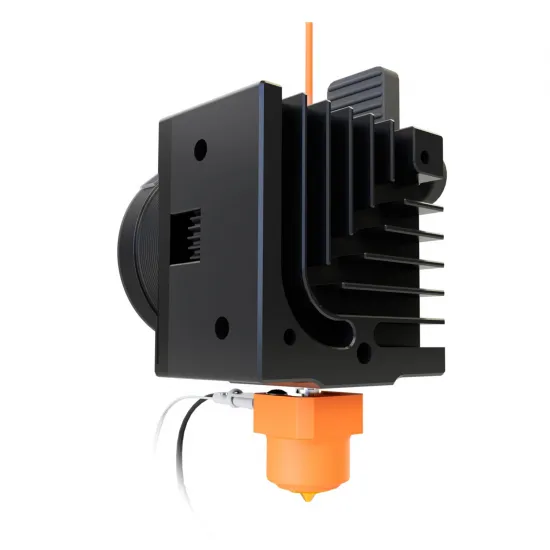
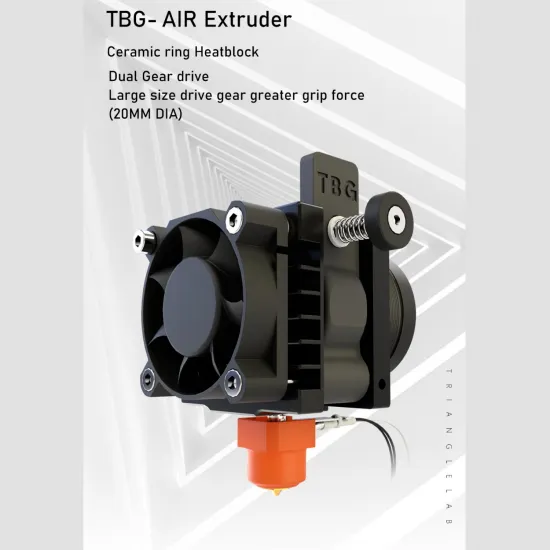
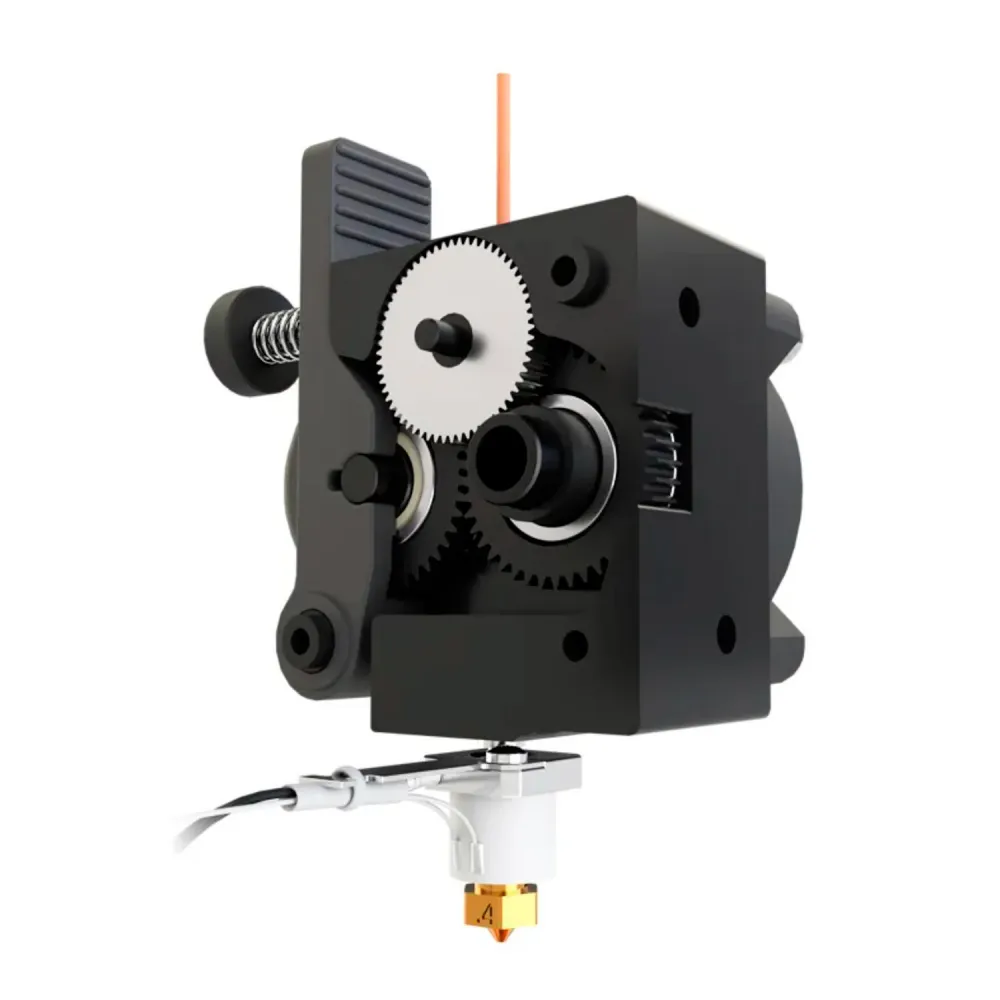
The Trianglelab TBG-AIR combines a dual-drive extruder, a round LDO motor and a V6-geometry hotend for 1.75 mm filament in one assembly. Its short, constrained path reduces the unsupported section between the drive gears and melt zone, making it particularly interesting for direct drive and flexible filament when correctly tuned.
This reference is the V6 hotend set: V6 identifies the included hotend geometry, not a “version 6” of the extruder. Installation on a specific printer requires a mount or toolhead designed around the TBG-AIR plus checks of dimensions, cooling, probe, wiring and firmware.
Technical data
| Feature | Value | Practical meaning |
|---|---|---|
| System | Integrated TBG-AIR direct extruder | Extruder, motor and hotend form one compact assembly |
| Filament | 1.75 ± 0.05 mm | Not intended for 2.85 mm filament |
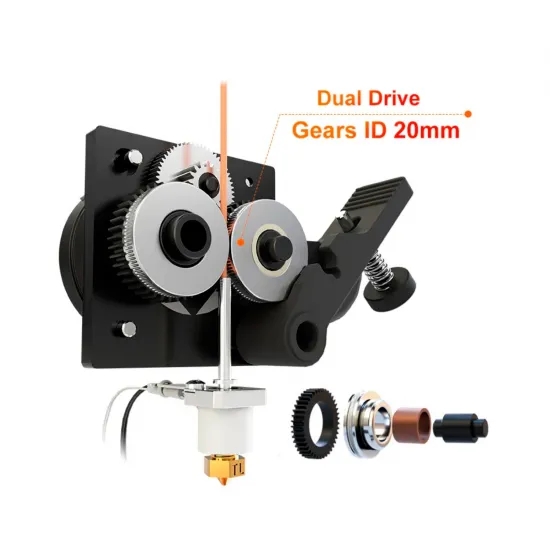
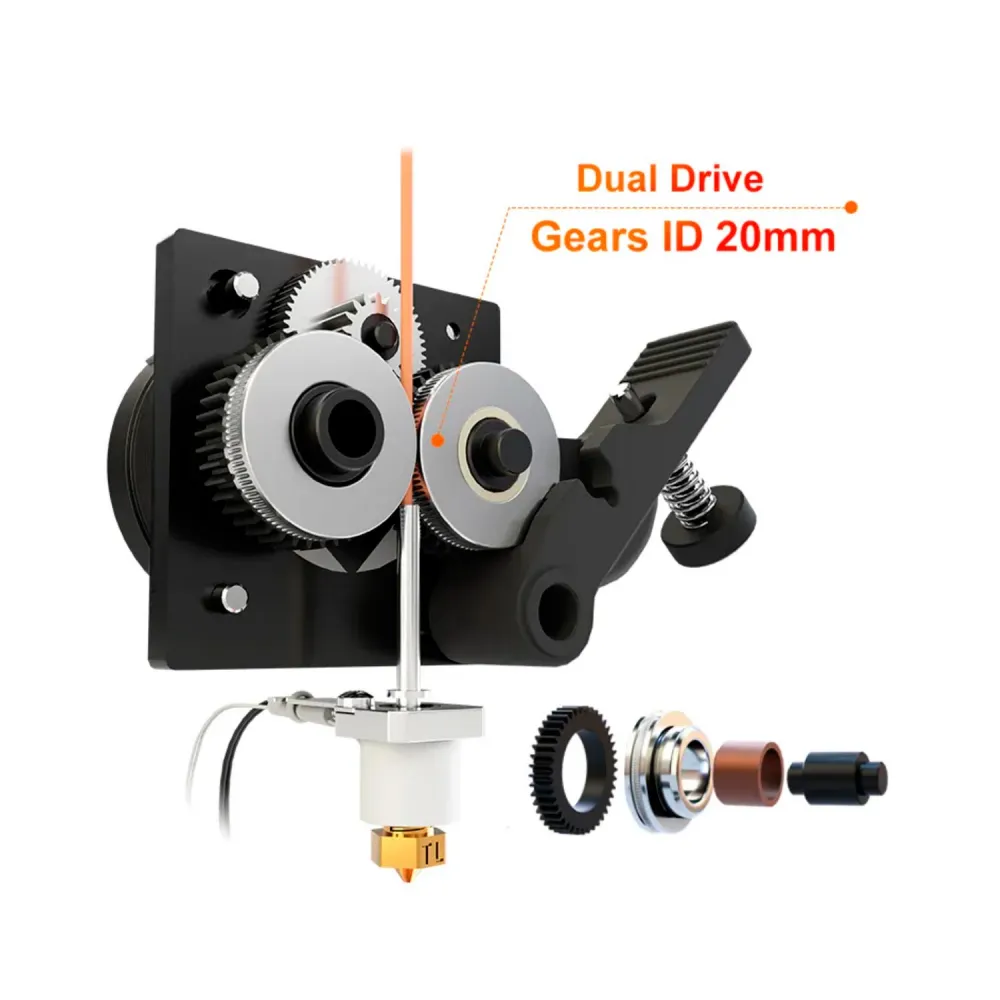
| Drive | Dual, with 20 mm gears | Grips both sides of the filament with adjustable tension |
| Reduction | 8.44:1 | Requires its own configuration; TBG-Lite values do not apply |
| Motor | LDO-36STH20-1004AHG, 1.8°, 2 phase | 36 mm round motor, 200 full steps per revolution |
| Declared weight | 212 g with V6 hotend | Must be considered as part of moving toolhead mass |
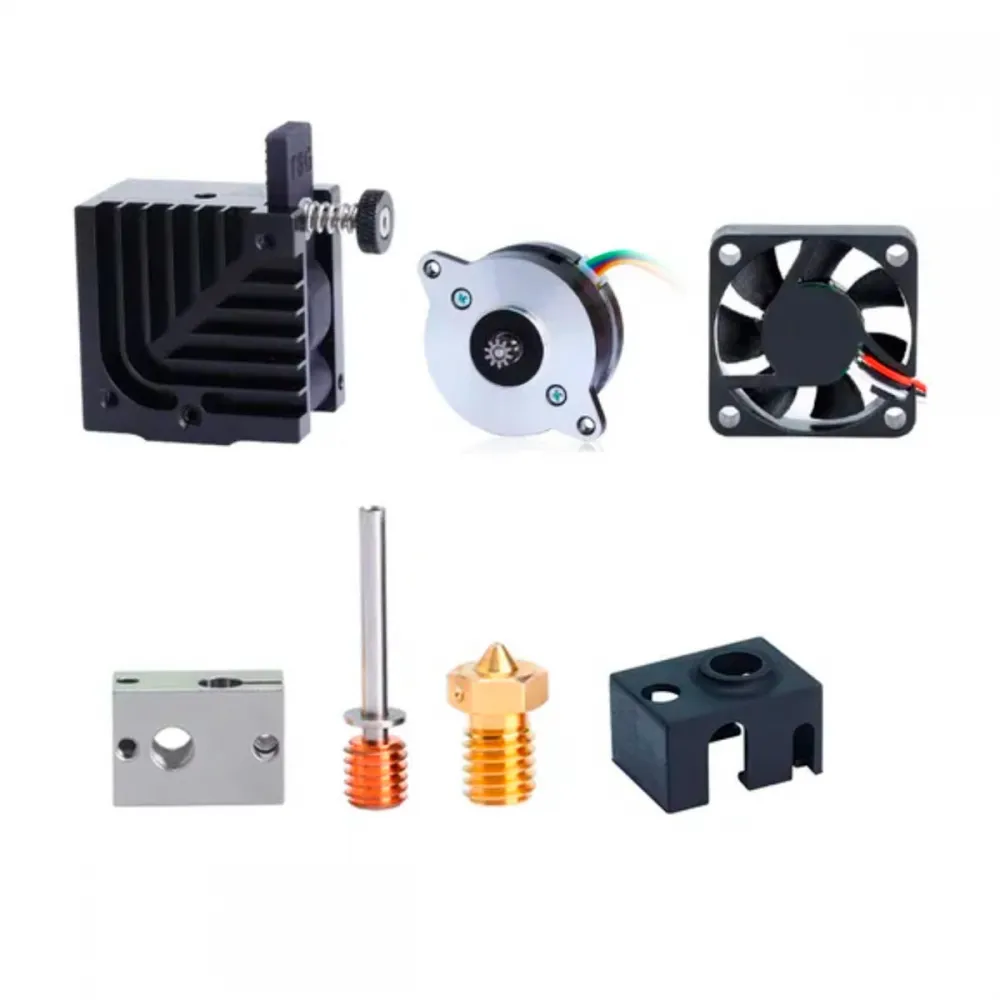
| Included hotend | V6 geometry | Aluminium block, Matrix heatbreak, 0.4 mm Brass nozzle and sock |
| Declared temperature | Up to 290 °C in the standard configuration | The operating limit must respect the most restrictive component |
| Heatsink fan | 4010, ball bearing | Does not replace the part-cooling fan or duct |
Dual drive and short filament path
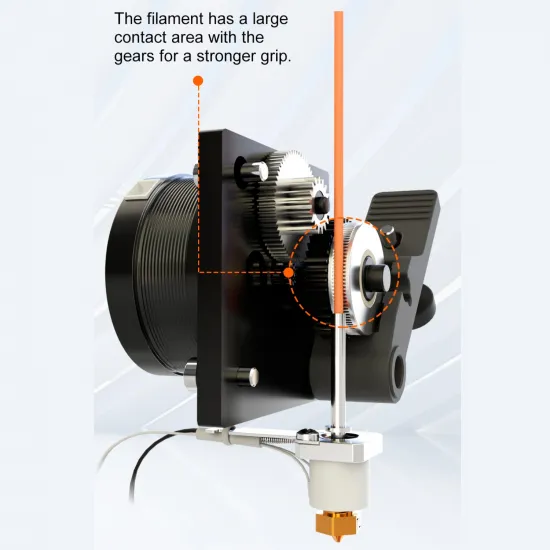
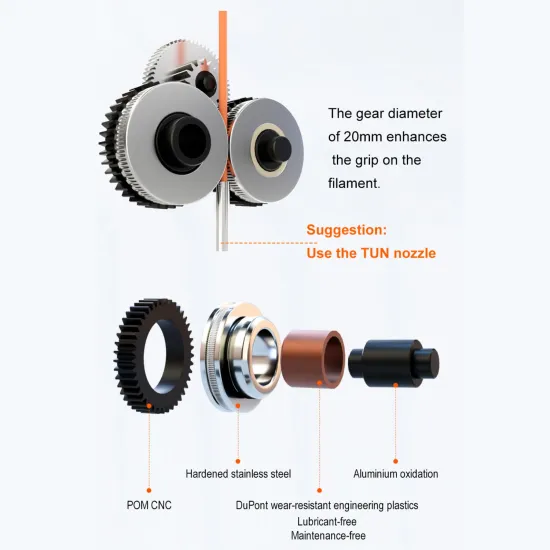
Two hardened gears drive the filament from both sides. Their 20 mm diameter increases the contact area, while the tensioner adapts grip: use enough pressure to feed reliably without crushing the filament, leaving excessive marks or deforming soft materials.
The drive outlet is close to and guided towards the heatbreak. This limits the space in which flexible filament can buckle sideways, but does not make every TPU automatic: hardness, moisture, diameter, temperature, speed, retraction and tension remain important. Start slowly and increase speed only after confirming stable feed.
Dimensions for integration
The manufacturer's drawing specifies a 43.50 mm body width and 54.95 mm overall width to the end of the tension knob. Without the accessory bracket, depth is approximately 25.40 mm towards the motor and 33.00 mm towards the front from the drawing reference. Its main vertical references are 65.20 and 78.38 mm.
Use these dimensions to check a mount or CAD model. Before printing mounting parts, also verify actual nozzle position, screws, filament inlet, cable exit, fan, part-cooling duct and probe; one matching dimension alone does not establish compatibility.
V6 kit contents
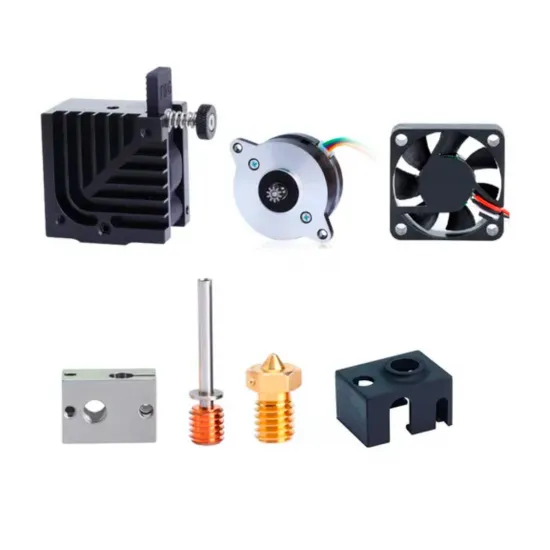
- Pre-assembled Trianglelab TBG-AIR extruder.
- Round LDO NEMA 14 motor.
- 4010 heatsink fan.
- V6 aluminium heater block.
- Matrix heatbreak.
- 0.4 mm V6 Brass nozzle.
- V6 silicone sock.
- Screws, spacers, keys and small fitting accessories according to the batch.
Thermal paste may be omitted because of shipping restrictions. The included fan cools the heatsink; the part-cooling system, fan and duct depend on the toolhead and are not assumed to be included unless the selected option or photographs explicitly show them.
Hotend and printer compatibility
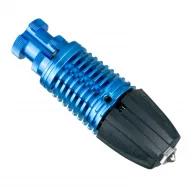
The TBG-AIR architecture can accommodate V6, Volcano, SuperVolcano, CHC and CHC Pro hotends with the appropriate components. This does not mean that blocks, heatbreaks and nozzles from those families can be mixed without checking length, thread, internal seat and sealing position. Any change also requires checks of nozzle height, mount, probe, duct, heater, sensor, voltage and thermal limits.
Trianglelab shows installations on Creality Ender-3 and CR-10, Original Prusa and Artillery Sidewinder X1/X2 printers. In every case, treat this as integration using a dedicated mount or toolhead, not a drop-in replacement for the original head. The same applies to Voron, Rat Rig and other modular projects: only use a design that explicitly identifies the TBG-AIR and check its revision and bill of materials.
- Check that the carriage can accommodate its mass without reducing useful travel.
- Validate mounting pattern, tensioner clearance and screw access.
- Check heatsink and part cooling as separate systems.
- Reposition or recalibrate probe and Z offset when nozzle position changes.
- Verify connectors, coil pairs, fan and heater voltage, sensor type and controller capacity.
Marlin extruder configuration
Trianglelab provides 446.9 steps/mm at 16 microsteps as a starting point. With the machine prepared and the hotend at a suitable temperature for the filament:
M92 E446.9
M500
M500 only stores the value when EEPROM is enabled. Measure the actual extruded length and correct the value; gear, pressure and filament tolerances mean 446.9 is not a universal final setting. First verify motor direction and never force cold extrusion.
Klipper extruder configuration
With a 1.8° motor and 16 microsteps, converting the official value gives this starting point:
[extruder]
microsteps: 16
full_steps_per_rotation: 200
rotation_distance: 7.160
Do not add a gear_ratio to this example: the 8.44:1 reduction is already included in the calculated distance. Calibrate using:
new rotation_distance = previous value × actual extrusion ÷ requested extrusion
The 615 steps/mm or distance used for the TBG-Lite do not apply because that extruder has a different reduction.
RepRapFirmware extruder configuration
For a RepRapFirmware machine using 16 microsteps, a natural starting point is:
M350 E16 I1
M92 E446.9
Adapt the extruder index and configuration-saving method to the controller and firmware version. Calibrate actual movement just as with the other systems, and do not force this integration where the machine project uses a different configuration structure.
Thermistor and thermal control
| Identified sensor | Marlin | Klipper |
|---|---|---|
| ATC Semitec 104NT-4-R025H42G | TEMP_SENSOR_0 5 with standard 4.7 kΩ pull-up | sensor_type: ATC Semitec 104NT-4-R025H42G |
| NTC 100K beta 3950 | Table 11 where it matches the sensor and pull-up | sensor_type: Generic 3950 |
Apply only the row that matches the supplied sensor and controller input. Before heating, confirm a plausible ambient reading and keep thermal protection enabled. After assembly, tune PID or the control method used by your firmware at a representative temperature without approaching the limit of the most restrictive component.
Motor wiring and current
The LDO-36STH20-1004AHG is a two-phase motor; the manufacturer identifies red-green and yellow-blue as coil pairs. Check them against the documentation or with a multimeter before connection because controller connector order is not universal.
The datasheet states 1 A peak. Do not copy this directly as an RMS current in Klipper or a TMC driver: the specification method differs between controllers. Start with a conservative value in accordance with the driver documentation and increase only when necessary while monitoring motor, driver and extruder temperature. The 2.1 V datasheet value is the rated winding voltage, not printer PSU voltage.
Assembly and commissioning
- Confirm that the mount is intended for TBG-AIR and trial-fit it cold without straining wires or heatbreak.
- Verify the internal seal between nozzle and heatbreak. A shared M6 thread does not establish correct length or seating.
- Identify heater and fan voltage, thermistor type, motor coil pairs and every connector function.
- Ensure continuous heatsink cooling and fit the toolhead's separate part-cooling system.
- Configure sensor, thermal limits, motor direction and current before first heating.
- Supervise initial heating; check temperature reading, stability, connections, airflow and leaks.
- Calibrate extruder movement, then flow, retraction, pressure/linear advance and stable maximum volumetric flow.
- Recalibrate Z offset, mesh and first layer whenever nozzle or mount position changes.
Maintenance and use
- Keep the toothed drive area clean and remove debris without damaging the profiles.
- Do not overtighten the tensioner; a deep imprint can worsen filament feed.
- Prevent the harness from pulling the sensor, heater or motor anywhere in the travel range.
- Periodically check screws, fan, motor temperature and signs of hotend leakage.
- For abrasive materials, select a suitable nozzle: the included Brass nozzle is intended for non-abrasive filament.
This product is for you if
- You need a compact integrated direct-drive assembly with dual drive and an LDO motor.
- You want a short path for rigid and flexible filaments and can tune each material profile.
- Your printer has a dedicated mount and you can configure its electronics, sensor and firmware.
This product is not for you if
- You require a drop-in replacement for the original toolhead without printed or adapted parts.
- You cannot verify heater and fan voltage or identify the supplied thermistor.
- Minimum moving mass is your priority: at 212 g including V6, lighter separate extruders are available.
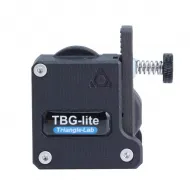
For a lighter, separate extruder from the same family, see the Trianglelab TBG-Lite with LDO motor; it uses a different reduction and calibration values. For V6 maintenance, consider the Trianglelab 0.4 mm V6 Brass nozzle, always checking thread, length and seat. The 4/2 mm PTFE tube can guide filament where the mount supports that size. As a hot-side upgrade, the Trianglelab 24 V CHC Pro B3950 first requires validation of geometry, power, voltage, sensor and firmware.