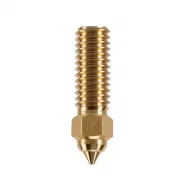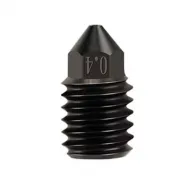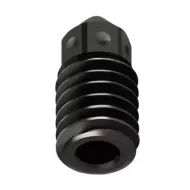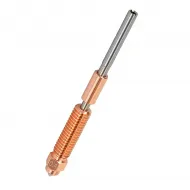


- Stock: 10
- Model: Nozzle-ZS-0.4-SF

Model:

Clon V6 0.1
Clon V6 0.25
Clon V6 0.3

Clon V6 0.35

Clon V6 0.4

Clon V6 0.5

Clon V6 0.6

Clon V6 0.8

TV6 0.3

TV6 0.4

TV6 0.5

Hardened Steel 0.4

Hardened Steel 0.5
Hardened Steel 0.6

Plated Copper 0.4

Plated Copper 0.6

Plated copper and 0.4 hardened steel tip

Plated copper and 0.6 hardened steel tip
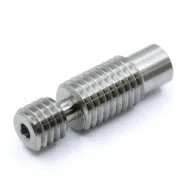
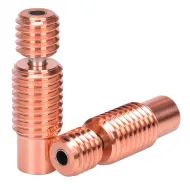
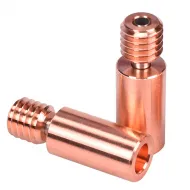
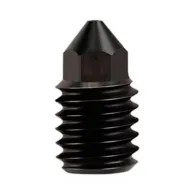
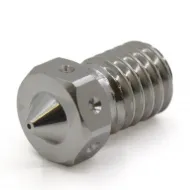
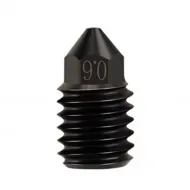
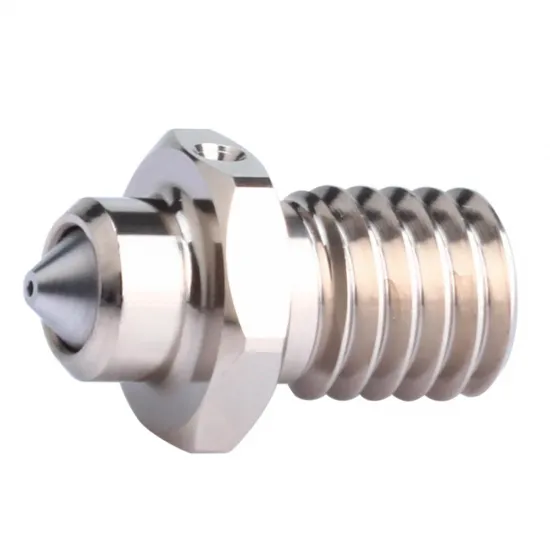
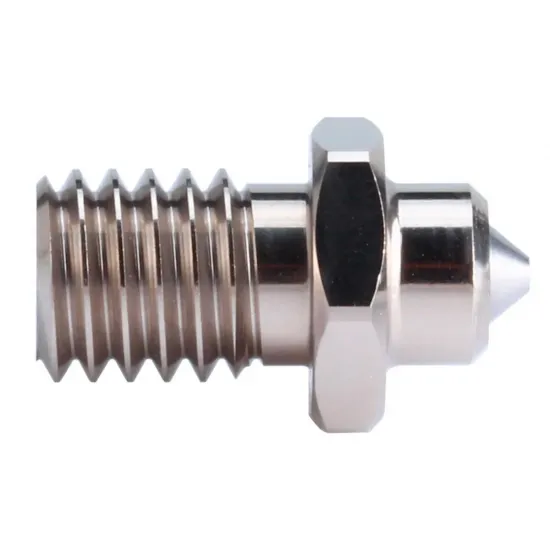
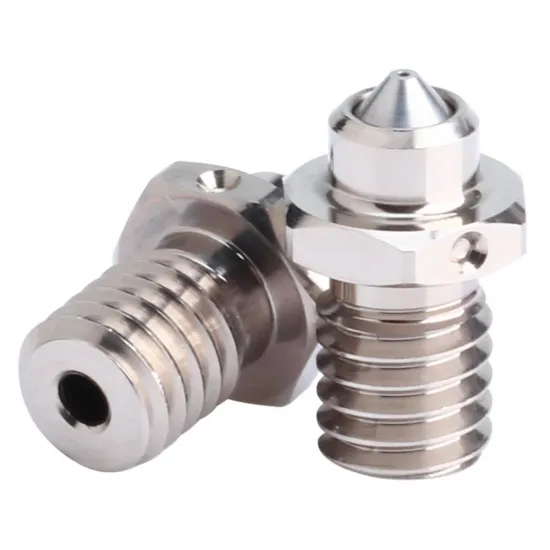
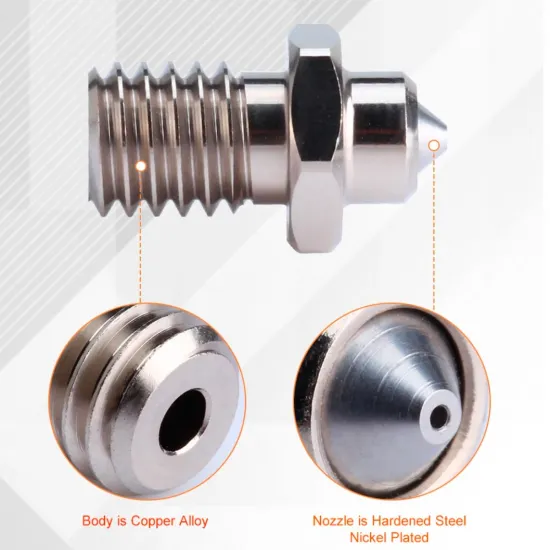
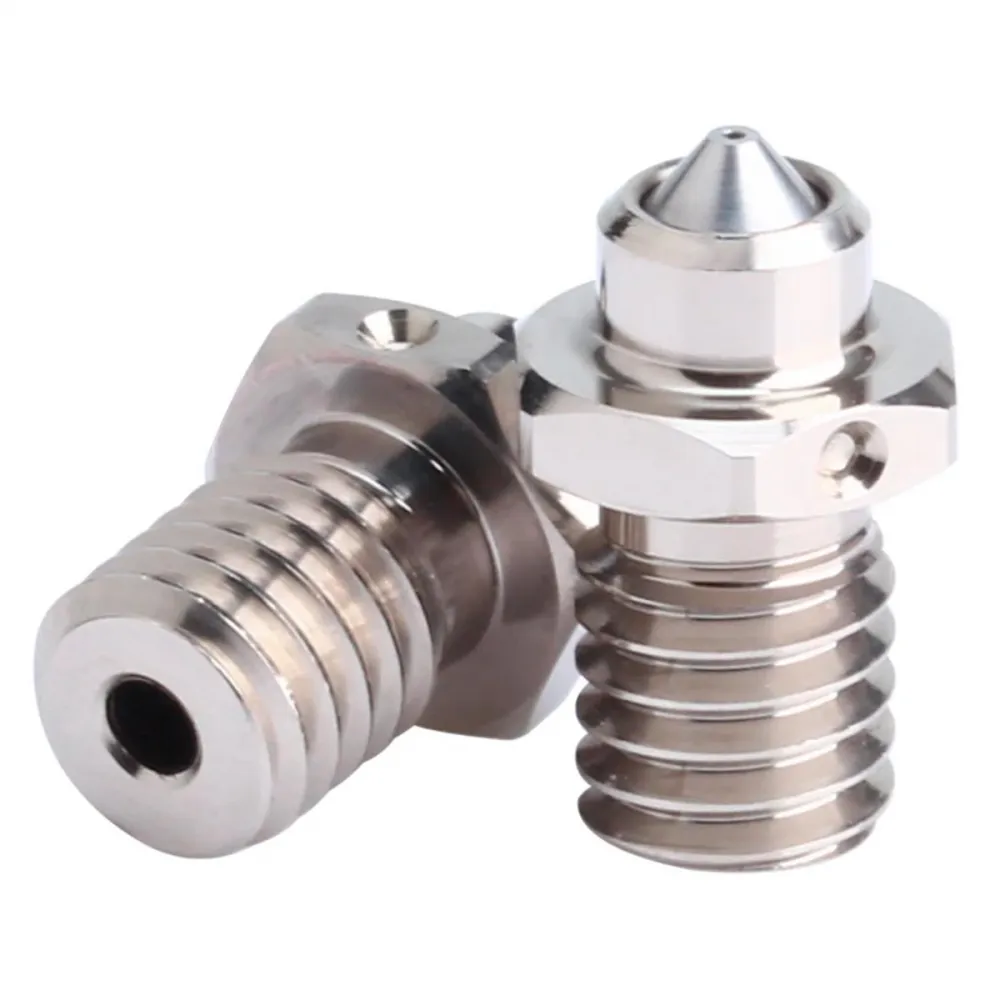
The Trianglelab ZS V6 0.4mm combines a copper-alloy body with a nickel-plated hardened-steel tip or insert. This construction is intended to retain good heat spreading through the body while adding wear resistance where filament leaves the nozzle.
It is made for 1.75mm filament and abrasive materials such as carbon- or glass-fibre composites, glow filament and other fills that can rapidly enlarge a Brass nozzle. The 0.4mm outlet balances detail, print time and compatibility with common profiles.
Verified specifications
| Feature | Value |
|---|---|
| Brand and family | Trianglelab ZS V6 |
| Outlet | 0.4mm; officially identified by 1 dot on a hex flat |
| Filament | 1.75mm |
| Body | Copper alloy |
| Tip / insert | Nickel-plated hardened steel |
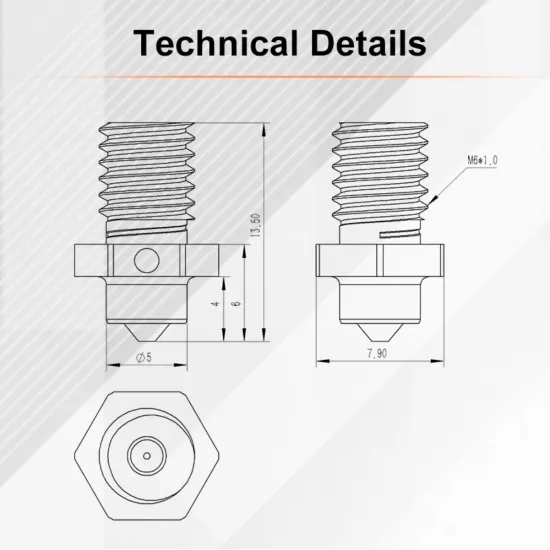
| Thread | M6 × 1.0 |
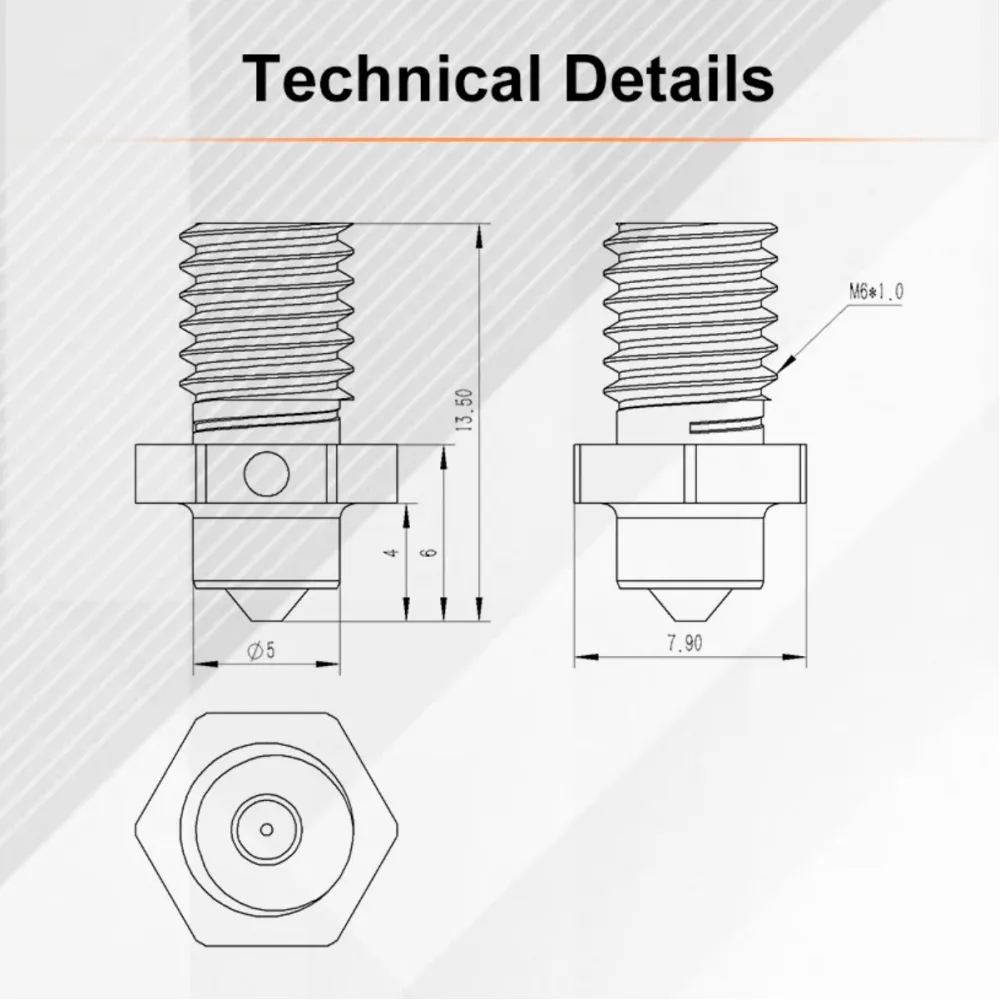
| Nominal length | Approx. 13.5mm in the drawing |
| Hex | 7.9mm in the drawing; use a correctly fitting tool |
| Contents | 1 nozzle |
Mechanical compatibility
Trianglelab declares V6, CHC Hotend Mini, TCHC TD6, TR6 and TD6S, and CHC Matrix compatibility. It may fit other assemblies reproducing the M6 × 1 thread and complete V6 geometry, but M6 alone is insufficient: length, heatbreak sealing face, tip clearance and tool access must also match.
After checking the complete assembly it may be paired with the V6 M6 heater block, V6 M6 block for encapsulated 3mm sensors and suitable configurations of the high-quality compact V6 hotend. It is not a default replacement for MK8, Volcano, Revo, TZ, K1 or integrated nozzles.
0.4 or 0.6mm
Choose 0.4mm for finer detail and common profiles. For larger particles or fibres, wider lines and reduced clogging risk, the Trianglelab ZS V6 0.6mm is often preferable. The actual material sets the minimum diameter.
Correct installation and sealing
- Unload filament and follow the hotend maker's nozzle-change procedure.
- Hold the heater block with a suitable tool and screw in the nozzle without forcing it.
- Hot-tighten at the temperature and torque specified for the hotend. Do not twist heater or sensor wires.
- The seal forms between nozzle and heatbreak inside the block; a small visible gap between hex and block may be correct.
- Check for leakage after the first heat cycle.
Settings after replacement
- Select 0.4mm in the slicer and start from a profile suited to the hotend and material.
- Recalibrate Z offset and first layer.
- Check flow/extrusion multiplier and pressure or linear advance where relevant.
- Repeat PID or MPC if thermal response changes materially.
- Do not raise temperature automatically to mask a partial clog.
Approximate 0.10-0.30mm layers are common starting ranges for a 0.4mm outlet, not nozzle limits. Maximum flow depends mainly on hotend, temperature, polymer and extrusion geometry.
Temperature and technical materials
The metal construction is intended for high-temperature work, but the nozzle does not define the complete hotend limit. Never exceed the lowest-rated sensor, heater, block, heatbreak, wiring, fan, sock or firmware component.
For materials such as Sakata PA-CF15, also follow its drying, enclosure, adhesion and minimum nozzle guidance.
It is for you if
- You want abrasive capability while retaining a 0.4mm outlet and the material permits it.
- Your hotend uses V6 M6 geometry and you can hot-tighten it correctly.
- You want better heat spreading than a fully hardened-steel nozzle.
It is not for you if
- Your filament requires at least 0.6 or 0.8mm.
- Your hotend uses MK8, Volcano, Revo, TZ, K1 or an integrated nozzle.
- You are trying to solve insufficient flow without checking hotend melt capacity.
For a simpler alternative see the 0.4mm hardened-steel V6 nozzle.